Manage Notification Contacts
This topic describes how to add, edit, and delete notification contacts.
Add a notification contact
- Log in to Yeastar Central Management, go to .
- Click Add to add a notification contact.
- In the pop-up window, do as follows:
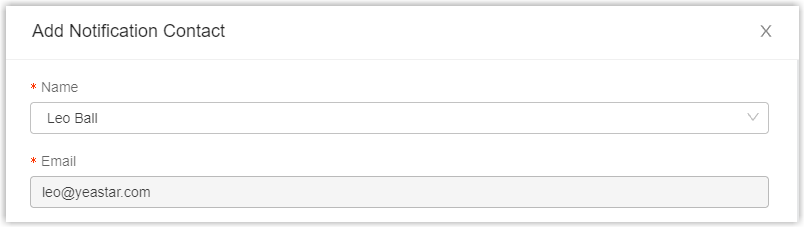
- In the Name drop-down list, select an
internal contact or add an external contact.
- Internal
contact: Colleague accounts created on your Yeastar
Partner Portal are displayed in the drop-down
list.
Select a colleague account, and Email is automatically filled in.
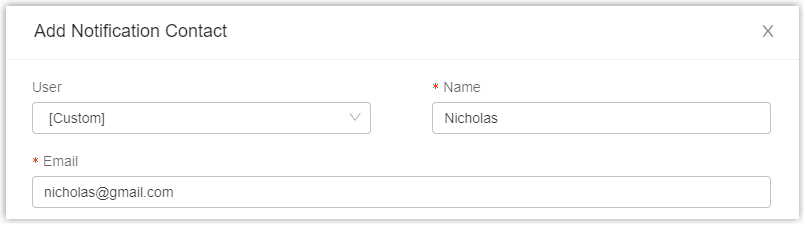
- External contact: Select
Custom, and set
Name and
Email.
- Internal
contact: Colleague accounts created on your Yeastar
Partner Portal are displayed in the drop-down
list.
- In the The Alarm Levels to Notify drop-down
list, select the level of alarms that you want to notify the
contact.
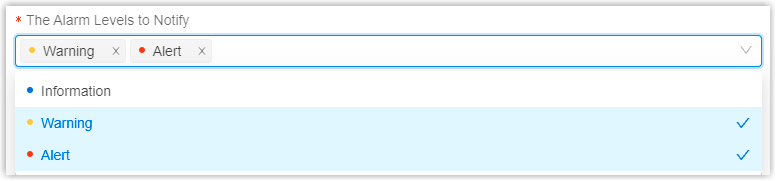
The contact will receive notifications only when alarms at the level occur.
- Optional: To receive alarms of specific PBX devices, select devices to the Selected box.
- Click Save.
- In the Name drop-down list, select an
internal contact or add an external contact.
Edit a notification contact
- Log in to Yeastar Central Management, go to .
- Click
 beside a desired contact.
 - In the pop-up window, edit contact information or configure alarm settings.
- Click Save.
Delete a notification contact
- Log in to Yeastar Central Management, go to .
- To delete a notification contact, do as follows:
- Click
 beside a desired contact.
 - In the pop-up window, click Confirm.
- Click
- To bulk delete notification contacts, do as follows:
- Select the checkboxes of desired notification contacts, then click Delete.
- In the pop-up window, click Confirm.
The contact is removed from the list, and will NOT receive notifications when alarms occur.