Manage Custom Domain Name
This topic describes how to update certificates for custom domain name and delete custom domain name.
Update certificates for custom domain name
Yeastar Central Management monitors the validity of the domain certificates. When it comes to 30 days and 15 days before the expiration date, or on the day, a Custom Domain Certificate Expiration alarm is triggered, and the system sends emails to notify the contacts added in .
If you choose to manually upload domain certificates and do not enable certificate auto-refresh, you need to update the certificate in time to ensure the availability of the custom domain name.
- Prerequisites
- You have obtained new certificates and private keys.Note:
- Yeastar P-Series Cloud PBX uses NGINX as web server, so the certificates should be compatible with NGINX server.
- RSA private key and EC private key are supported to secure the custom domain.
- Procedure
-
- Log in to Yeastar Central Management, go to .
- In the Custom Domain tab, click
 beside the desired domain.
 - In the Operations column of the server domain
name, click .
- In the pop-up window, update the certificate information.
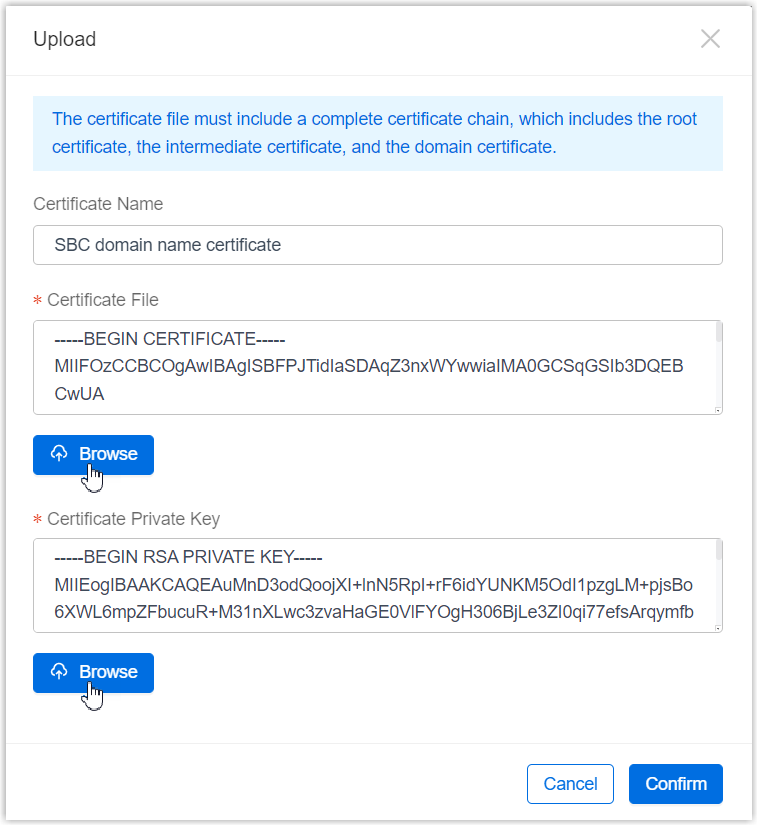
- Select Upload certificate.
- Click Browse to select the new certificate and private key respectively.
- If you want the system to automatically refresh the
certificate, select the checkbox of Automatically
refresh the certificate, then select your
DNS provider in the DNS Provider
drop-down list.Note:
- The system will automatically refresh the certificate 7 days before it expires using the provided DNS provider.
- If auto-refresh is enabled but your certificate is not from Let's Encrypt, the system will automatically apply for a new one from Let's Encrypt instead.
- Click Confirm.
- Click Save.
Delete custom domain name
If you don't need the custom domain any more, you can delete it on Yeastar Central Management.
- Prerequisites
- Make sure that there is no Cloud PBX using this domain name, otherwise the deletion would fail.
- Procedure
-
- Log in to Yeastar Central Management, go to .
- To delete both SBC and SBC Proxy Server domain names in a
region, do as follows:Note: Make sure that there is no Cloud PBX using this domain name before you delete it, otherwise the deletion would fail.

- Click
 beside the desired
region.
beside the desired
region. - In the pop-up window, click Confirm.
- Click
- To delete SBC Proxy Server domain name only, do as follows:Note:
- If there is only a single SBC Proxy Server deployed in the region, it is not supported to delete the domain name of the SBC Proxy Server separately.
- Make sure that there is no Cloud PBX using this domain name before you delete it, otherwise the usage of the Cloud PBX would be affected.

- Click beside the region where the
server is deployed.
- In the SBC Proxy Domain Name
section, click beside the SBC
Proxy Server.
- In the pop-up window, click Confirm.
- At the bottom of the page, click Save.