Queue Preferences
This topic describes the queue preference settings, including distinctive ring tone, queue capacity, queue callback, service level agreement, announcement, and satisfaction survey.
Distinctive ringtone
| Setting | Description |
|---|---|
| Queue Alert Info |
Set an "alert info text" to add to Alert-info header in INVITE request for queue calls. When receiving a queue call, the phone will inspect "Alert-Info" header to determine which ring tone it should use for ringing. |
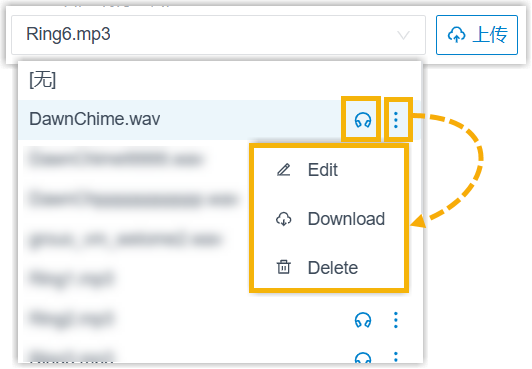
| Linkus Client Distinctive Ringtone | Select or upload a ringtone for agent's Linkus
clients. When an agent receives a call from the queue, the
designated ringtone will be played on the agent's Linkus
client. Note:
|

Callback
| Setting | Description |
|---|---|
| Request Callback Method | Define how a caller can request a callback when the queue is busy. |
| Digit to press | Define what digit a caller can press to request a callback
when the queue is busy. Note: The option is
available only when Request Callback
Method is set to Triggered by
caller input. |
| Timeout (s) | Define the amount of time (in seconds) that a caller can wait
in the queue. After the timeout, the system will play the
callback option to the caller automatically. Note: The option is available only when
Request Callback Method is set to
Auto triggered after the
timeout. |
| Callback Outbound Prefix | Define the prefix of outbound route, which will be used to
call the callback number. Note: All agents
in this queue must have permission to use this outbound
route, or the callback would fail. |
| Callback Timeout |
Define how long a callback request can be reserved in the queue. If there are no available agents in the queue within the timeout period, the callback request will be cancelled.
|
Priority queue
| Setting | Description |
|---|---|
| Weight | Specify the initial weight of a queue. You can enter a number between 1 and 999. The larger the number, the greater the weight. The system will compare the weight of multiple queues, and assign incoming calls from the queue with a greater weight to agents first. For example, calls in a queue with a weight of 2 will be answered more quickly than that in a queue with a weight of 1. |
| Enable Acceleration Weight | Enable acceleration weight to dynamically adjust queue weight according to the waiting time of an incoming call in the queue, so as to avoid the calls in a low-priority queue being waited for too long, |
| Acceleration (s) | Specify the amount of time a call has been waiting in the
queue before the weight is increased by 1. This ensures
that calls with longer waiting time can be prioritized through
accelerated weighting, enabling them to be answered more
quickly. You can enter a number between 10 and 1800. The system will calculate the total queue weight based on the initial queue weight and the waiting time of a call according to the following formula: Queue
Weight = Weight + (Waiting Time /
Acceleration) * 1 Note: If
there are decimals in the result, the value will be
rounded. |
Service level agreement
| Setting | Description |
|---|---|
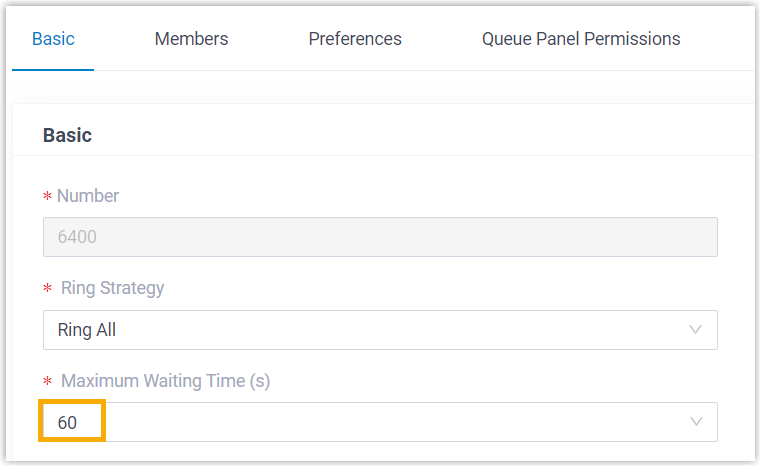
| SLA Time(s) | The maximum amount of time (in seconds) that an agent needs
to answer an incoming call. The default SLA time is 60 seconds. |
| Evaluation Interval(min) | The time interval to compare the queue's SLA performance against the alarm threshold, so the system can send a notification email accordingly. |
| Alarm Threshold(%) | The service level threshold for the queue. The default alarm threshold is 80%. |
Satisfaction survey
| Setting | Description |
|---|---|
| Satisfaction Survey Prompt | The prompt played to caller to ask the caller to rate their
satisfaction scale after the agent hangs up. The default prompt is "Please rate your satisfaction with our service, press 1 for satisfied, press 2 for dissatisfied. Thank you.". "Thanks for your calling, goodbye." is prompted after the caller presses a key. |
| End Prompt |
The prompt played to callers after they press the key to rate agent's service. Note: This option is only available
when the Satisfaction Survey Prompt has been
specified.
|
| Satisfaction Survey Points |
The scores for the keys that the caller can press to rate an
agent's service.
Note: This allows you
to collect customer feedback and gain valuable insight
into agent performance. You can check satisfaction
survey score in Satisfaction Survey report and
Satisfaction Survey Details
report. For more information, see Satisfaction Survey Report and Satisfaction Survey Details Report. |
Key Press Event
| Setting | Description |
|---|---|
| Key | The caller can press the key to enter the specific destination when waiting in queue. Generally, set a Periodic Announcements to guide the callers to press the key. |
| Key Destination | The destination to route the call when the caller presses a key.
|
Auto-Reply Message for Missed Calls
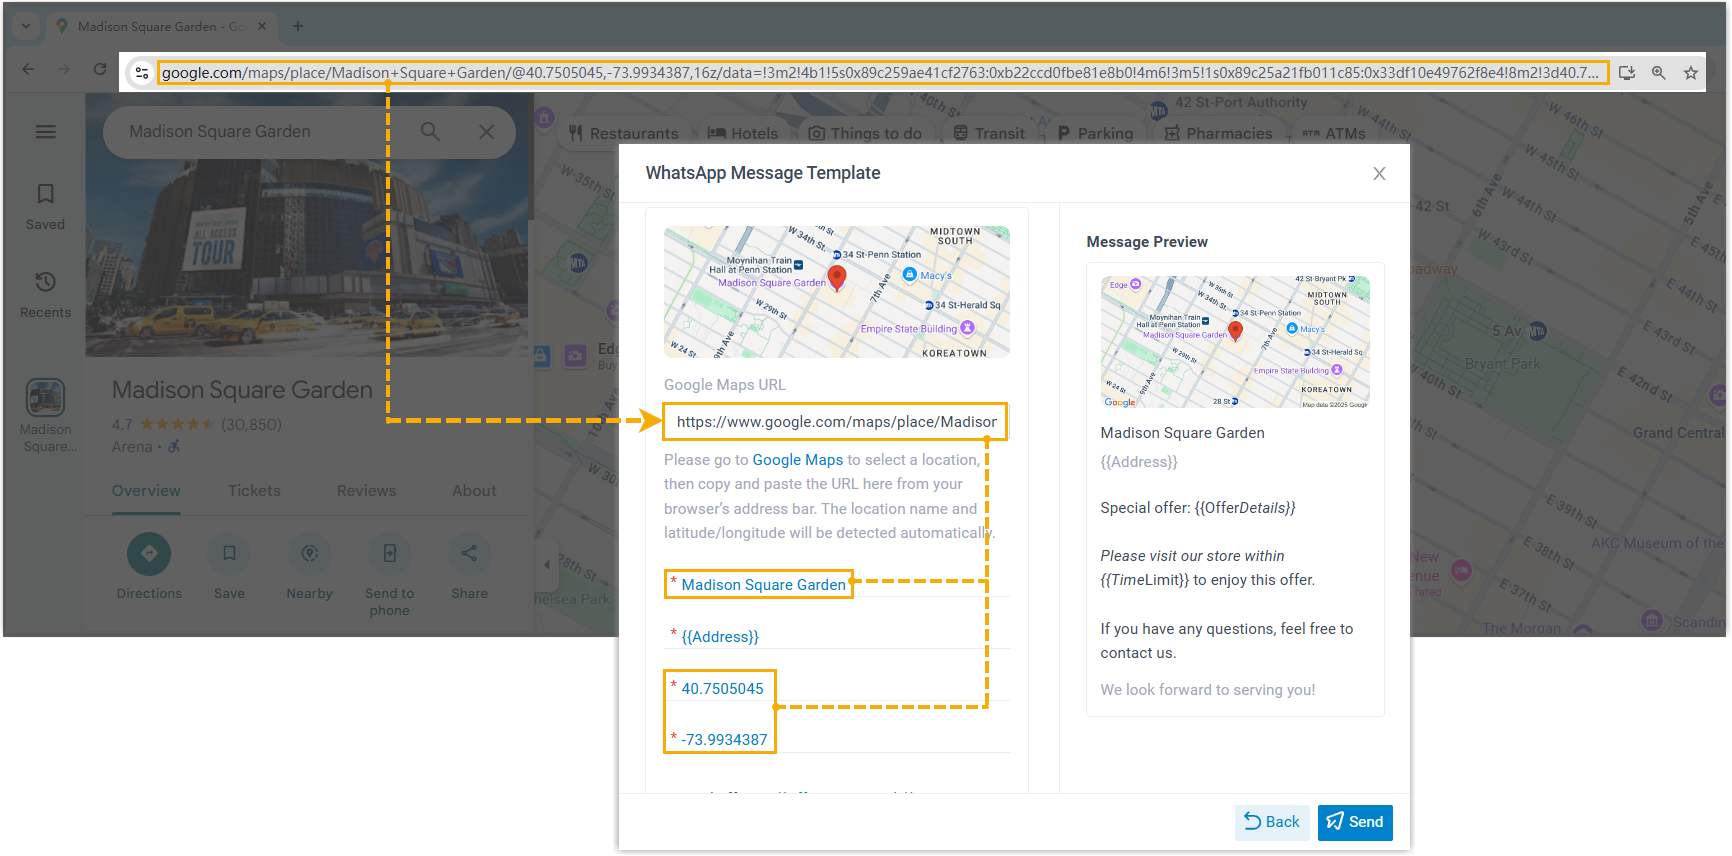
When an inbound queue call is missed, the system automatically populates absent
+ and the country/region code configured for the selected
message channel to the caller number, and sends the configured message to this
number.
The message sent logs are recorded in the lists of both External Chat Logs and SMS/WhatsApp Sent Logs (Path: ).
- The firmware of Yeastar P-Series Cloud Edition is 84.24.0.122 or later.
- To automatically reply a message to the caller via SMS messaging channel for missed inbound calls, ensure that you have set up at least one SMS messaging channel.
- To automatically reply a message to the caller via WhatsApp messaging channel for missed inbound calls, ensure that you have set up at least one WhatsApp messaging channel and synchronized the desired templates to the PBX.
| Setting | Instruction |
|---|---|
| Call Status Equal To | Select the missed call status that triggers the automatic message
reply.
|
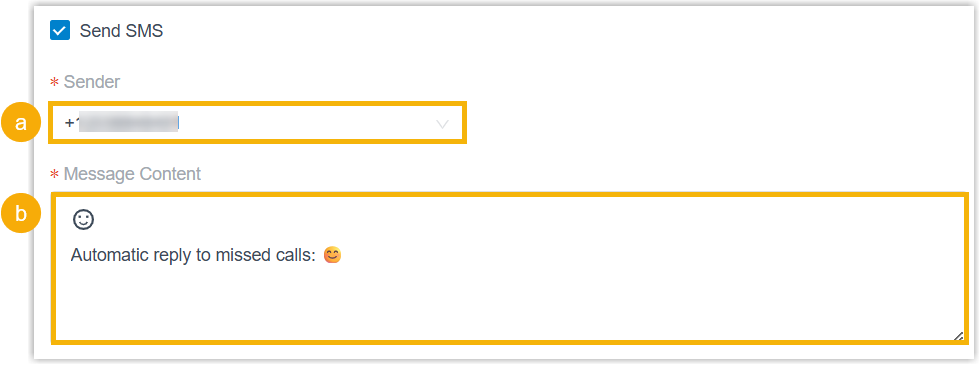
| Send SMS | To automatically send messages via a SMS channel, select the
checkbox of Send SMS, then do as
follows.
|
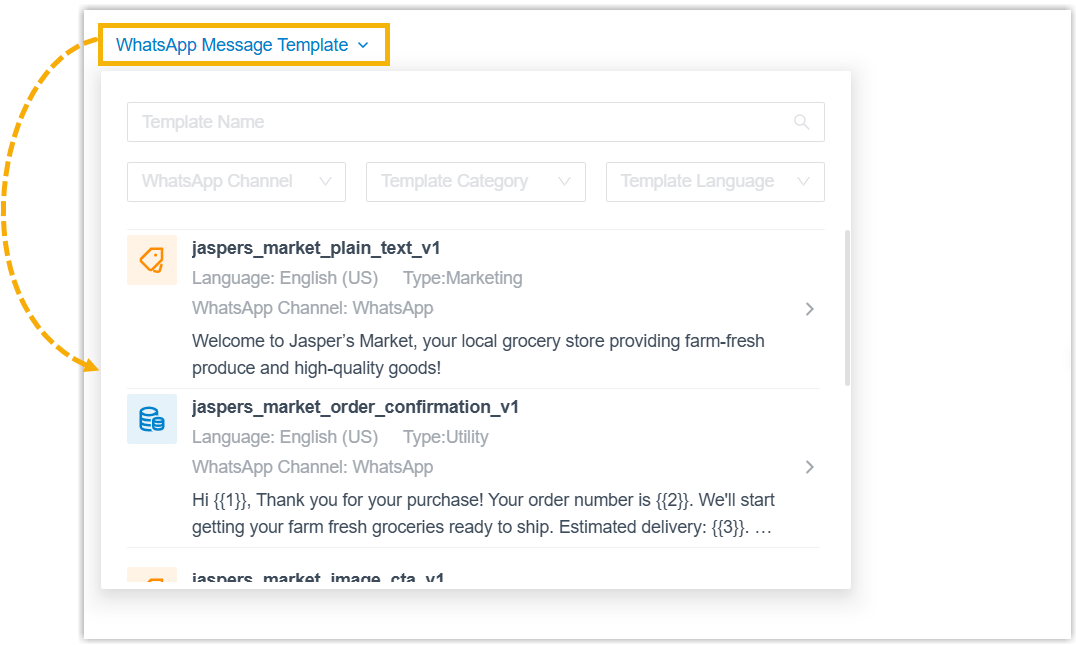
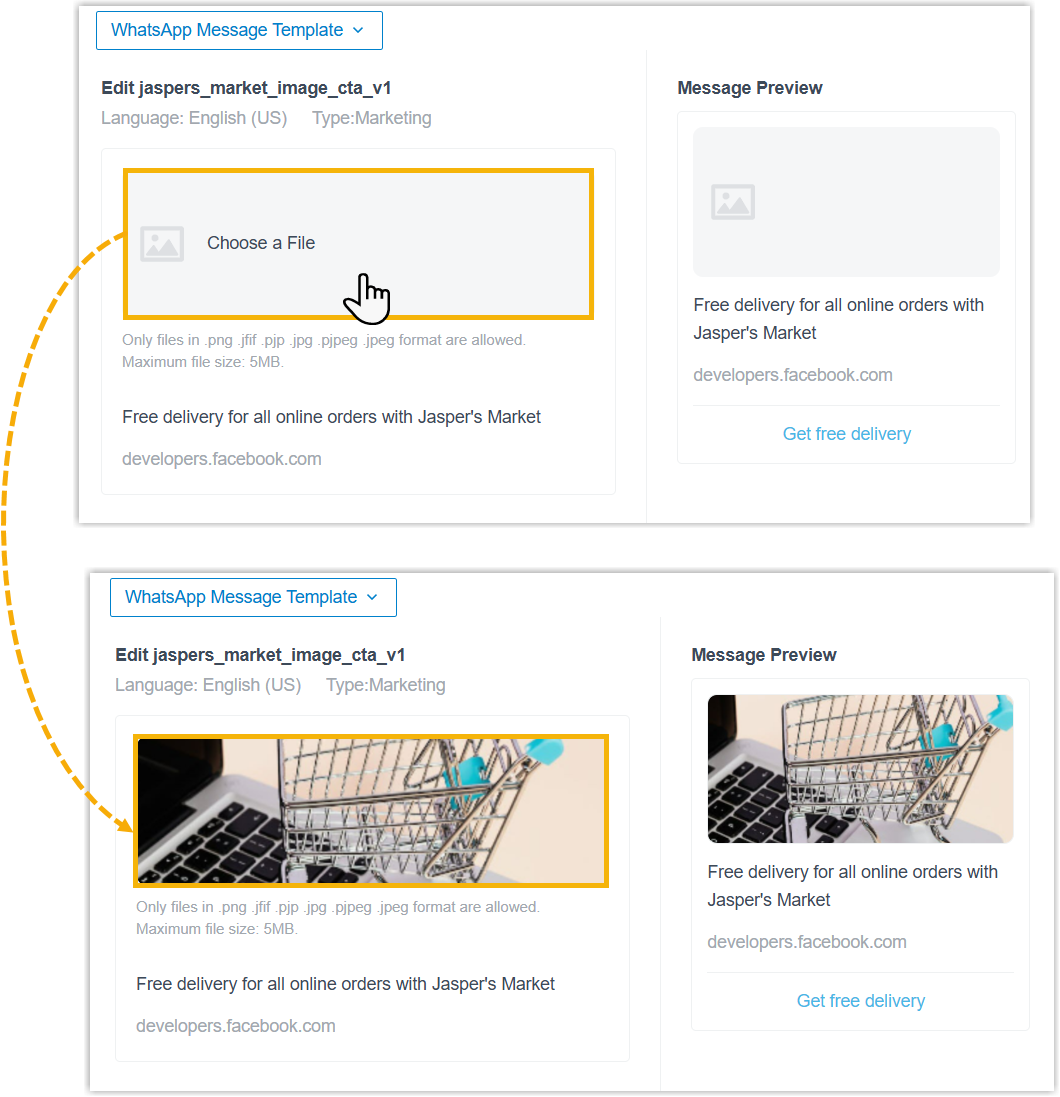
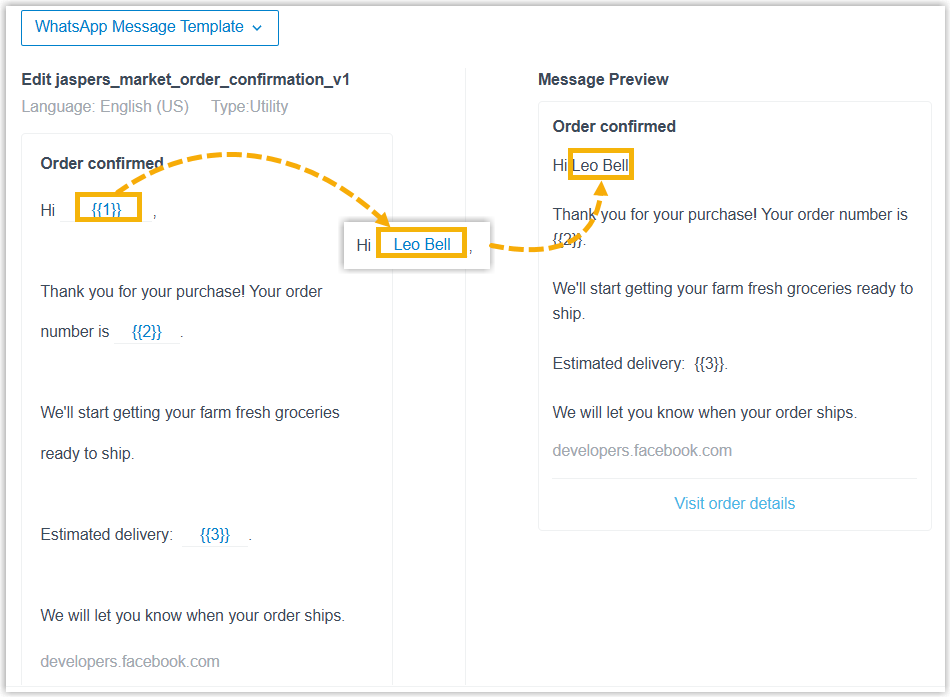
| Send WhatsApp | To automatically send messages via a WhatsApp channel, select the
checkbox of Send WhatsApp, then do as
follows.
|