Invite Visitors
Yeastar Workplace supports scheduling visits for yourself or for others. This topic describes how to invite visitors to your workplace.
Procedure
-
Log in to Yeastar Workplace web portal, click the Visit tab in the top menu bar.

-
At the top left corner, click Invite, then select an option based on the number of visitors to be invited.
- To invite a visitor, select Invite a Visitor.
- To invite two or more visitors, select Invite a Group.
-
In the pop-up window, configure the following information.
-
Configure the visit details, which will be displayed on the invitation email sent to the visitor.

-
Subject: Enter the subject for this visit.
-
Building & Floor: Select the desired building and floor.
-
Time: Select the arrival time and leave time for this visit.
-
-
If you want to book a meeting room for this visit, select the checkbox of Book a Meeting Room, and then set the meeting time and select a meeting room.

- Select host for this visit.

- Host: Specify the host(s) for this
visit.
By default, you are the host. If you schedule the visit for others, you can remove yourself and click
 to select the
host(s).
to select the
host(s). - Alert Host(s) as Visitor Checks in:
If you want to send notifications to the host(s) when
visitors check in, enable this option.Note: If you fail to enable this option, it may be the administrator has disabled the check-in notification. Contact the administrator in your workplace for more information.
- Host: Specify the host(s) for this
visit.
-
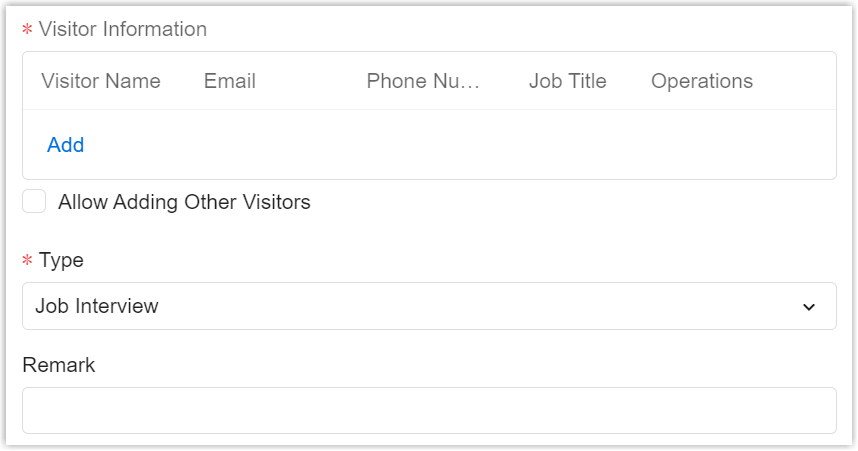
Configure the visitor information.
Invite a Visitor Invite Group Visitors 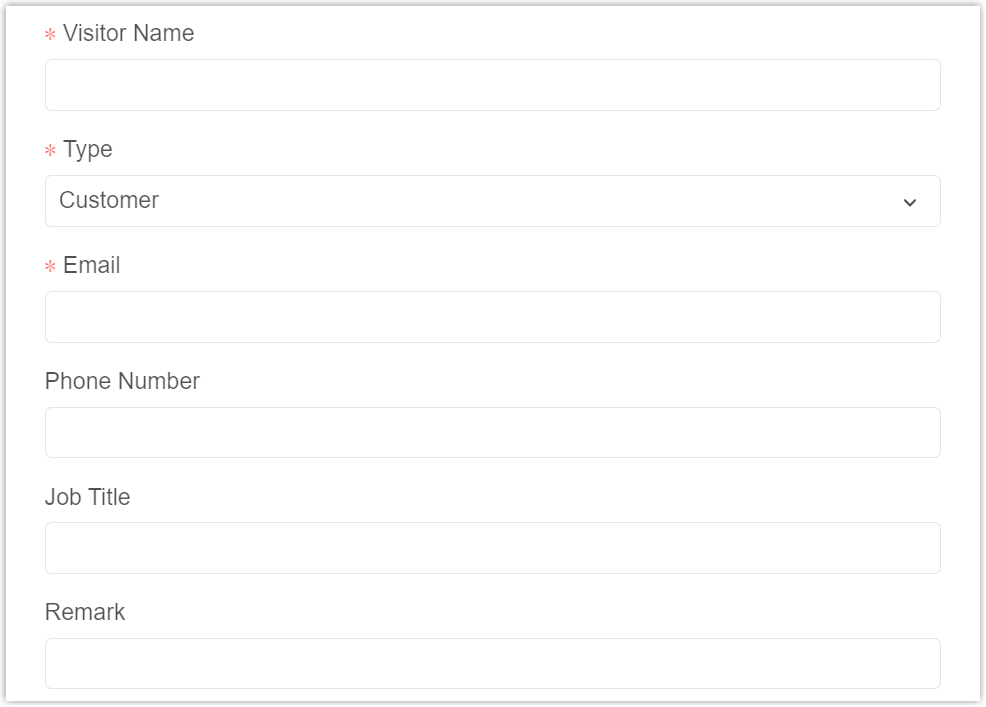
-
Visitor Name: Enter the name of the visitor.
-
Type: Select a type for the visit.
-
Email: Enter the visitor's email address.
-
Phone Number: Enter the visitor's phone number.
- Job Title: Enter the visitor's job title.
-
Remark: Enter a remark for this visit.
-
Visitor Information: Click Add to add visitors.
-
Allow Adding Other Visitors: To allow visitors to invite other members to this visit schedule, enable this option.
Type: Select a type for the visit.
-
Remark: Enter a remark for this visit.
-
-
Click OK.
-
Result
You have created a visit schedule successfully.
- The visit schedule is displayed on the schedule list of all hosts, with the
status displayed as Invited.

-
A notification about this visit is sent to the host(s).
-
If you booked a meeting room for this visit, a meeting room schedule is created automatically. You are the meeting organizer and the hosts are participants.
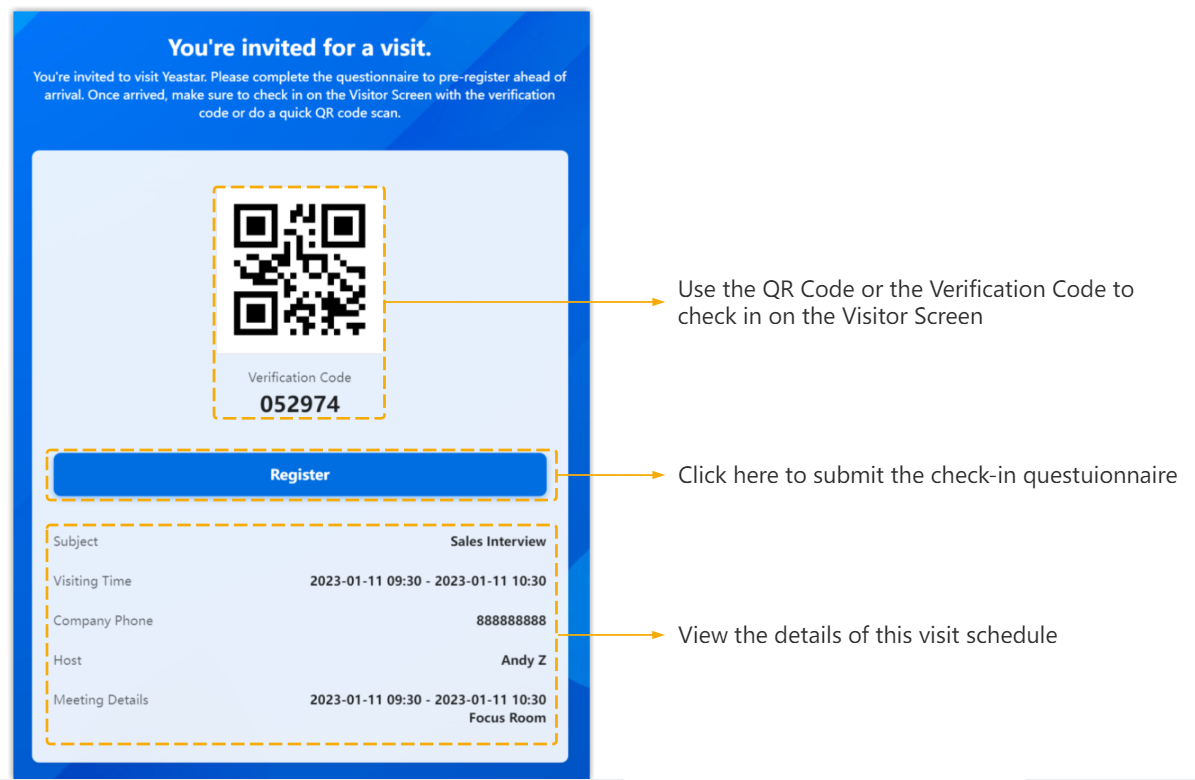
- An invitation email is sent to the visitor's mailbox, through which visitors
can submit the check-in questionnaire and check in when they arrive.Note: For group visitors, if you selected Allow Adding Other Visitors, a link is displayed on the bottom of the invitation email, other members can click the link to join this visit schedule.