Start a Scheduled Meeting as the Host
When it approaches the scheduled meeting time, either meeting creator or a participant who has host password can start the meeting. This topic describes how to start a scheduled meeting as the host.
Start a scheduled meeting on Linkus Web Client
By default, meeting host is the one who creates the meeting link. If you have created a meeting link, you can start the meeting on Linkus Web Client.
- Procedure
-
- Log in to Linkus Web Client, go to Video Conferencing.
- On Upcoming Meetings list, click
 beside the desired meeting.A window pops up, which asks permission for Linkus Web Client to use microphone.Note: If no window pops up, you can click
 or
or  in the address bar to check whether
permissions of microphone and camera are granted to Linkus Web Client.
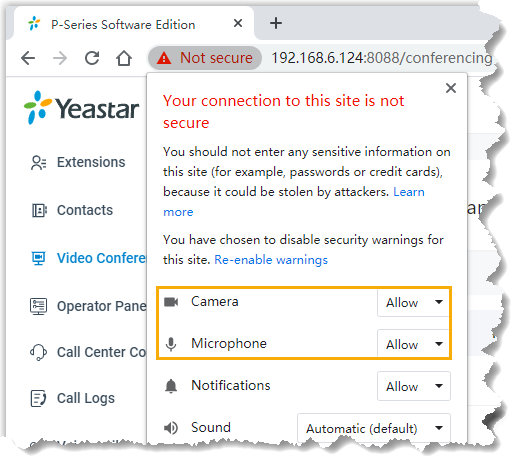
- In the pop-up window, allow Linkus Web
Client to use microphone and camera.
- Click Allow to allow Linkus Web Client to use microphone.
The microphone is turned on.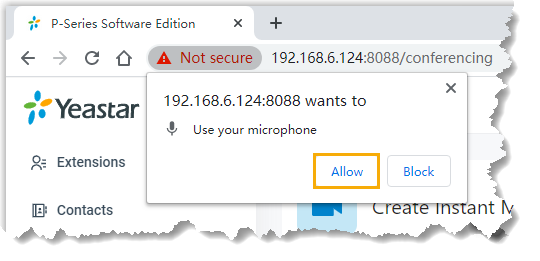
- Click Allow to allow Linkus Web Client to use camera.
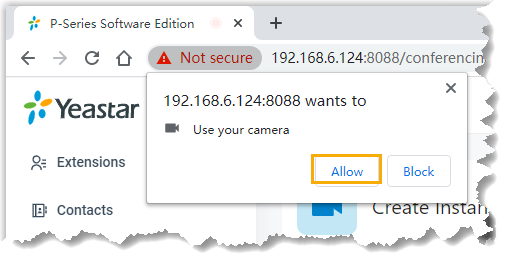 The camera is turned on, you can see a preview video of yourself.Note: If you are prompted "Failed to access the camera", it indicates that the camera may be in use. Refresh the page and try again after the camera is available.
- Click Allow to allow Linkus Web Client to use microphone.
- In the Preparation page, set up initial
configurations and check basic information for the meeting.
- Click a specific icon to configure audio and video
on your side.
 : Mute or
unmute yourself.
 :
Enable or disable your camera.
 : Change
camera, microphone, or speaker.
- Check basic information for the meeting.
- Meeting Name
- Host Password
- Memo
- Click a specific icon to configure audio and video
on your side.
- Click Start.
- Result
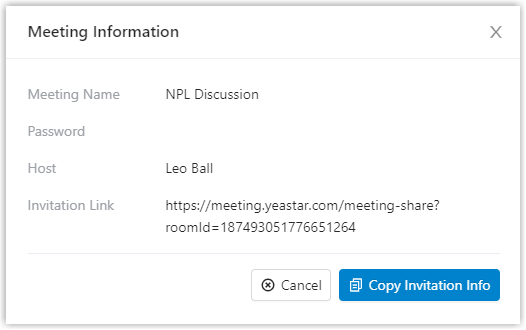
- You have joined the meeting and you can preview or copy meeting
information in the pop-up window.
Start a scheduled meeting via an invitation link
If a meeting creator has provided you with an invitation link and a host password, you can access the invitation link, and use the host password as a credential to join the meeting. You will be the host of the meeting.
- Procedure
-
- Click the invitation link to access the meeting.
You are redirected to the landing page of the meeting. A window pops up, which asks permission for
meeting.yeastar.comto use your microphone.Note: If no window pops up, you can click in the address bar to check whether
permissions of microphone and camera are granted to
meeting.yeastar.com.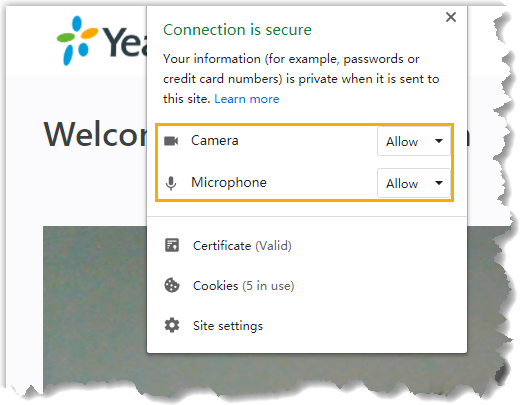
- In the pop-up window, allow
meeting.yeastar.comto use your microphone and camera.- Click Allow to allow
meeting.yeastar.comto use your microphone.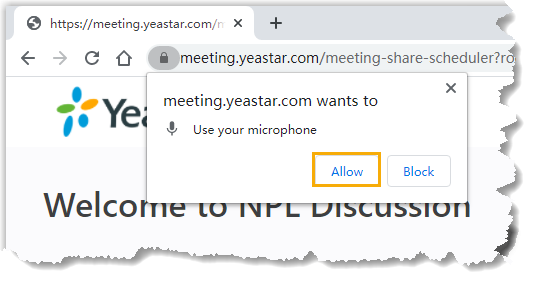
The microphone is turned on.
- Click Allow to allow
meeting.yeastar.comto use your camera.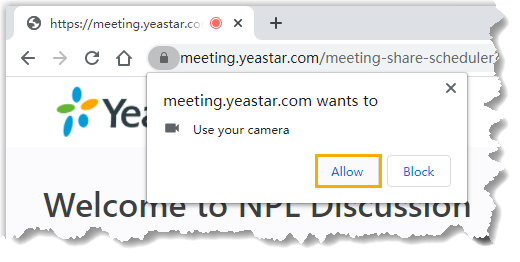
The camera is turned on, you can see a preview video of yourself on left side of the page.
- Click Allow to allow
- On right side of the page, click Host
tab, configure basic information, audio, and video as needed.
- Configure basic information.
- Meeting Name: Retain the meeting name or change it as needed.
- Your Name: Enter your
name.
All the participants can see the name.
- Host Password: Enter the host password provided by the meeting creator.
- Memo: Retain the meeting note or change it as needed.
- Configure audio and video on your side.
- Camera: Retain the default camera, or change it as needed.
- Microphone: Retain the default microphone, or change it as needed.
- Speaker: Retain the default speaker, or change it as needed.
- Configure basic information.
- Click Join.
- Click the invitation link to access the meeting.
- Result
- You have joined the meeting and you can preview or copy meeting
information in the pop-up window.
