Upload or Record Voicemail Greetings
Voicemail greetings are played to callers when they reach your mailbox. This topic describes how to upload or record your personal voicemail greetings.
Note: In addition to manually recording greetings or uploading audio
files, you can also generate lifelike greetings using the AI Text-to-Speech
feature simply by entering text.
For more information, see AI Text-to-Speech.
Restrictions
Up to 10 custom voicemail greetings are supported.
Upload a voicemail greeting
- Prerequisites
- Prepare an audio file, which must meet the following requirements:
- File format:
.wav,.mp3, or.gsm- PCM, 8K, 16bit, 128kbps
- A-law(g.711), 8k, 8bit, 64kbps
- u-law(g.711), 8k, 8bit, 64kbps
- File size: Up to 8 MB
- File format:
- Procedure
-
- Log in to Linkus Desktop Client, go to .
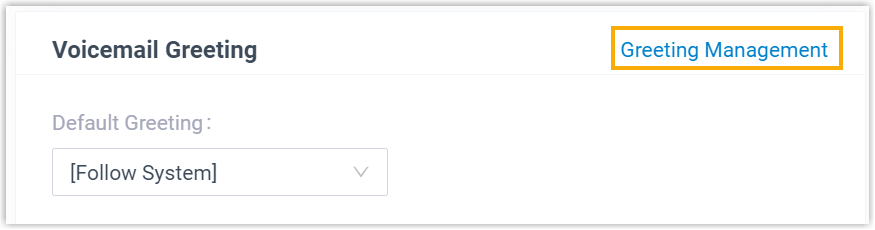
- In the Voicemail Greeting section, click
Greeting Management.
- In the pop-up window, click Upload.
- Select an audio file to upload.
- Result
-
- The uploaded greeting is displayed in the Greeting Management tab.
- You can set this greeting as the default greeting or the
presence greeting by selecting it from the corresponding
drop-down list.
Figure 1. Set as the default greeting 
Figure 2. Set as the presence greeting 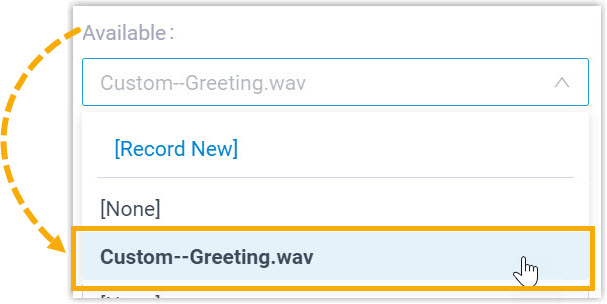
Record a voicemail greeting
- Procedure
-
- Log in to Linkus Desktop Client, go to .
- In the Voicemail Greeting section, click
Greeting Management.
- In the pop-up window, click Record New
Greeting tab, and configure the following
settings:
- In the Audio File Name field, enter a name to help you identify it.
- In the Extension drop-down list, select your extension to record a greeting.
- Click Confirm.
The system places a call to your extension.
- Answer the call, then record your greeting, and hang up after you finish recording.
- Result
-
- The recorded greeting is displayed in the Greeting Management tab.
- You can set this greeting as the default greeting or the
presence greeting by selecting it from the corresponding
drop-down list.
Figure 3. Set as the default greeting
Figure 4. Set as the presence greeting