Integrate Yeastar P-Series PBX System with Odoo CRM
This topic describes how to integrate Yeastar P-Series PBX System with Odoo CRM.
Prerequisites
- Odoo
-
- Hosting type: Odoo Online
- Edition: Odoo Enterprise
- Version: Odoo 14.0 or later
- Account: Use Administrator account of the Odoo database for integration.
- Collect the following information from your Odoo database:
- The name of the database where Odoo CRM is installed.
- The domain name of the database where Odoo CRM is installed.
- PBX server
-
- Plan: Enterprise Plan (EP) or Ultimate Plan (UP)
- Firmware: Version 37.21.0.66 or later
- Network Capability: Have access to the Internet.
Procedure
Step 1. Generate an API Key on Odoo
Generate an API key on Odoo for integrating with Yeastar P-Series PBX System.
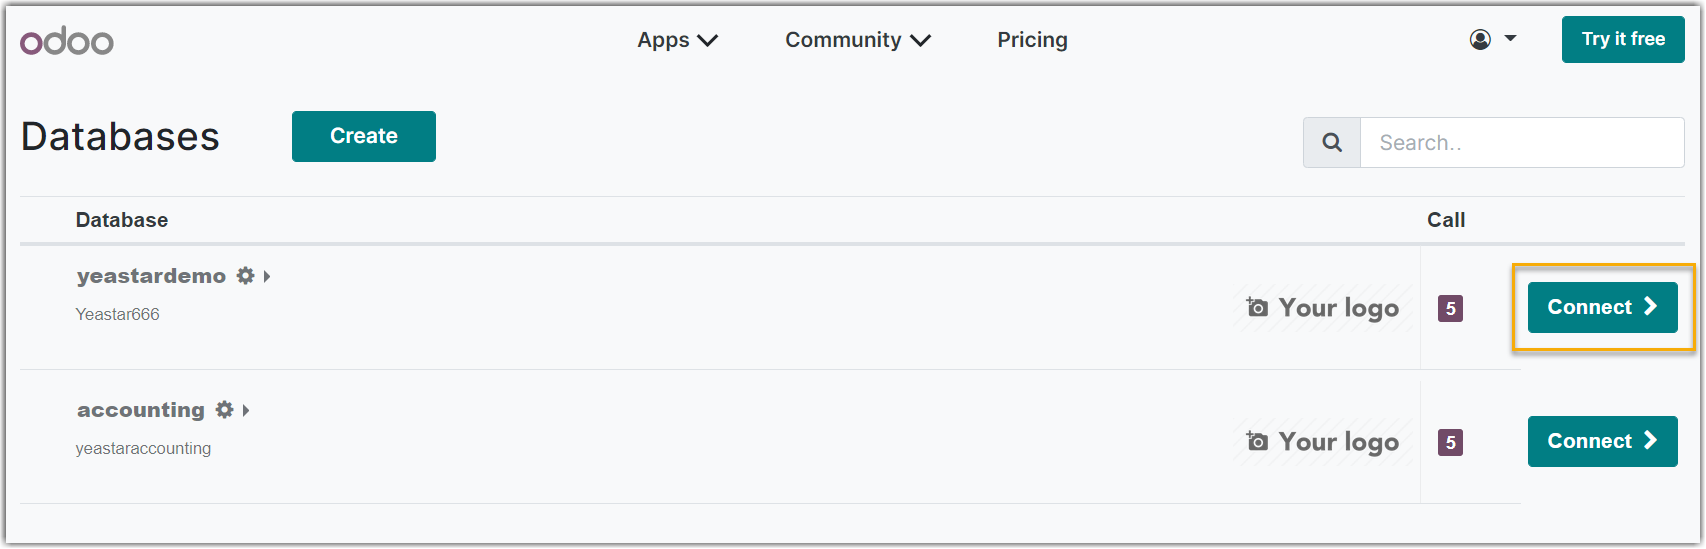
- Log in to the Odoo Database Manager with an administrator account.
- Click Connect beside the database where Odoo CRM is
installed.
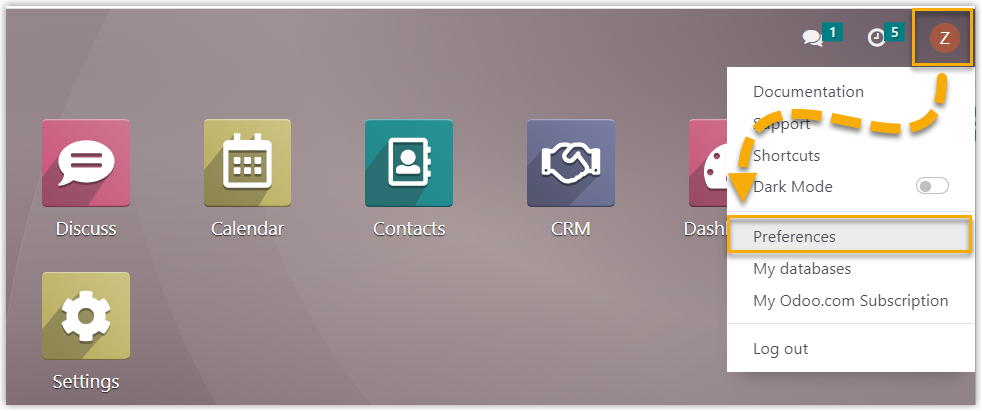
- In the Odoo dashboard page, click the account button at the top-right corner,
then select Preferences.
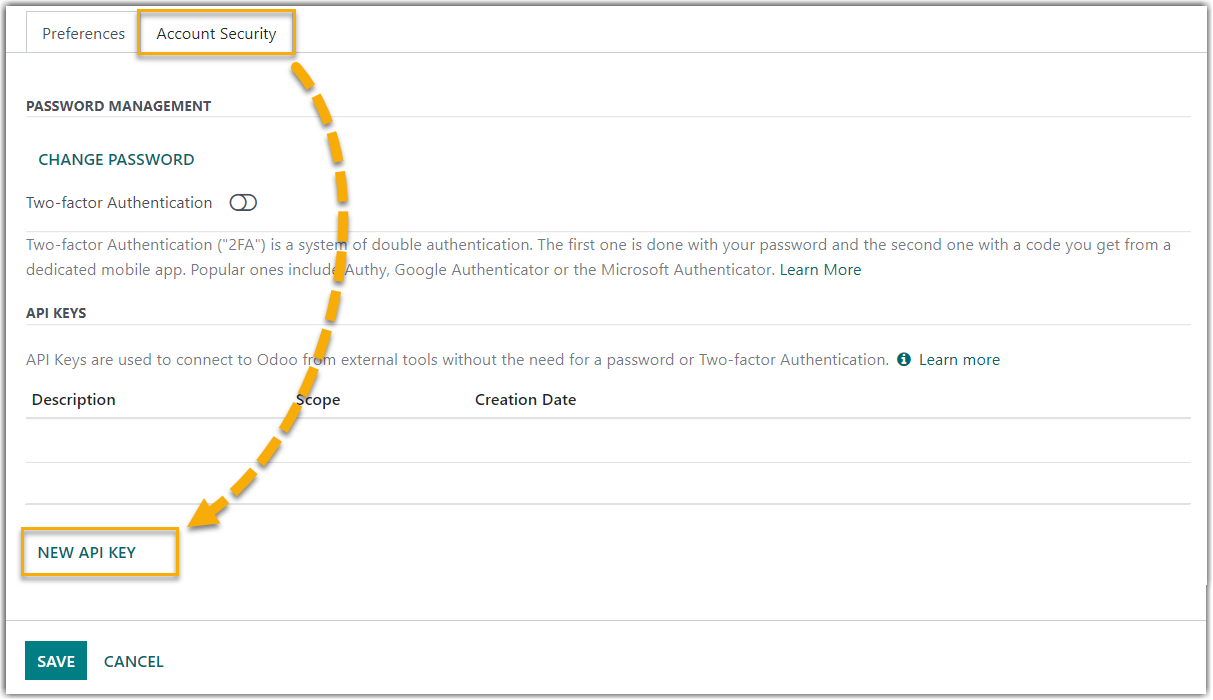
- In the pop-up window, click the Account Security tab, and
click NEW API KEY.
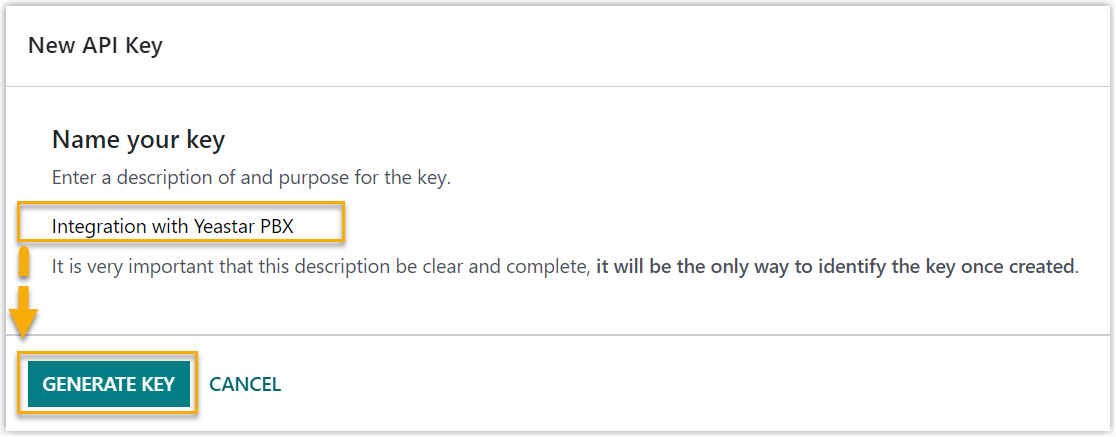
- On the New API Key page, enter the description for this
API key, and click GENERATE KEY.
- Note down the API key, and click
DONE to close this page.
The API key will be used to authorize Yeastar P-Series PBX System to access your Odoo's user data and CRM data using the API.
Note: After the API key is generated, you cannot view the API key in the Odoo system. If you forget the API key, you can delete it and generate a new one.
Step 2. Connect Odoo CRM to Yeastar P-Series PBX System
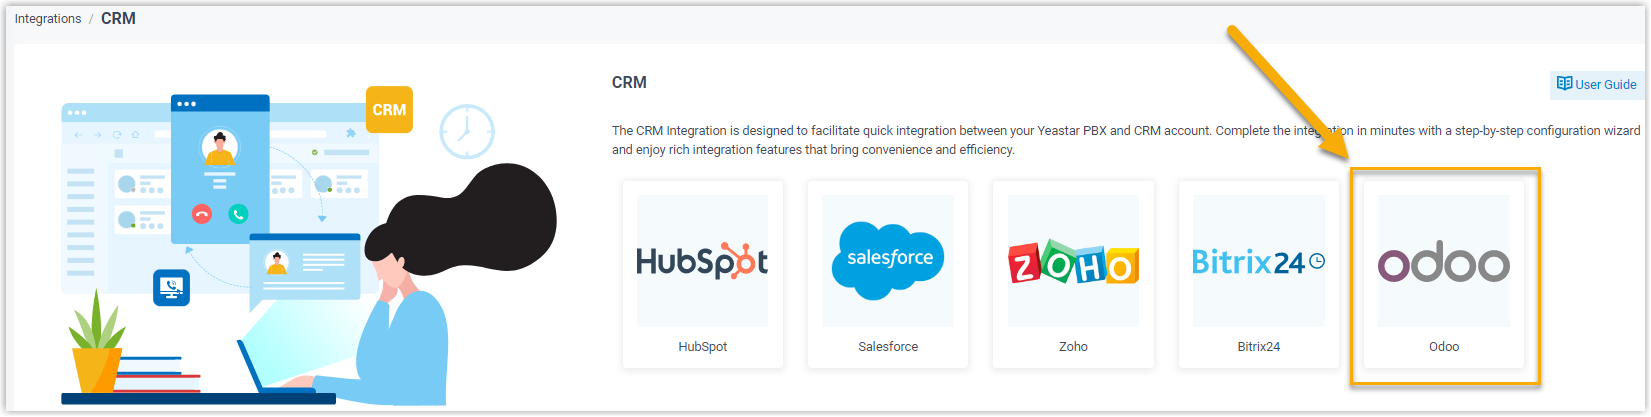
- Log in to PBX web portal, go to .
- Fill in the authentication information collected from Odoo.
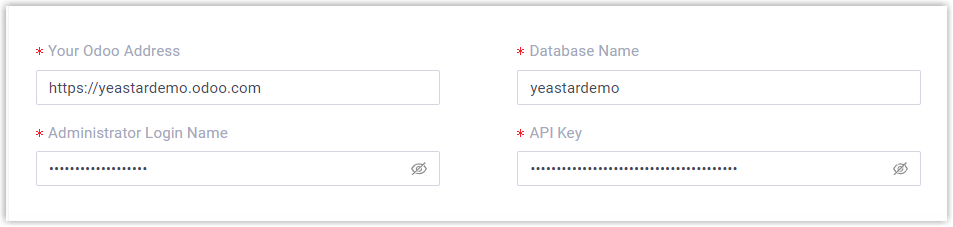
- Your Odoo Address: Enter the domain name of the database where Odoo CRM is installed.
- Database Name: Enter the name of the database where Odoo CRM is installed.
- Administrator Login Name: Enter the login email address of the Odoo administrator account.
- API Key: Paste the API key created in Step 1.
- Click Save.A pop-up window displays the authentication result.
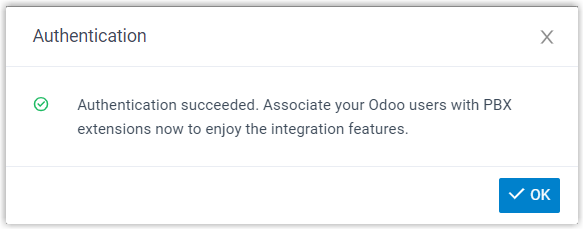
- Click OK to confirm.The Status field displays Connected, indicating that Yeastar P-Series PBX System is successfully connected to Odoo CRM.

Step 3. Associate Odoo CRM users with PBX extensions
- On the CRM integration page of the PBX, click
 beside the Odoo User to
obtain the latest list of Odoo CRM users.
beside the Odoo User to
obtain the latest list of Odoo CRM users.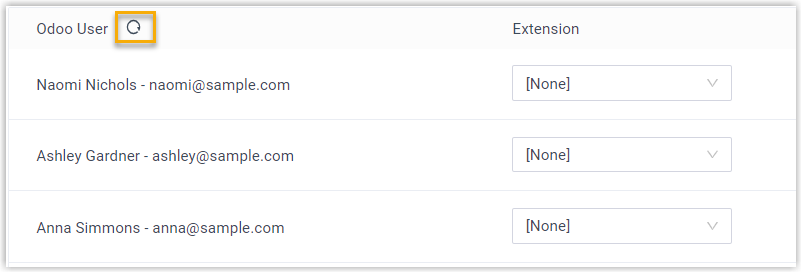
- Associate the Odoo users with PBX extensions.Note: PBX automatically retrieves Odoo users of all types (Internal, Portal, and Public Users). You only need to associate PBX extensions with the Odoo users who require it.
- Associate automatically
-
If users bind the same email address to their Odoo accounts and PBX extensions, you can implement automatic association of their Odoo accounts and PBX extensions as follows:
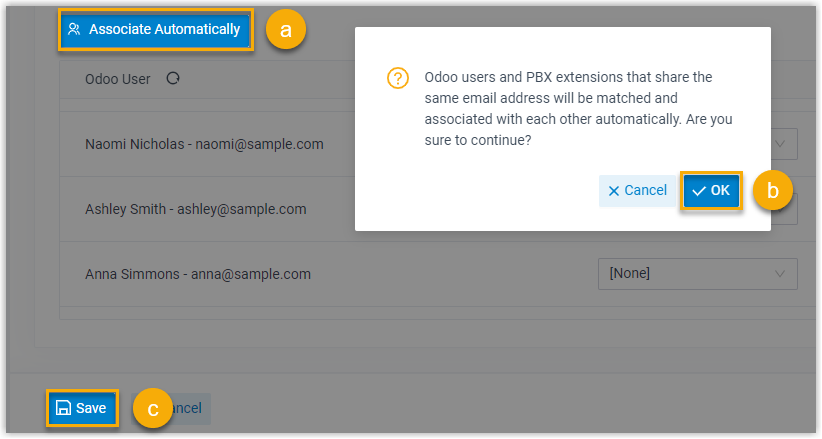
- Click the Associate Automatically button.
- In the pop-up window, click OK.
- Click Save.
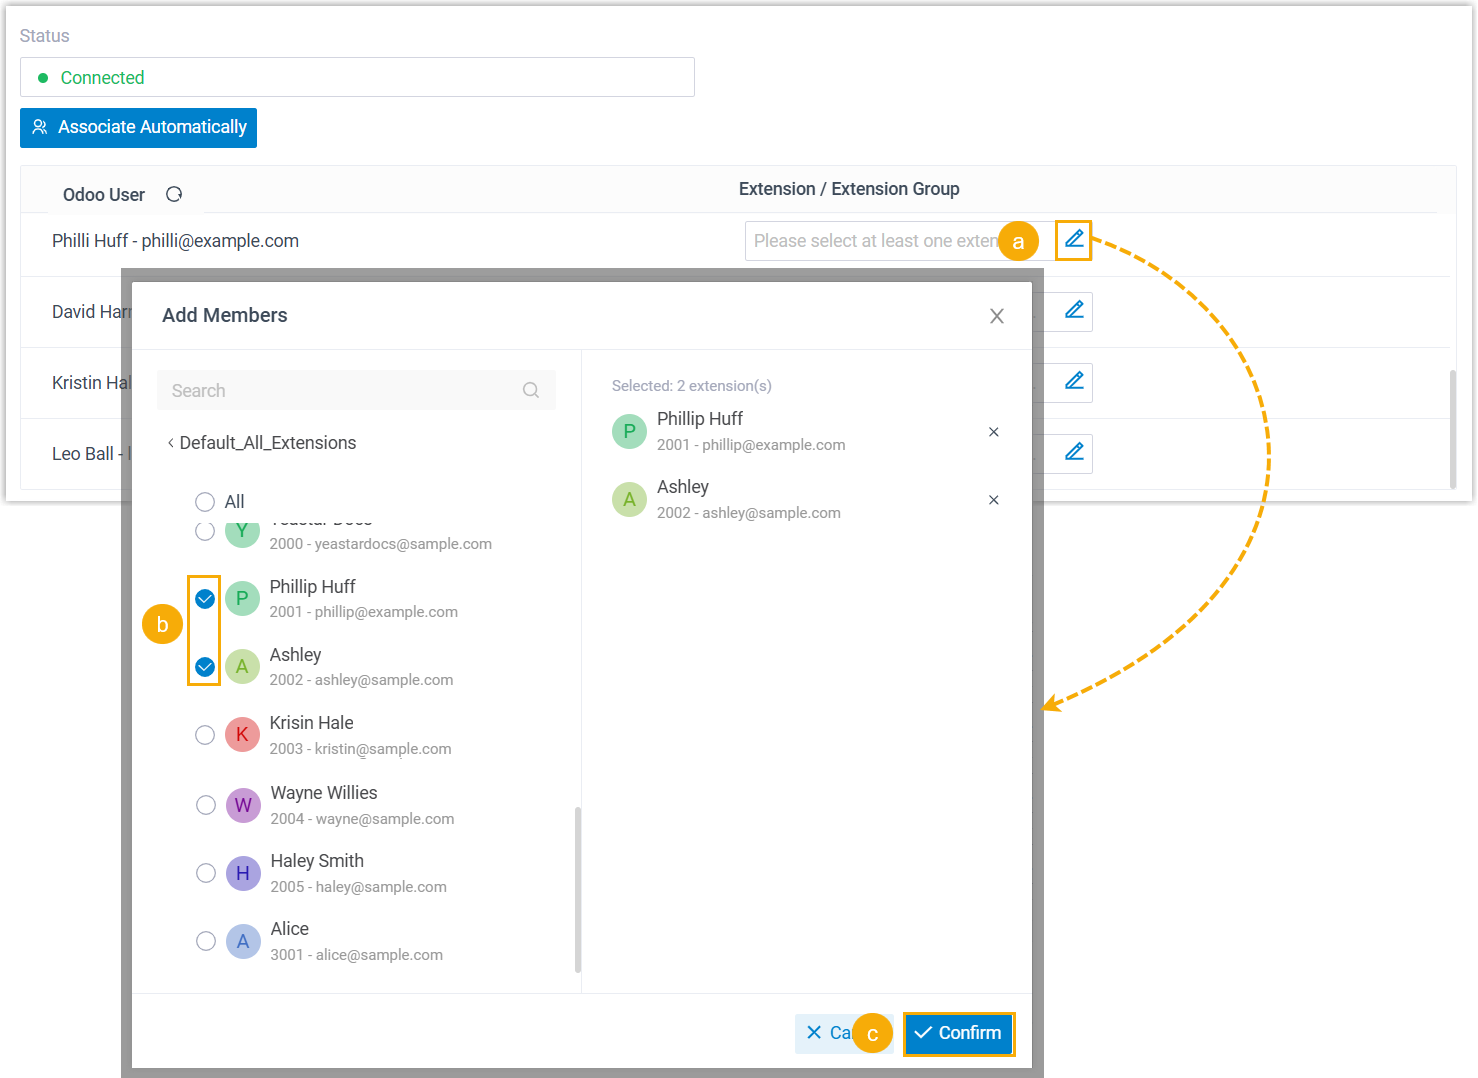
- Associate manually
- If users bind different email addresses to their Odoo accounts and
PBX extensions, you need to manually associate these users' Odoo
accounts and PBX extensions as follows.
-
- In the Extension / Extension Group
field beside the Oddo user, click
 .
. - In the pop-up window, select the desired user's extension(s).
- Click Confirm.
- Click Save.
- In the Extension / Extension Group
field beside the Oddo user, click
Result
- The integration of Yeastar P-Series PBX System and Odoo CRM is completed.
- Odoo users in the database can make or receive calls with their PBX extensions.