Enable Call Timeline for CDR
Timeline-based CDR displays call details in a structured and chronological order. All events from call start to call end are recorded, providing clear visibility into call activity and enabling faster troubleshooting. This topic describes how to enable call timeline for CDR.
Requirements
| Item | Requirement |
|---|---|
| Product Model | P560 or P570 |
| Firmware | Version 37.21.0.117 or later |
| Plan | Enterprise Plan or Ultimate Plan |
Procedure
- Log in to PBX web portal, go to .
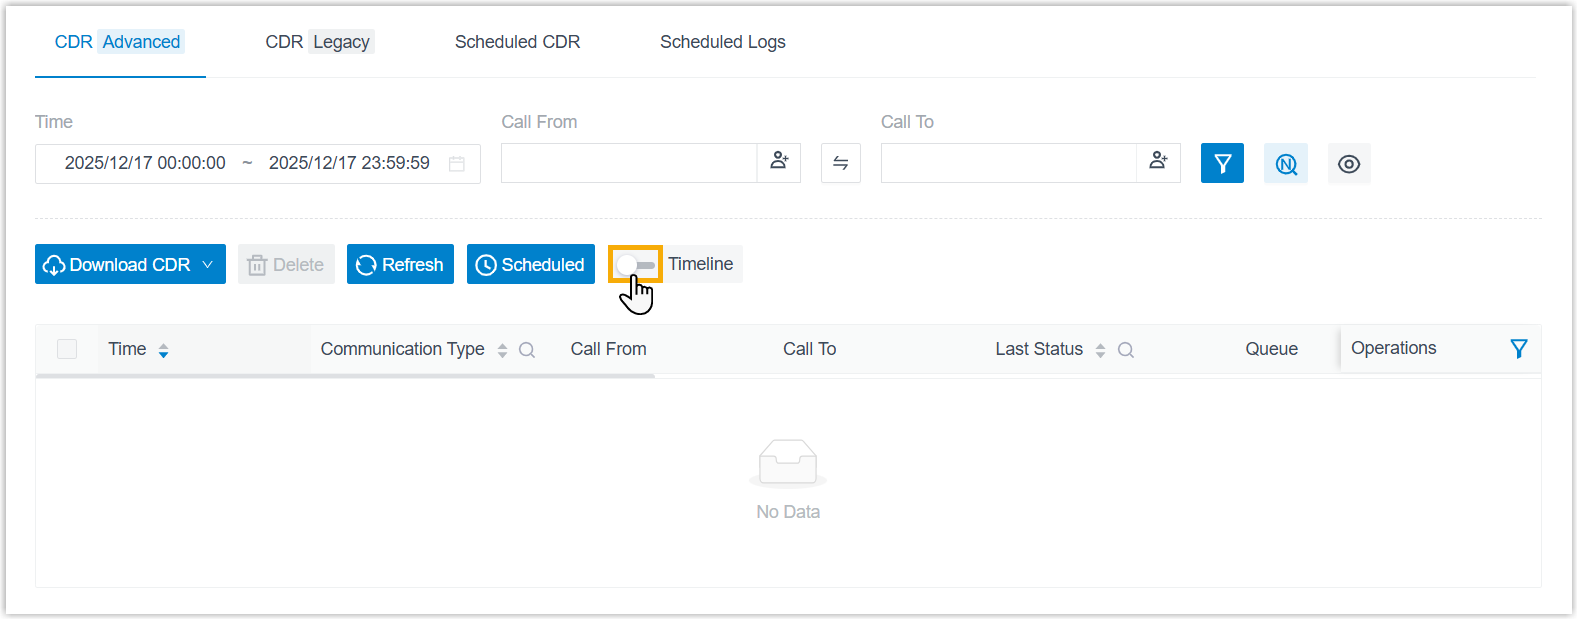
- In the CDR (Advanced) tab, turn on the switch of
Timeline.
- In the pop-up window, confirm the operation.
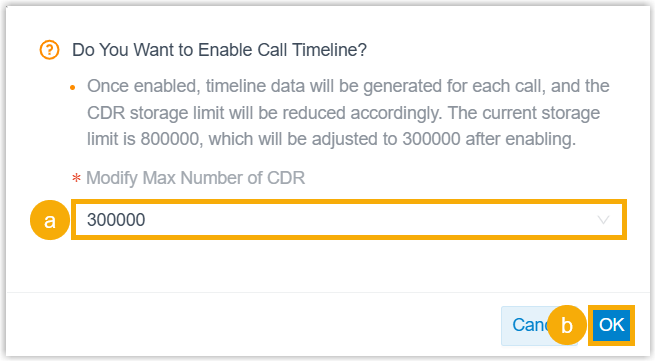
- If you are prompted to adjust the CDR storage limit, keep the recommended value or select a value from the drop-down list of Modify Max Number of CDR.
- Click OK.
Result
- Call timeline feature is enabled for CDR; New CDRs from new calls will
include timeline data.Note: Legacy CDRs do NOT include timeline data.
You can access new CDRs from PBX web portal and view the key metrics as needed.
- If you have adjusted the CDR storage limit, the setting will automatically
synchronize to the CDR auto cleanup rule (Path: ) and take effect after a system reboot or at 00:00.Note:
- If there are legacy CDRs, the system will take the following
actions:
- When the total number of CDRs reaches the limit, the system purges legacy CDRs at a 1:5 ratio (5 legacy CDRs purged for every 1 new CDR generated).
- After all legacy CDRs are cleared, the system sends a event notification Legacy CDRs Have Been Fully Cleaned Up to keep you posted.
- We recommend that you back up legacy CDR data in advance to prevent potential data loss during the cleanup process.
- If there are legacy CDRs, the system will take the following
actions: