Register MicroSIP Soft Phone with Yeastar Cloud PBX
This guide is based on the MicroSIP v3.17.3 and Yeastar Cloud PBX v81.8.0.7.
-
Launch MicroSIP, go to , configure the account settings.
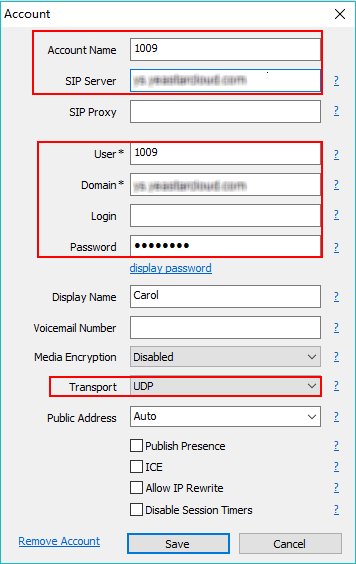
- Account Name: Set the name that you want to appear on the soft phone screen.
- SIP Server: Enter the domain of your PBX.
- User: Enter the extension number.
- Domain: Enter the domain of your PBX.
- Password: Enter the extension's Registration Password.
- Display Name: Set the name you want to appear on the other phone's screen when calling out.
- Transport: Choose the same protocol of the PBX. The default protocol on PBX is UDP.
-
Click Save.
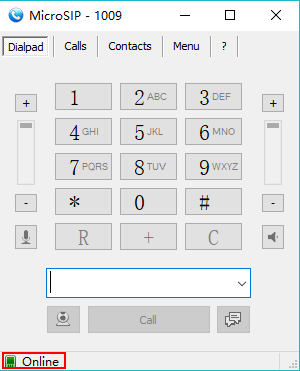
If the extension is registered, you can see the status shows as below.
-
Go to , enable G729 and iLBC codecs.
Note: G729 and iLBC are the default enabled codecs on the PBX. To ensure the call is normal, you need to enable the G729 or iLBC codec on the soft phone.

- Click Save.