Register Cisco Phone with Yeastar Cloud PBX
This article is based on Cisco SPA509G and Yeastar Cloud PBX v81.8.0.7.
This guide is applicable to the following phones:
- Cisco SPA series: 301, 303, 501G, 502G, 508G, 509G, 512G, 514G, 525G5
- Cisco CP7821
Note: For the IP phone with different firmware version, the web GUI may be
different.
- To check the IP address of the phone, press the menu key, go to Network, then press Select.
- Type the phone IP address in your browser, click Enter key to access the web page of the IP phone.
-
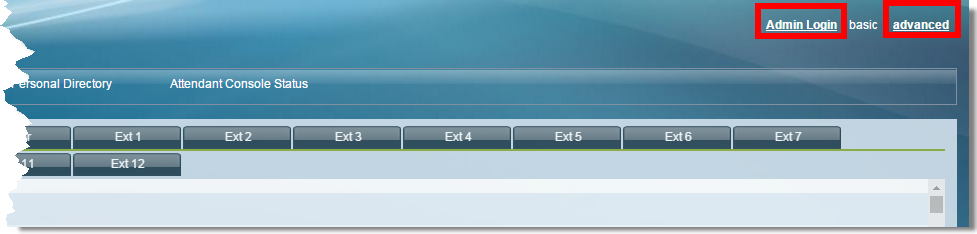
In the upper-right corner, click Admin Login, then click
Advanced to access the advanced administrator
page.
- Choose one account to configure. Here we click EXT1 to configure account 1. Configure the account as follows:
-
Choose one account to configure. Here we choose
EXT1.
-
Set the Line Enable to
Yes.

-
In the Proxy and Registration section, set the
Proxy to the domain of your PBX.

-
In the Subscriber Information section, fill in
the extension information.

- Display Name: Set the name you want to appear on other phone’s display when calling other phones.
- User ID: Fill in the extension number.
- Password: Fill in the extension's Registration Password.
- Use Auth ID: Set to Yes.
- Auth ID: Fill in the extension's Registration Name.
-
In the Dial Plan section, set the
Dial Plan to
[x*]..
-
Set the Line Enable to
Yes.
-
Click Phone tab, adjust the audio parameters according
to the RTP settings on your PBX, and set RTP Packet Size
to 0.020.

-
In the bottom of the page, click Submit All Changes.
The phone will restart. After the phone restarts, check if the extension is registered.