Provision P-Series Cloud Edition via Template
This topic describes how to provision one or more P-Series Cloud Editions using a template.
Important: This feature is mainly used for PBX initial
setup. If the PBX is already in use, we recommend that you back up the PBX first, as the
PBX's existing settings will be overridden after the provisioning.
Requirements
| Item | Requirement |
|---|---|
| Firmware |
The firmware version of P-Series Cloud Edition is 84.19.0.110 or later. |
| User Permission | You have the following user permissions:
|
Prerequisites
- You have created at least one template for P-Series Cloud Edition.
For more information, see Create a Provisioning Template.
- You have enabled the Allow Provisioning via Template
option for the desired P-Series PBXs (Path: Cloud PBX > PBX >
 > System).
Procedure
- Log in to Yeastar Central Management, go to .
- Click Add to create a provisioning task.
- Set up the provisioning task.
Setting Description Name Enter a name to help you identify the task. Object Type Select P-Series Cloud Edition.
Task Select Provision. Template Select the template for P-Series Cloud Edition. Note: If the Trunk Configuration Access option is disabled for the PBX, the trunk configuration in the template will not be applied.Repeat Select One-time. Execution Time Set when to provision the PBX. - To provision at a scheduled time, choose a time.
- To provision as soon as you save the task, select the checkbox of Immediately.
Timezone Select a time zone of the task execution time. Tip: You can enable or disable Daylight Saving Time (DST) as needed.Creator Your name is automatically filled in, and the field can not be edited. Remark Optional. Add a note to the task. Object Select one or more P-Series Cloud PBXs that you want to provision. Important: The PBX(s) must be running ( ) upon the execution time,
or the provision would FAIL.
) upon the execution time,
or the provision would FAIL. - Click Save.
- In the pop-up window, click Confirm.
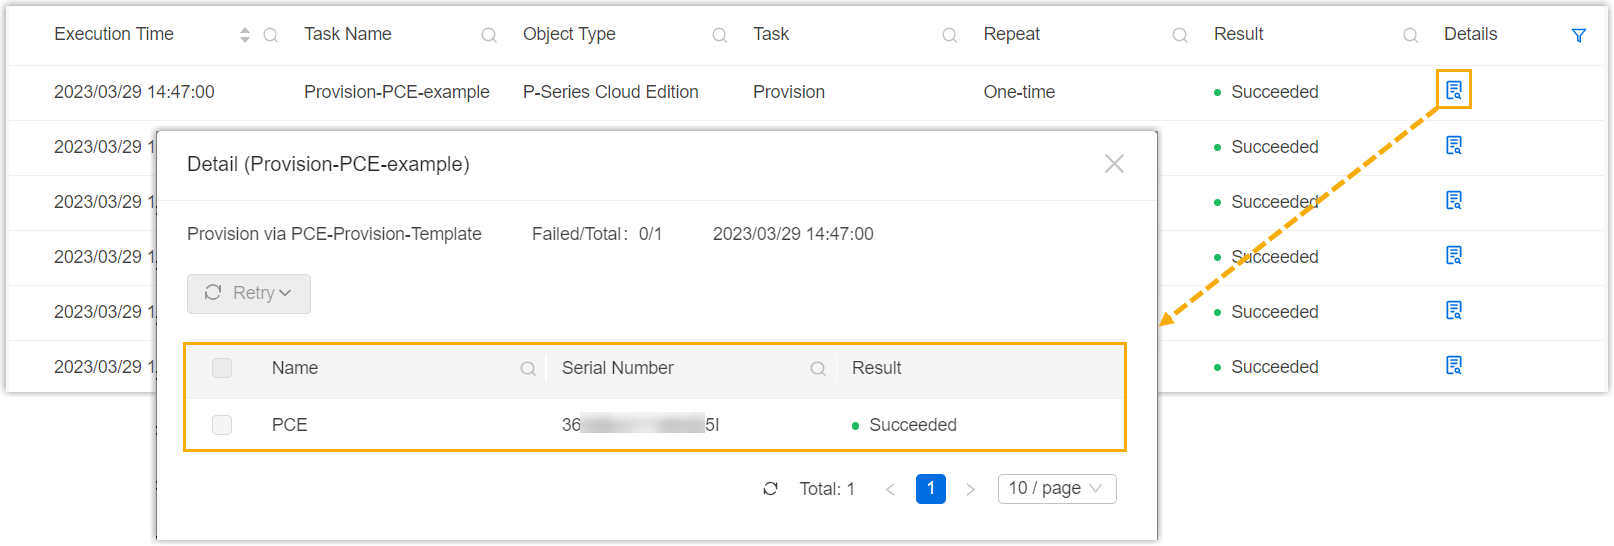
Result
- During the provisioning, the Cloud PBX status displays
 (Provisioning).
- You can check the execution result on .