Manage Dashboard Widgets
Widgets displayed on Dashboard are customizable. This topic describes how to add, resize, lock, delete, and reset a widget.
Add a widget
- Log in to Yeastar Central Management, go to Dashboard.
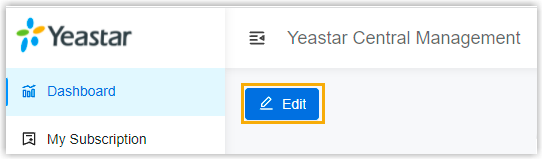
- Under the desired dashboard, click
Edit.
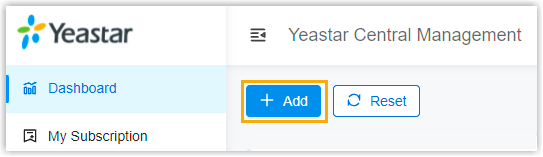
- Click Add to add a desired widget.
- In the pop-up window, do as follows:
- In the Type drop-down list, select one or
more types.
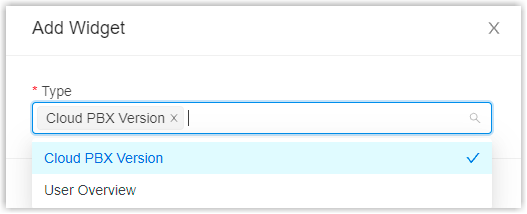
- Click on any blank space to confirm.
- Click Confirm.
- In the Type drop-down list, select one or
more types.
- Click Save.
Resize a widget
- Log in to Yeastar Central Management, go to Dashboard.
- Under the desired dashboard, click
Edit.
- Hover your mouse over the bottom-right corner of a desired widget.
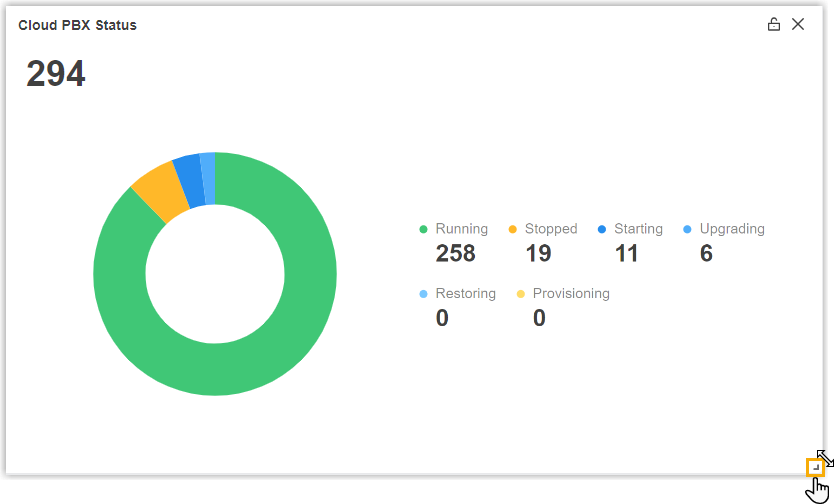
- Hold the widget and then drag the border to resize it.
- Click Save.
Move and lock a widget on a fixed position
- Log in to Yeastar Central Management, go to Dashboard.
- Under the desired dashboard, click
Edit.
- Hold and drag a desired widget to a desired position.
- Click
 on the widget.
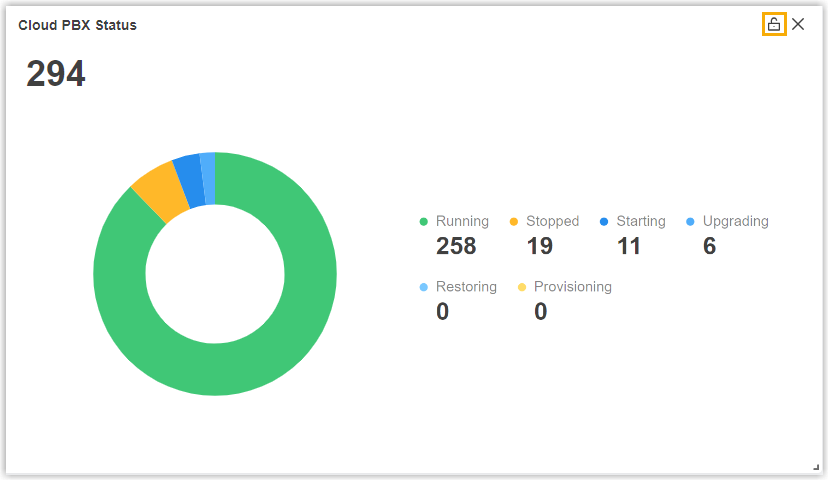
- Click Save.
Delete a widget
- Log in to Yeastar Central Management, go to Dashboard.
- Under the desired dashboard, click
Edit.
- Click
 on a desired widget.
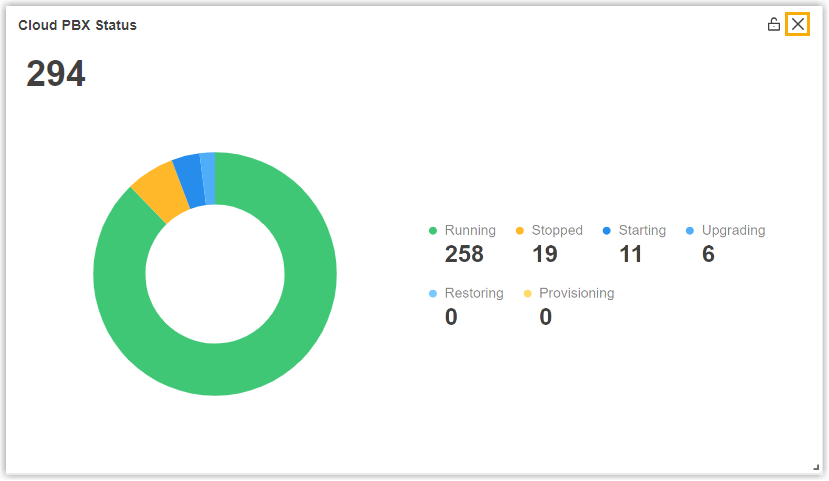
- Click Save.
Reset widgets
Reset widgets to default settings and discard changes you have made.
- Log in to Yeastar Central Management, go to Dashboard.
- Under the desired dashboard, click
Edit.
- Click Reset and Save.
