Transfer
This topic provides an overview of the Transfer component, and describes its configuration as well as supported connections.
Component introduction
Transfer component is one of the end components to terminate caller's connection to the current call flow. It allows you to blind transfer callers to a designated destination, and optionally configure prompts to inform them of the transfer.
![]()
- Supported transfer destinations
-
- Extension
- Extension Voicemail
- Ring Group
- Queue
- Group Voicemail
- Conference
- External Number
- Call Flow
- Custom
- Supported prompt types
-
Prompt Type Description Custom Prompt Choose from existing custom prompts, or create a new one by recording with an extension or uploading an audio file. Music on Hold (MoH) Choose from existing MoH. Note: Before you begin, make sure the desired MoH is configured in .
Text to Speech (TTS) Enter the desired text, which will be converted to speech in the selected language and voice style.
Note: Before you begin, make sure the Text-to-Speech feature is enabled in .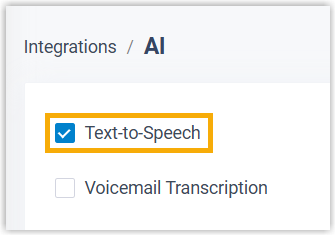
Component configuration
-
After adding Transfer component to a call flow, click Transfer component to proceed with the configuration.
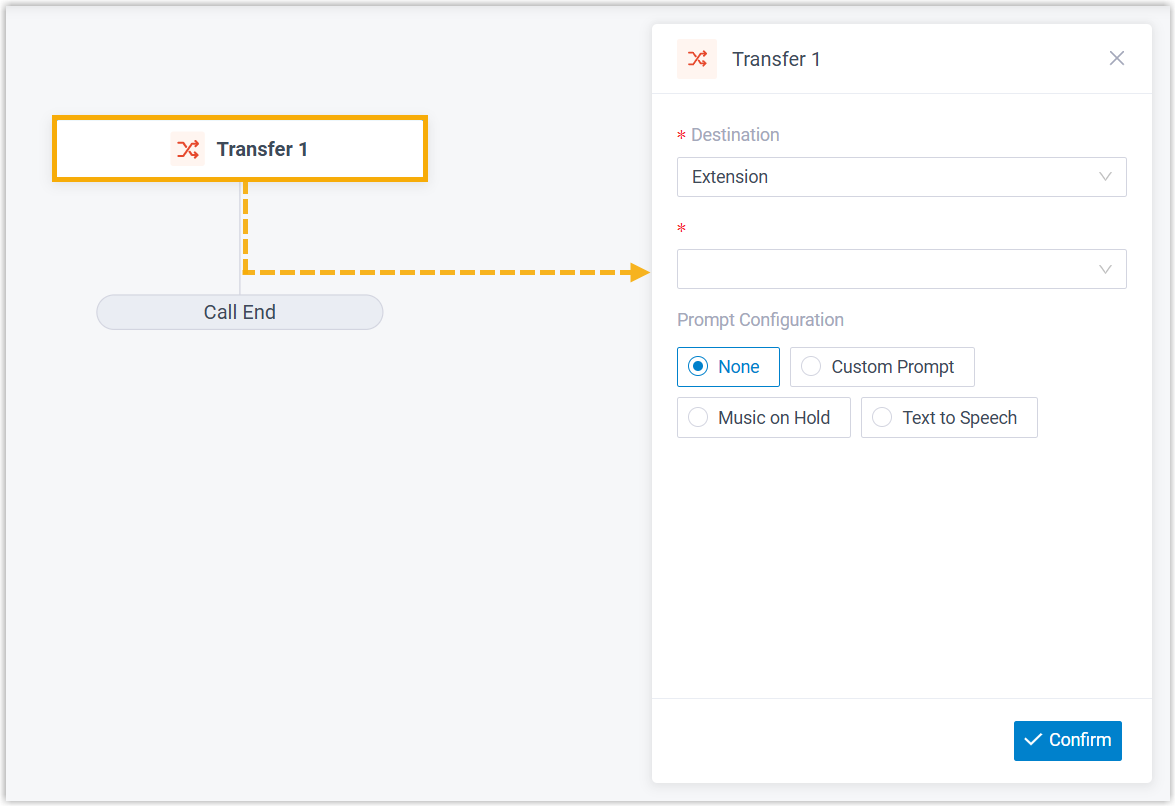
- In the Destination drop-down lists, specify the
destination where callers will be transferred.
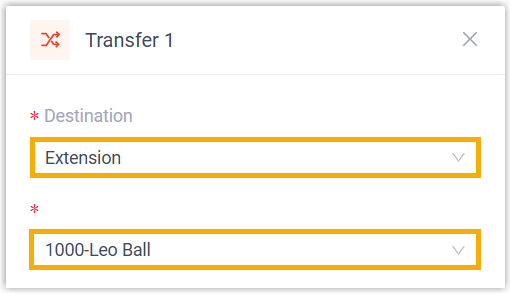
Option Description Extension Transfer incoming calls to a specific extension. Extension Voicemail Transfer incoming calls to a specific extension's voicemail. Ring Group Transfer incoming calls to a specific ring group. Queue Transfer incoming calls to a specific queue. Group Voicemail Transfer incoming calls to a specific group voicemail. Conference Transfer incoming calls to a specific conference. External Number Transfer incoming calls to a specific external number. Call Flow Transfer incoming calls to a specific call flow. IVR Transfer incoming calls to a specific IVR. Custom Transfer incoming calls to a custom destination. You can specify the destination in one of the following ways:- Specify a number directly
- In the Destination
Number field, enter a specific number.
The number can be either a regular phone number or
a feature code.
- Example (regular phone number):
1000In this example, the system transfers incoming calls to internal extension 1000.
-
Example (feature code):
*781801In this example, the system dials the feature code
*781801and logs the caller into queue 81801.Note:- To transfer calls to a feature code, you must enable the option Dial Feature Code.
- Feature codes for in-call operations are NOT supported, such as Record (*1), Park (*5, *05), Transfer (*3, *03), and Flip (*01).
- Example (regular phone number):
- Dynamically specify a number
- Click
 to configure an
expression.
to configure an
expression.Example:
$HttpRequest1.responseContentIn this example, the system retrieves the on-duty phone number from a web-based calendar via the upstream HTTP Request 1 component, and routes incoming calls to that number.
Note: For more information about the expression, see Variables and Functions in Yeastar Expression.
If the custom destination has a voicemail box (e.g. extension voicemail or group voicemail), you can additionally enable Transfer to Voicemail to allow callers to reach the mailbox directly.
Note: For External Number: If Filter Number is enabled (Path: ), the system will automatically remove all special characters (except digits,+,*, and#) from the custom number before sending to the trunk. - Optional: Configure audio prompt(s) or a text-to-speech message to
inform callers of the call transfer.
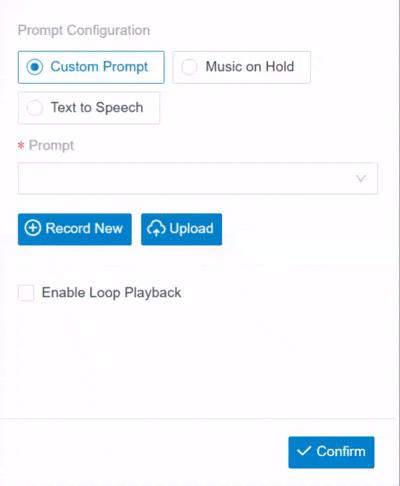
Item Description Custom Prompt 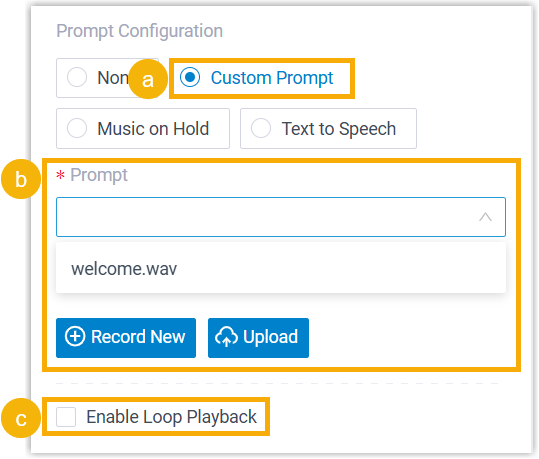
- Click Custom Prompt.
- Specify custom prompt(s).Note: Up to 5 custom prompts are supported.
- To choose from an existing prompt, select it from the drop-down list of Prompt.
- To use a new prompt, click Record
New to record prompt with an
extension, or click Upload
to upload an audio file.Note: The new prompt will be saved in .
- Optional: To play
the custom prompt(s) in a loop, select the
checkbox of Enable Loop
Playback.Note: The looped prompt will be overridden if the next connected component is configured with a prompt.
Music on Hold 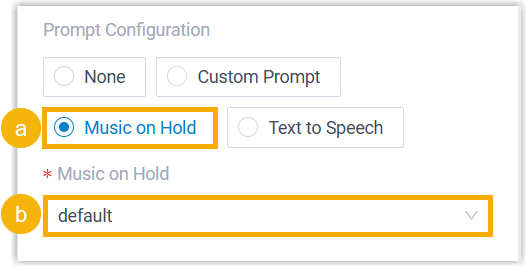
- Select Music on Hold.
- Select an existing MoH from the drop-down list of Music on Hold.
Text to Speech (TTS) 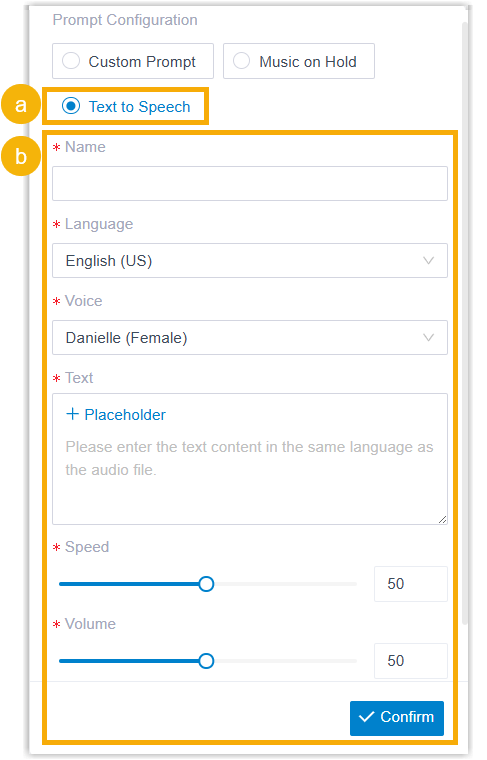
- Select Text to Speech.
- Complete the rest of the
configurations to convert text into speech.Note: Both static text and dynamic text are supported to convert into speech.
- Static text: Enter text directly in the Text field.
- Dynamic text: Enter text and configure
placeholders with corresponding variables to dynamically compose the text.
Optionally, you can configure prompt generation
timeout. If speech is not generated within the
timeout period, caller will be routed to the next
component without hearing a
prompt.
Example:
The new speech will be saved to the system and synchronized to .
- At the bottom-right corner, click Confirm.
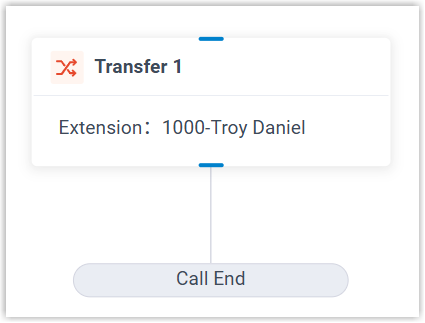
The selected destination will appear on the component.
Component variable
When a Transfer component with TTS configured is added to a call flow, the system stores TTS result in variable. The variable can be referenced in expression-supported components (such as Condition) to retrieve the output value and flexibly route the call.
| Variable | Type | Description | Example Value |
|---|---|---|---|
| $Transfer{index}.ttsResult | String | The Text-to-Speech (TTS) result of the
Transfer component.
|
$Transfer1.ttsResult(STRING)=TransferTTSResult.Success |
Component connections
Transfer component comes with a built-in Call End branch. This branch can be connected on one component, which can be any of the components listed below.
| Component | Description |
|---|---|
| Internal Data Ops | Internal Data Ops component allows you
to query and update data from PBX-native database. For more
information, see the following topics: |
| Email Sender | Email Sender component allows you to
send emails, enabling real-time notifications, alerts, or
delivery of user-specific information. For more information, see Email Sender. |
| Database Access | Database Access component allows you
to interact with database during a call flow. You can execute
SQL operations to retrieve or update data as needed. For more information, see Database Access. |
| HTTP Request | HTTP Request component allows you to
send HTTP requests to external web servers, enabling data
exchange with third-party services. For more information, see HTTP Request. |