Manually Switch Presence Status
This topic describes how to manually change the current presence status to a different one, including fixed and temporary statuses.
Switch presence status to a fixed status
- Log in to NovoOne Web Client.
- At the top-right corner, click the current presence,
then select a desired presence status from the list.
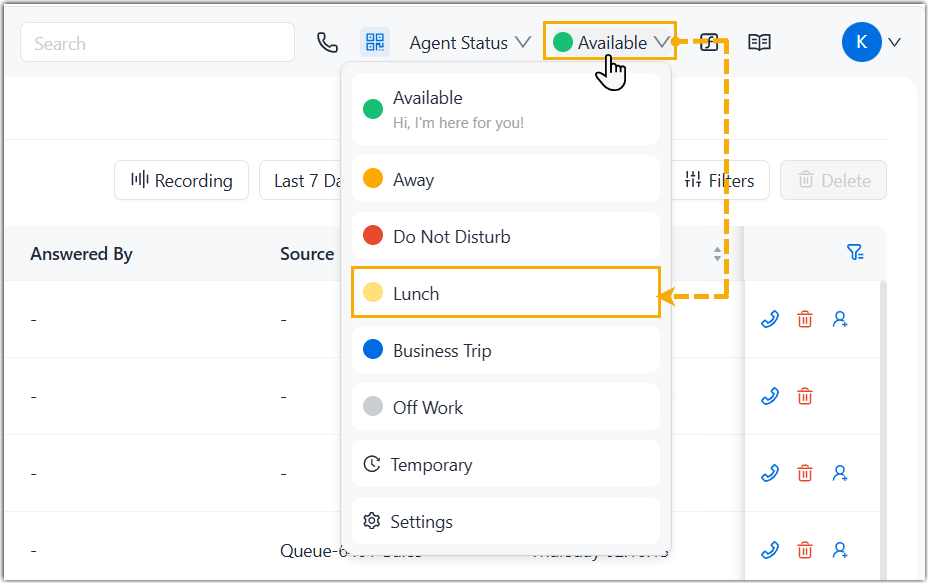
The presence status and the relevant presence settings take effect.
Switch presence status to a temporary status
Assume that you would be away for a scheduled meeting during which you are unavailable to answer calls, but you want calls to be forwarded to the previous destination when you are available. In case you forget to change presence status, you can switch presence to a temporary status, and set how long the status will last.
- Log in to NovoOne Web Client.
- At the top-right corner, click the current presence, then click
Temporary.
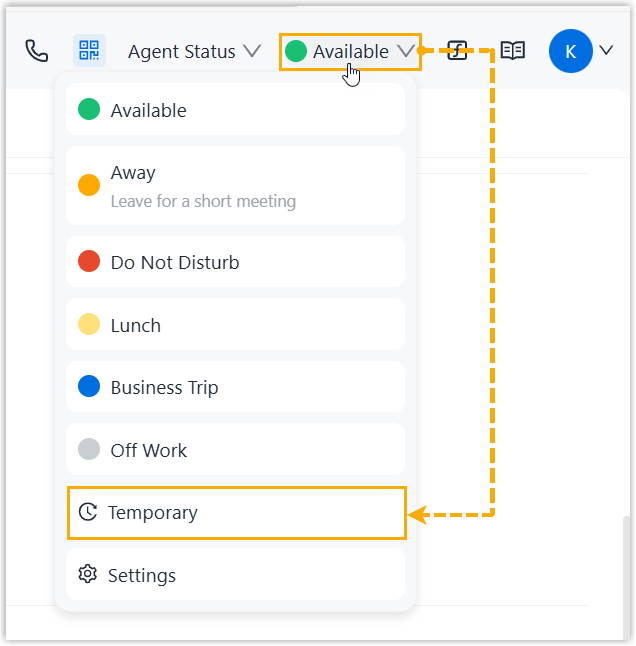
- In the Set Temporary Status page, complete the
following settings.
- In the Temporary Status drop-down list, select a desired presence status.
- In the Time drop-down list, select a time
option and configure the duration of the temporary status.
Option Description Duration The temporary status will last for a specified time period. If you choose this option, you need to set a time duration in the Duration field.
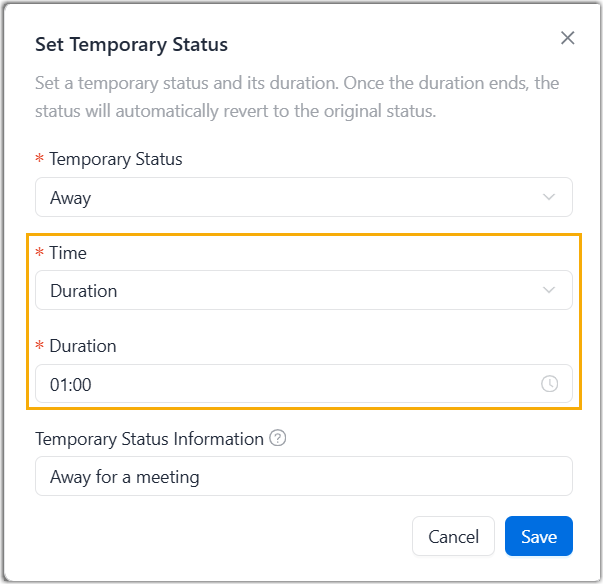
Specified Date The temporary status will last until the specified date and time. If you choose this option, you need to set date and time in the Expires At field.
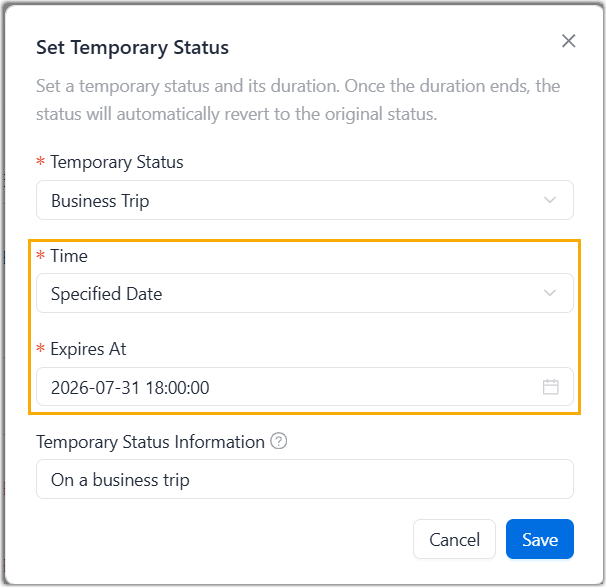
- Optional: In the Temporary Status
Information field, add a note to the temporary
status. Note: The note will be displayed along with your presence status to other users.
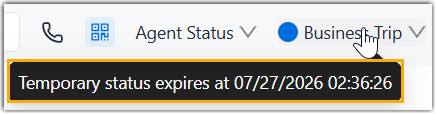
- Click Save.The presence status is switched immediately; When the time is up, presence status and relevant presence settings would be switched back to the previous one.Tip: You can hover over the presence status to see when will the temporary status ends.