Customize Your Own Brand of NovoOne Portal
After subscribing to the White Label service, you can set up your own branding on NovoOne Platform portal.
Requirements
You have subscribed to the White Label service. Each white label template includes one branding quota by default.Panels
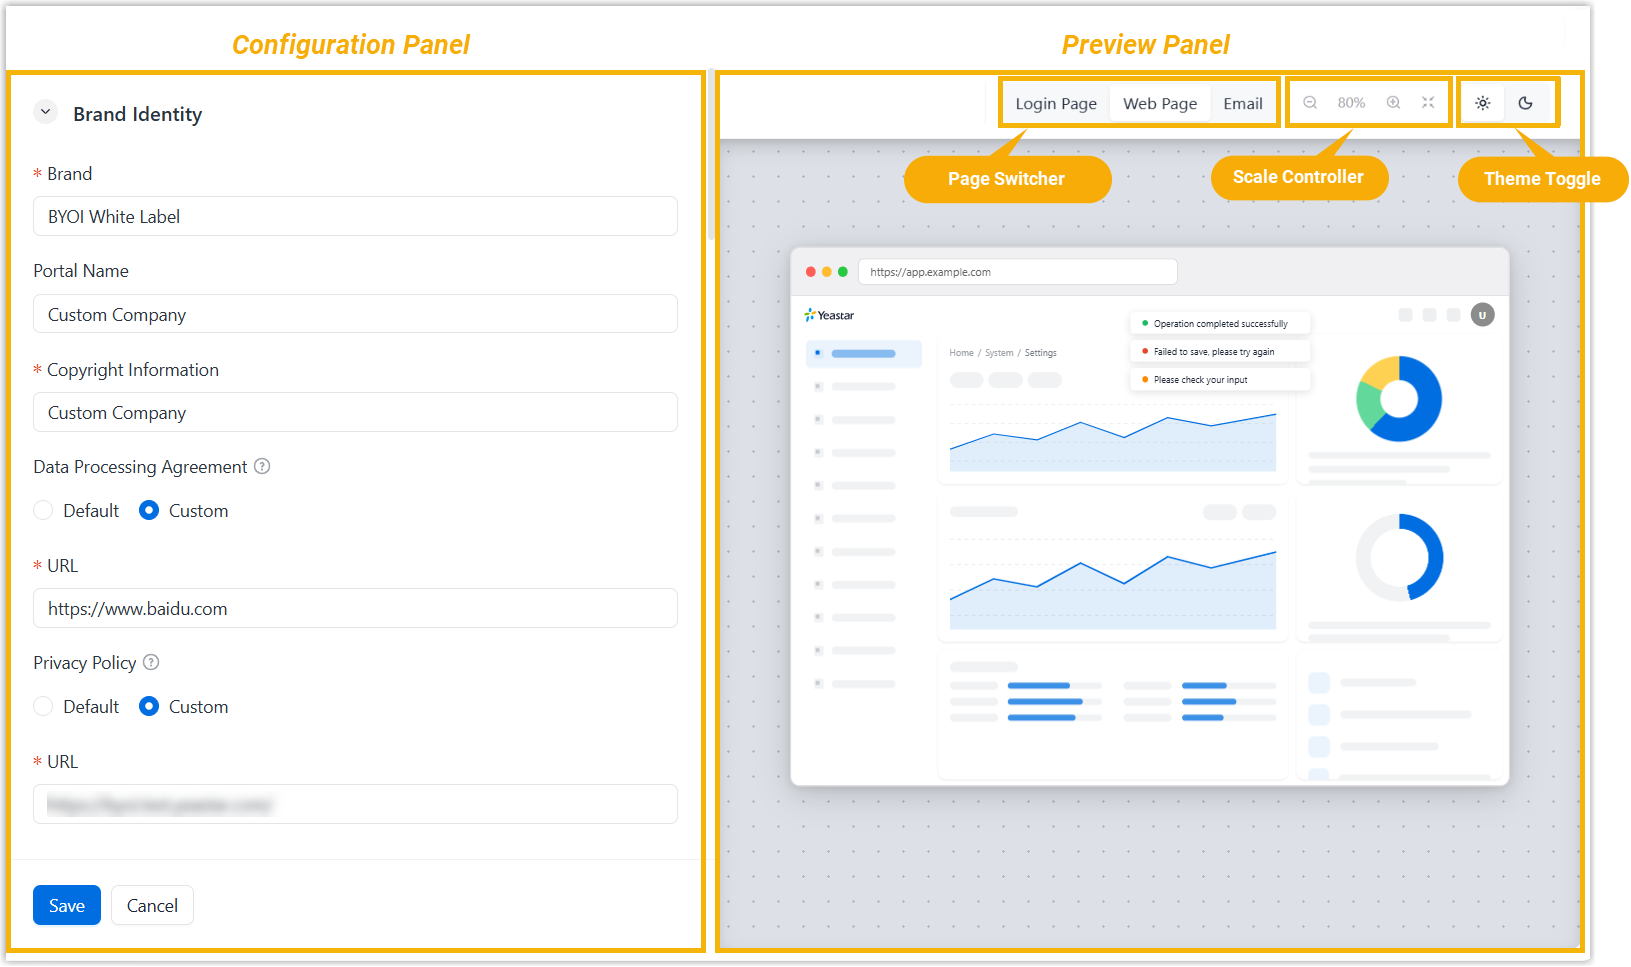
NovoOne Platform provides configuration panel used to customize tailor-fit branding options and the preview panel used to display the interface matching the configurations in real-time.
Procedure
- Log in to NovoOne Platform portal, go to .
- In the Brand Identity section, fill in the basic
information.Note: The configurations in this section will be applied to the components of Login Page and Web Page page. You can switch the page via Page Switcher on the preview panel to check.
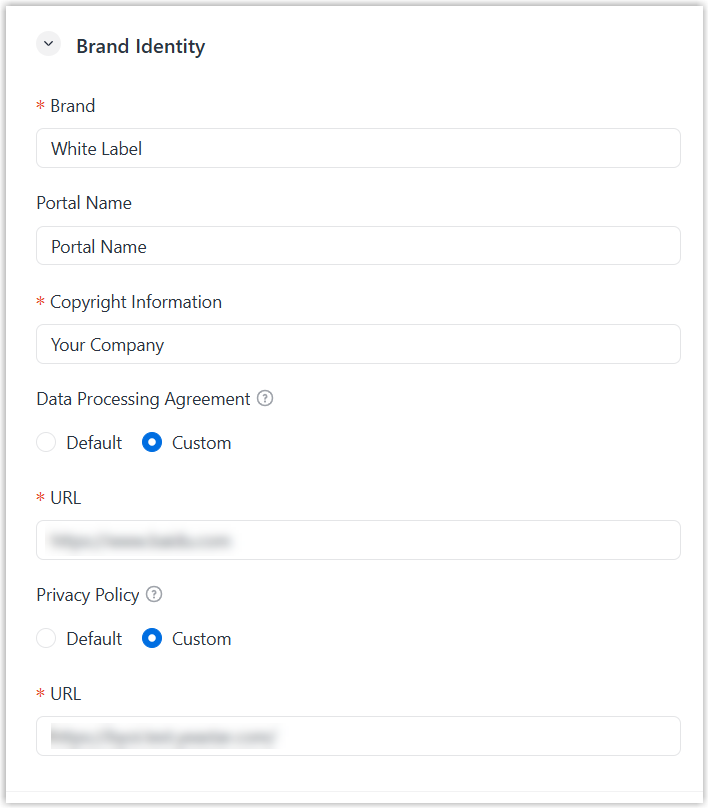
Item Description Brand Enter your brand name. Portal Name Enter the portal name. Note:-
Up to 127 characters are allowed.
- HTML tags are supported.
Copyright Information Enter the copyright information. Note:-
Up to 255 characters are allowed.
- HTML tags are supported.
Data Processing Agreement Set a URL used to assess data processing agreement (DPA). - Default: After selected, the default
URL appears in the URL
field and can not be edit. You can click
 beside the URL to check
in a new browser tab.
beside the URL to check
in a new browser tab. - Custom: After selected, enter a custom
URL in the URL field.Note: The URL must start with
http://orhttps://.
Privacy Policy Set a URL used to access privacy policy. - Default: After selected, the default
URL appears in the URL
field and can not be edit. You can click beside the URL to check
in a new browser tab.
- Custom: After selected, enter a custom
URL in the URL field.Note: The URL must start with
http://orhttps://.
-
- In the Theme section, select the
theme mode.Note: The configurations in this section will be applied to all portal page. You can switch the page via Page Switcher on the preview panel to check.
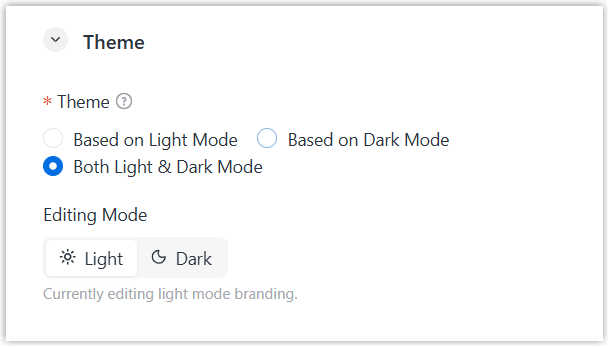
- Based on Light Mode: The system will only
support light mode.
After selected, the preview panel only shows the interfaces of the light mode.
- Based on Dark Mode: The system will only
support dark mode.
After selected, the preview panel only shows the interfaces of the dark mode.
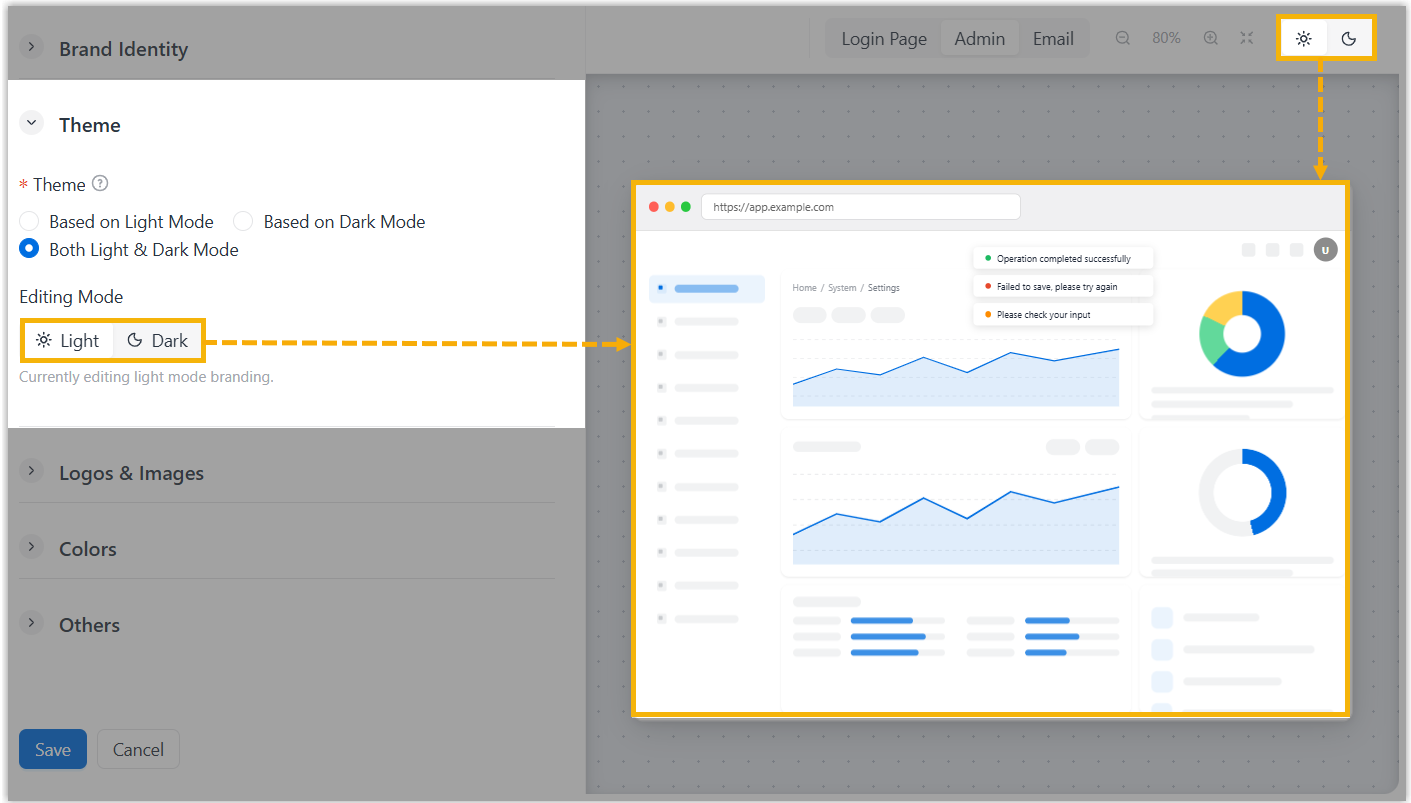
- Both Light & Dark Mode:
The system will support both light mode and dark mode, and allow
switching between them.
After selected, the Editing Mode toggle appears below the Theme on the configuration panel, and the Theme Toggle appears at the top-right corner of the preview panel. You can use either of the toggles to switch the theme of the previewed page.
- Based on Light Mode: The system will only
support light mode.
- In the Logos & Images section, customize the
appearance based on the selected theme mode.Note:
- The configurations in this section will be applied to all portal page. You can switch the page via Page Switcher on the preview panel to check.
- If both light mode and dark mode are selected, you need to configure appearances for each theme separately.
Item Description Rectangle Logo Upload a rectangle logo, which will be displayed in portal login page, notification emails, and wherever the logo is required. Note: The logo file should meet the following requirements:- File format: PNG, JPG, or JPEG
- File name: Less than 127 characters (including file extension)
- File size: Less than 1MB
- Suggested resolution: 300×120
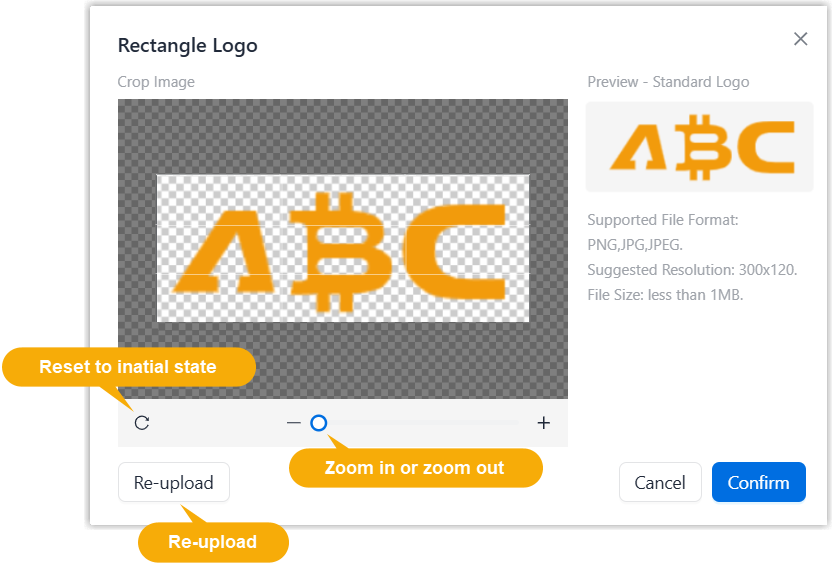
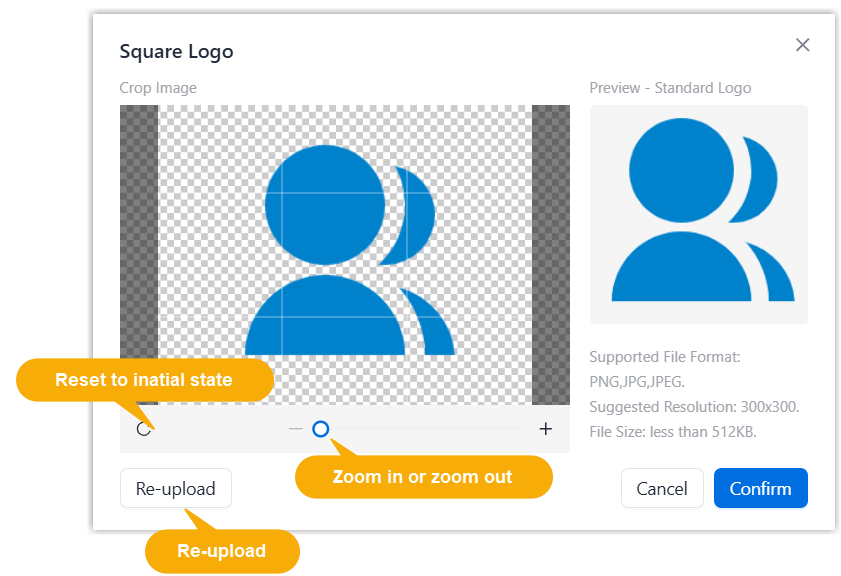
Square Logo Upload a square logo, which will be used as the favicon displayed in the browser tab. Note: The logo file should meet the following requirements:- File format: PNG, JPG, or JPEG
- File name: Less than 127 characters (including file extension)
- File size: Less than 500KB
- Suggested resolution: 150×150
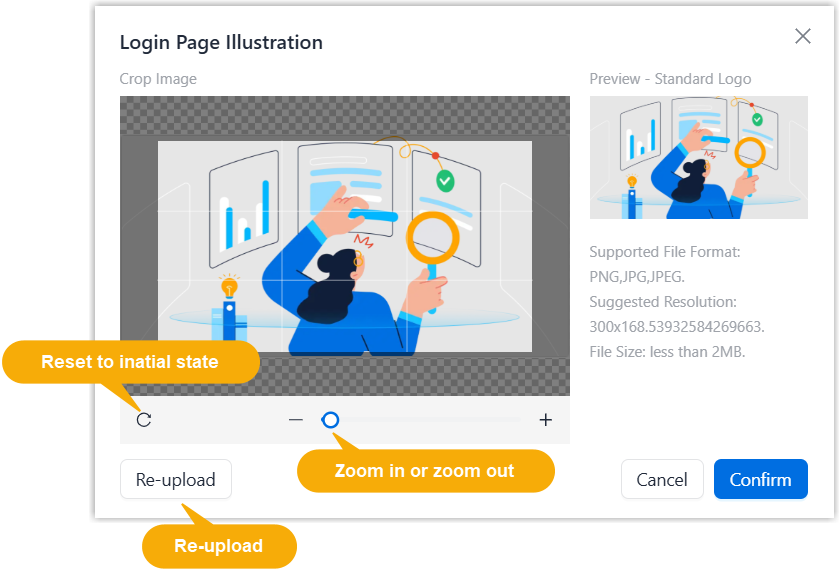
Login Page Illustration Upload an image, which will be displayed on the right of portal login page. Note: The image file should meet the following requirements:- File format: PNG, JPG, or JPEG
- File name: Less than 127 characters (including file extension)
- File size: Less than 2MB
- Suggested resolution: 1600×900
- In the Colors section, set your preferred colors for
branding, various statuses, backgrounds and
text.Note: The colors configured in this section are only for the currently previewed theme. If both light mode and dark mode are selected, to adjust the background and text colors for the other theme, click the Theme Toggle on the preview panel to switch to the other theme, then update the relevant colors.
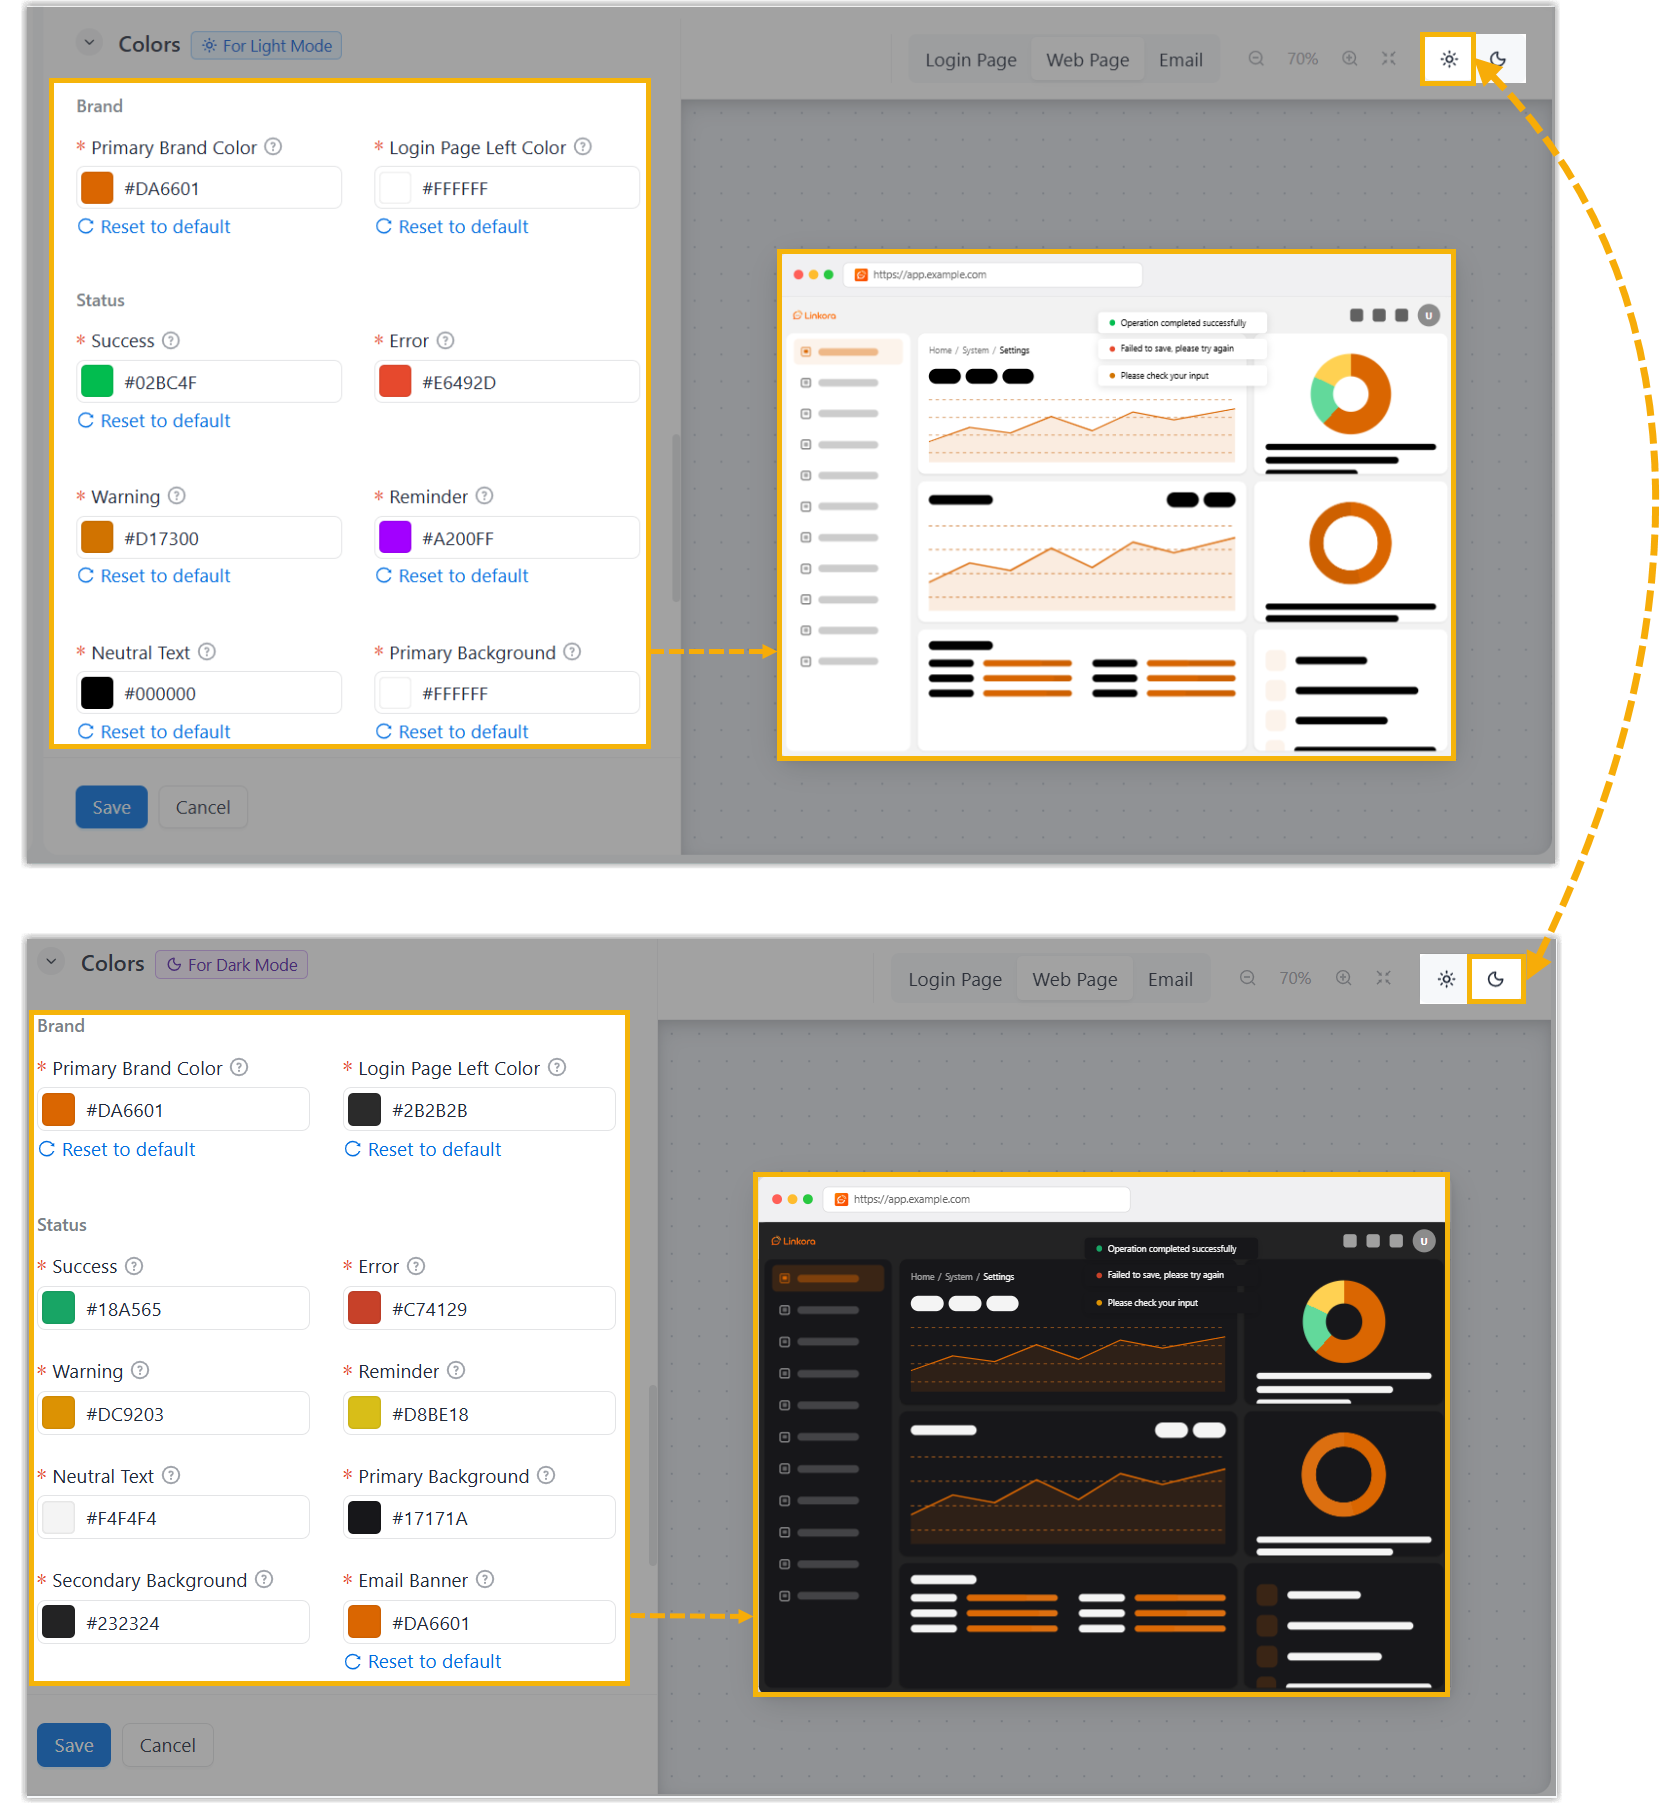
- In the Others section,
Item Description User Manual Set a URL used to access user manual. - Custom URL: After selected, enter a
custom URL in the URL
field.Note: The URL must start with
http://orhttps://. - Hide: After selected, the portal will not display any buttons or entry points related to the user manual.
Email Signature Enter email signature, which will be displayed on the bottom of emails sent from the portal. Note:-
Up to 1023 characters are allowed.
- HTML tags are supported.
- Custom URL: After selected, enter a
custom URL in the URL
field.
- Click Save.
Result
The webpage automatically refreshes to apply the latest brand configuration to your portal.
 > Basic > Brand.