Create a PSTN Trunk
To create a PSTN trunk in the PBX, you need to install the O2 module or SO module.
- Install O2 module or SO module.
- Power off the PBX.
- Open the upper case of the PBX.
- Place the O2 module or SO module above the main board, slowly insert each pin into right slot.
- Use a RJ11 phone line to connect the FXO port of PBX and the PSTN provider's FXS port.
- Log in the PBX web interface, go to to check the trunk status.
If the trunk status shows
 , the
trunk is ready for use. For more information on trunk status, see PSTN/FXO Trunk
Status.
, the
trunk is ready for use. For more information on trunk status, see PSTN/FXO Trunk
Status. - Go to , configure the basic settings of the PSTN trunk.
- Name: Give this trunk a name to help you identify it.
- RX Volume: Set the receiving volume of the FXO port.
- TX Volume: Set the transmitting volume of the FXO port.
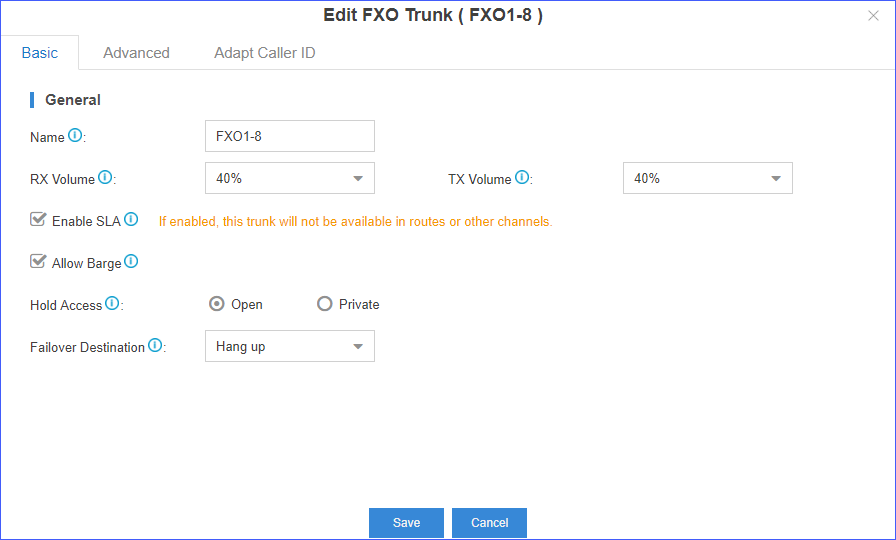
- Configure other PSTN trunk settings as your need.
- Click Save and Apply.