Plan and Assign Extensions
Before you connect the Yeastar S-Series VoIP PBX, you need to plan and assign extensions for the headquarter and the branch offices.
Procedure
- Log in to PBX web interface, go to .
- In the Extension Preferences section, change the
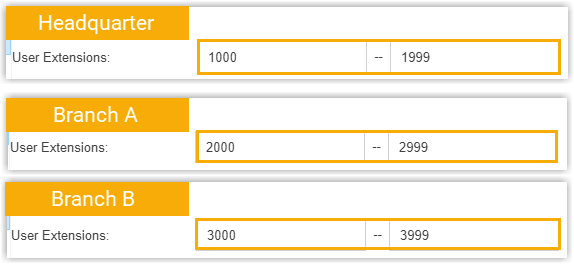
User Extensions to the desired range.

- Headquarter PBX: 1XXX (4-digit extension number starts with 1)
- BranchA PBX: 2XXX (4-digit extension number starts with 2)
- BranchB PBX: 3XXX (4-digit extension number starts with 3)
- Click Save.
What to do next
Create and register extensions on headquarter PBX and branch office PBXs.