Associate a Custom Route Table with Private Subnet
After you create a NAT gateway, you need to create a custom route table for the NAT gateway and associate the NAT gateway with the private subnet.
Background information
To implement that servers reside in private subnet can send outbound traffic to the Internet, you need to complete the related settings:
- Create a custom route table and add a route rule to direct the outbound traffic to the NAT gateway.
- Associate the custom route table with private subnet.
In this way, servers in the private subnet can initiate one-way communication to the Internet through the NAT gateway, but not receive inbound traffic sent from the Internet, thus improving the communication security of servers in the private subnet.
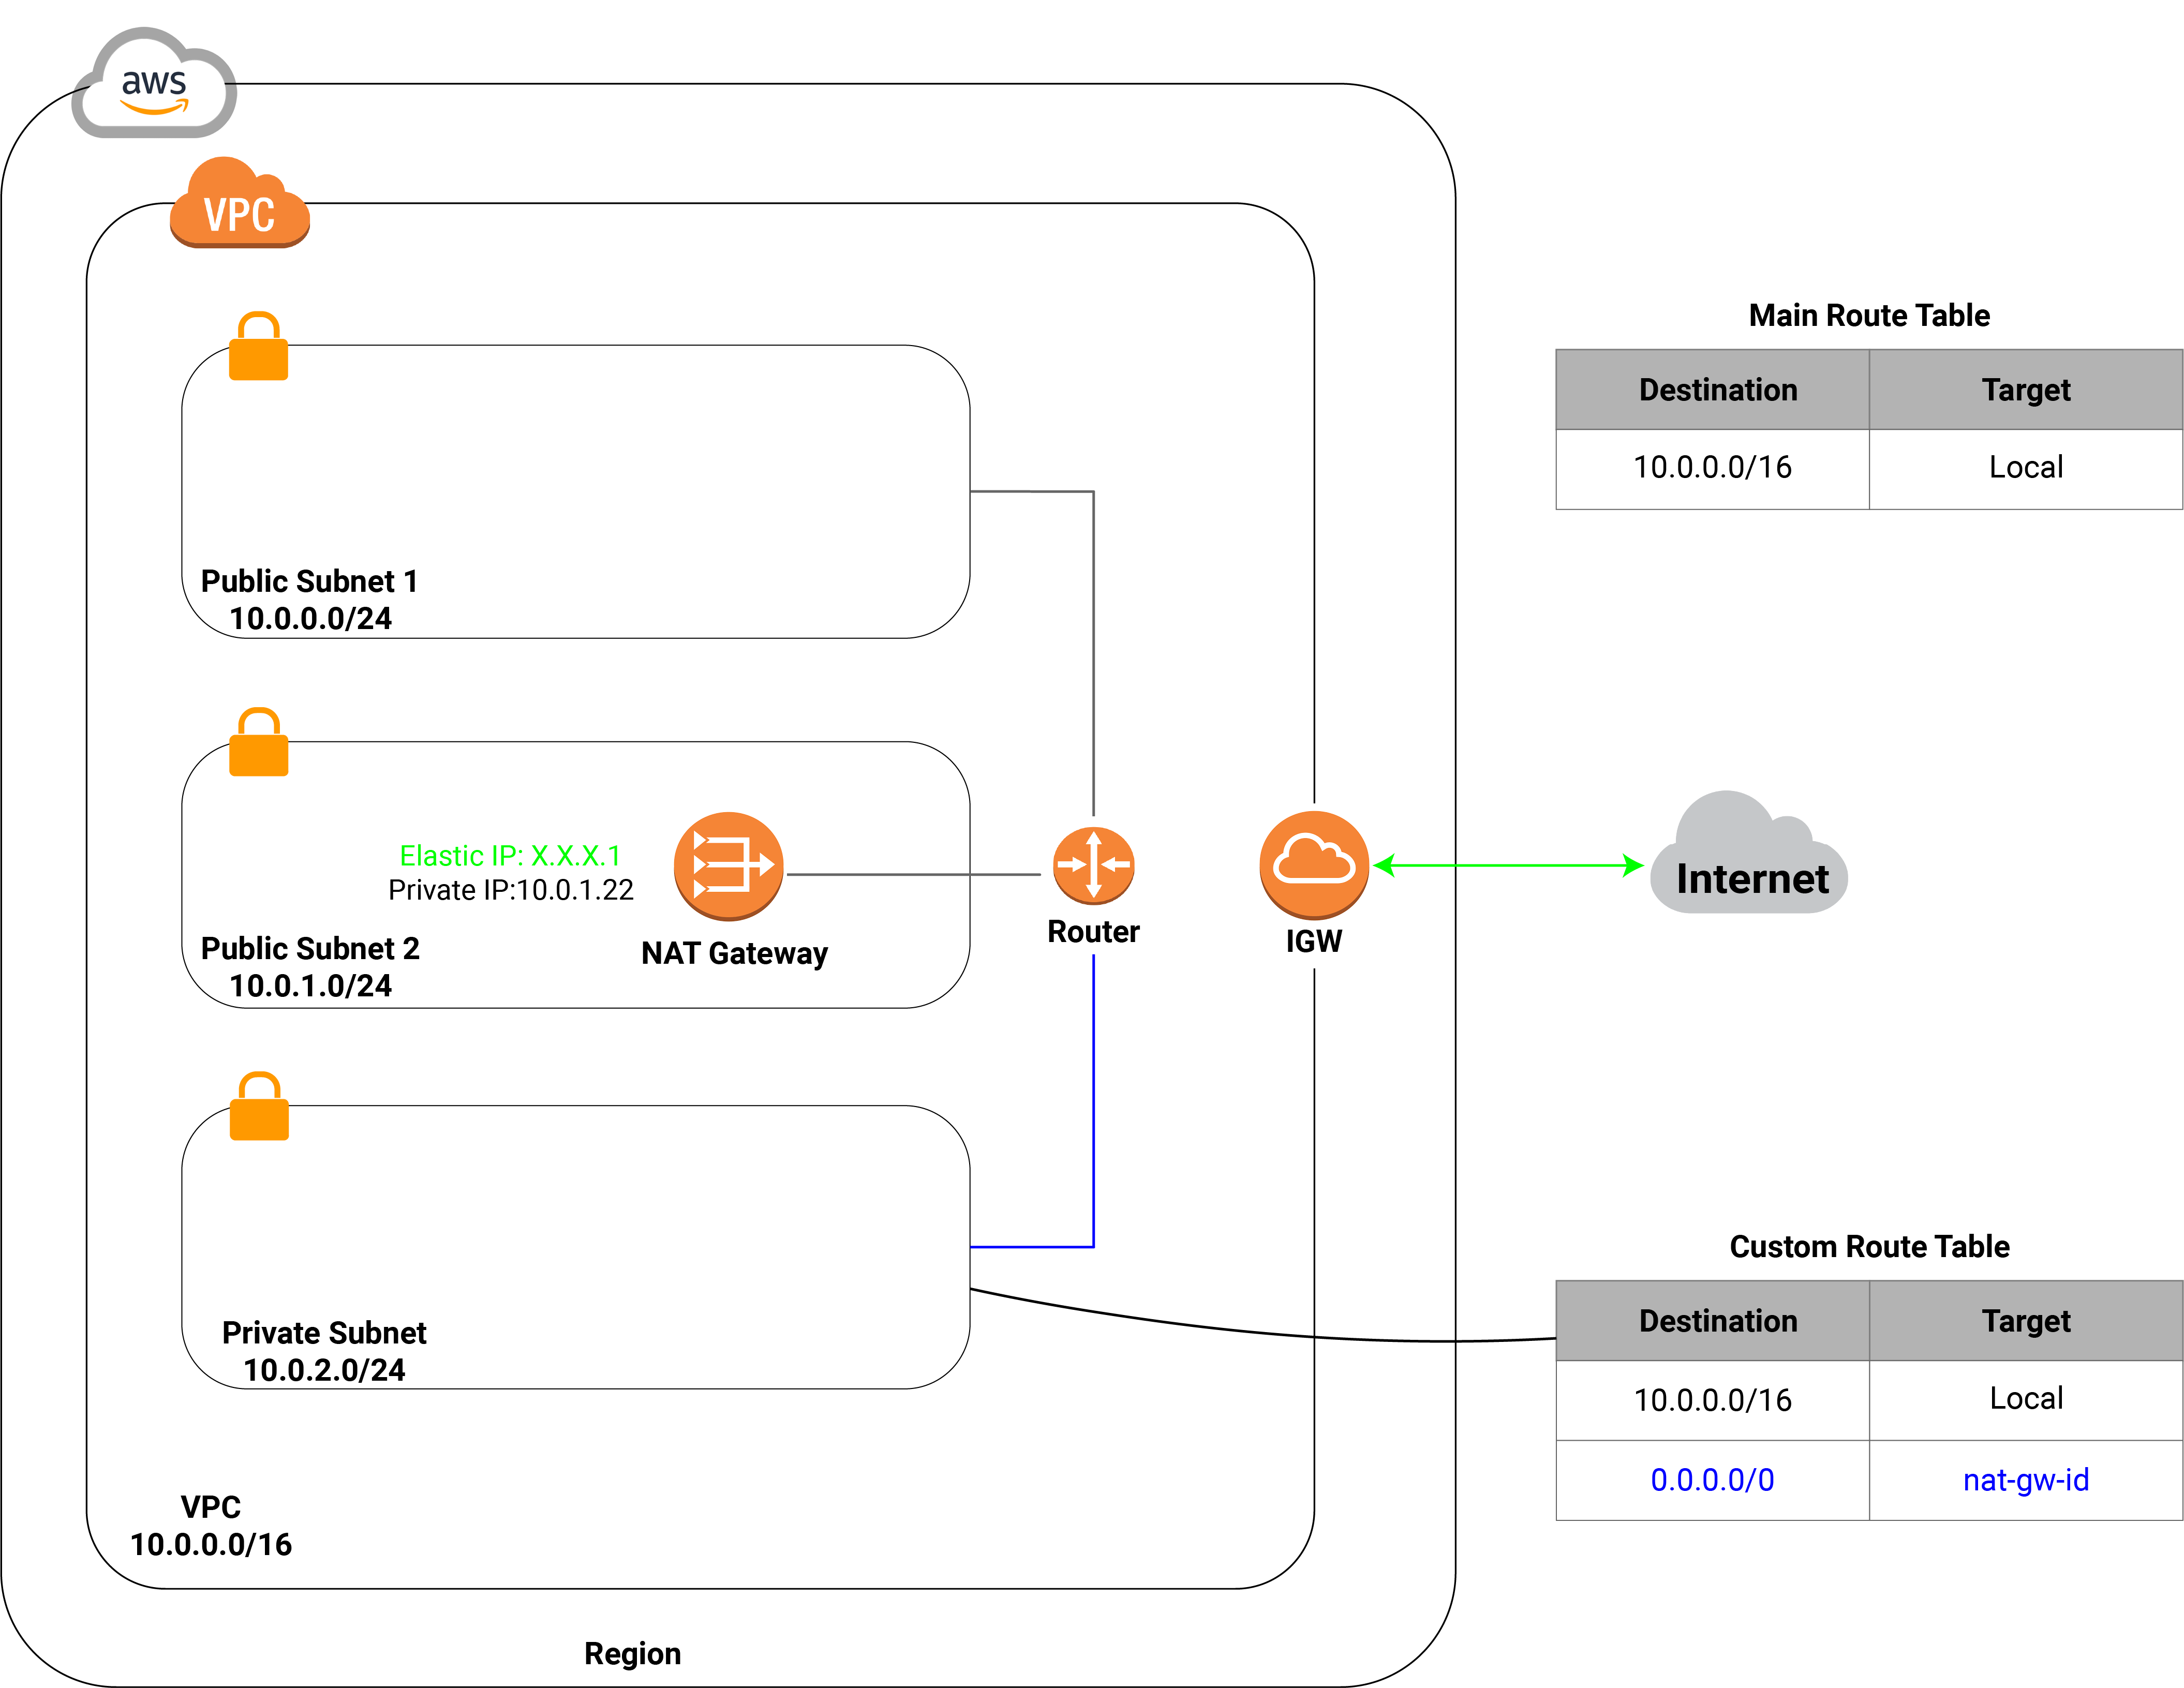
The following diagram shows the architecture of your VPC after you complete this step.
Procedure
Create a custom route table for NAT gateway
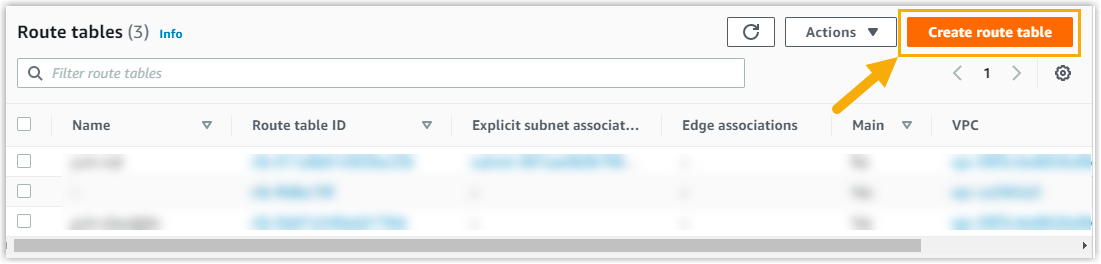
- Log in to Amazon VPC Console.
- On the left navigation pane, go to Route Tables, then
click Create route table.
- In the Route table settings section, complete the
following settings:
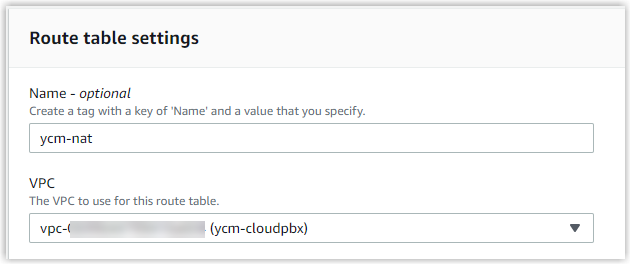
- Name: Optional. Enter a name to help you identify the NAT route table. In this example, enter ycm-nat.
- VPC: Select the VPC you've created for the
Cloud PBX. In this example, select
ycm-cloudpbx.
- Click Create route table.
The custom route table for NAT gateway is displayed on the Route tables list.
Add a route rule to NAT gateway
- On the left navigation pane, click Route
Tables, and select the route table created for NAT
gateway.
The details of the selected route table is displayed on the bottom of the page.
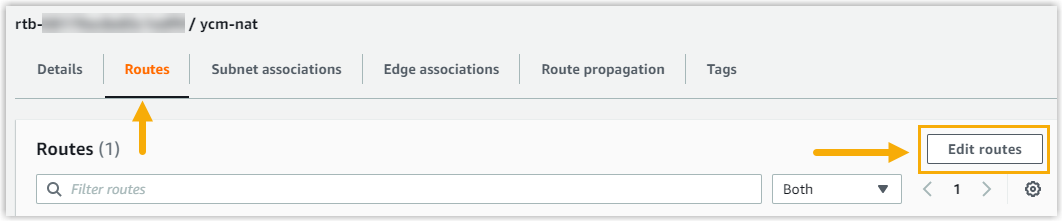
- Go to Routes tab, click Edit
routes.
- In the Edit routes page, click Add
route, complete the following settings.

- Destination: Specify
0.0.0.0/0for IPv4 traffic. - Target: Select NAT Gateway, then select the NAT gateway you've created under the VPC.
- Destination: Specify
- Click Save Changes to apply the change.
Associate the route table with private subnet
- On the left navigation pane, click Route
Tables, and select the route table created for NAT
gateway.
The details of the selected route table is displayed on the bottom of the page.
- Go to Subnet associations tab, click Edit
subnet associations in the Explicit subnet
associations section.

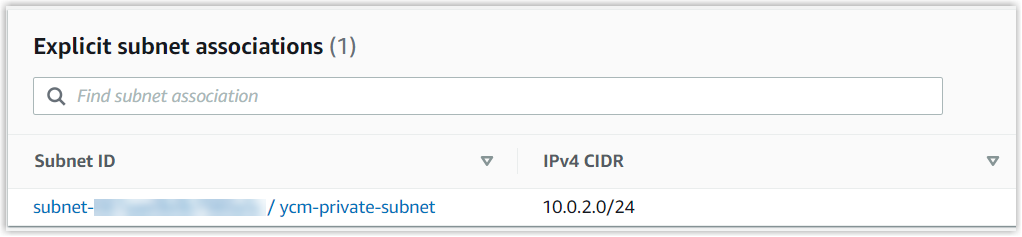
- From the Available subnets list, select the private
subnet you've created under the VPC. In this example, select
ycm-private-subnet.
- Click Save associations.
The private subnet
ycm-private-subnetis associated with the NAT route table.