Deploy Yeastar P-Series Cloud PBX on AWS (HA)
This guide describes how to deploy a High Availability (HA) architecture of Yeastar P-Series Cloud PBX on Amazon Web Services (AWS).
You can check the region in the top-right corner on the AWS console.

Deployment process
- Step1. Create and configure a Virtual Private Cloud (VPC)
- First, create a Virtual Private Cloud (VPC) as your isolated networking foundation. Choose the method based on your needs:
- Step 2. Launch instances into the VPC
- After completing the required settings, you can now launch instances for the required servers into the VPC.
- Step 3. Allocate Elastic IP address to specific server instances
- For the servers that are launched under public subnets, you need to allocate Elastic IP address to ensure the communication to the Internet.
- Step 4. Create a Load Balancer
-
If you are deploying a High Availability (HA) architecture for SBC Servers, create a Network Load Balancer (NLB). The NLB will monitor the health of registered SBC servers and distribute traffic only to healthy instances.
- Step 5. Configure IAM Access for SBC Proxy Servers
-
To deploy a High Availability (HA) architecture for your SBC Proxy Servers, you need to create a dedicated service account in AWS and configure the necessary IAM access permissions to enable automated failover.
For more information, see Configure IAM Access for SBC Proxy Servers.
- Step 6. Request image installation
-
After completing the infrastructure setup, submit a request for the final image installation to Yeastar.
You need to provide your deployment environment details, as well as the following additional information specific to SBC Proxy Server High Availability setup.
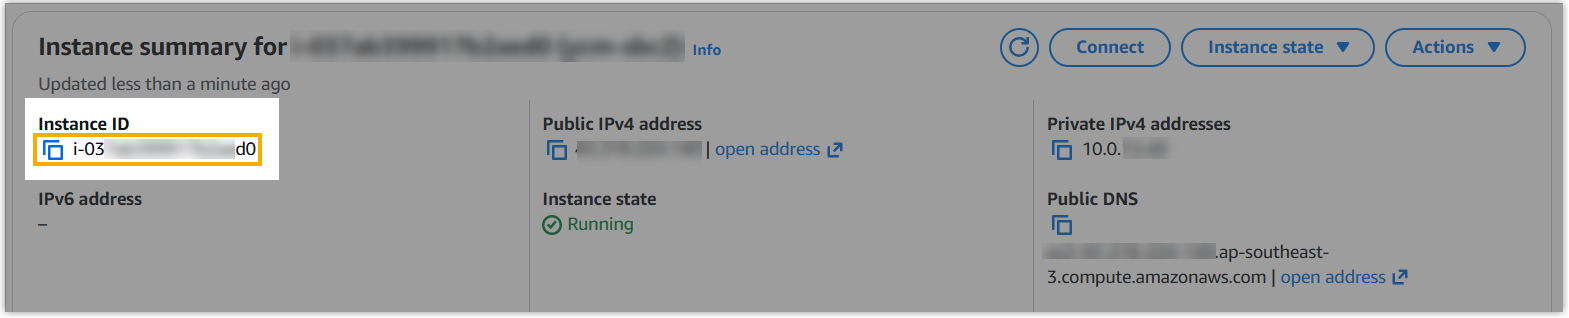
Category Detail Instance information (for both Primary and Secondary servers) - Instance ID (can be retrieved on the instance details
page)
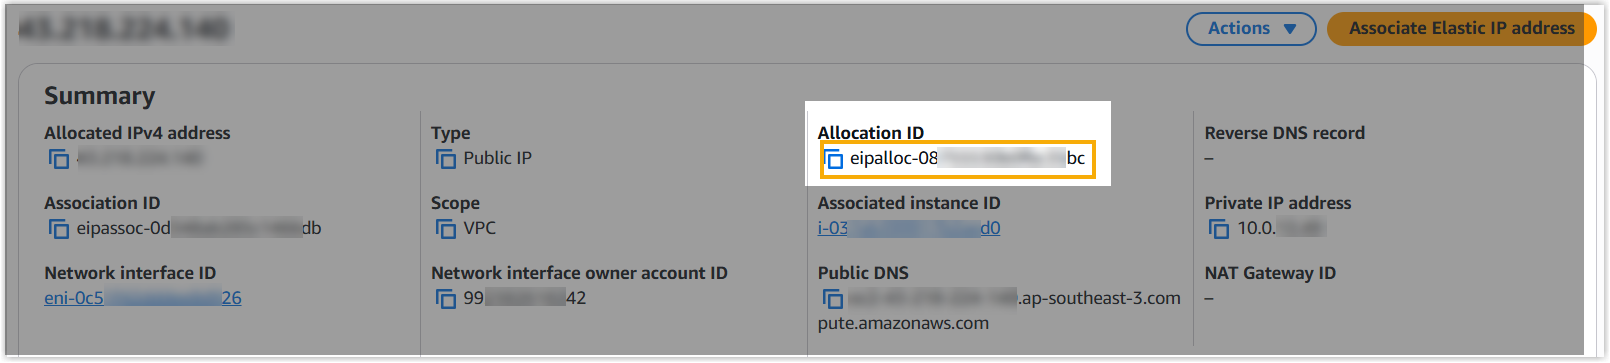
- The ID of the Elastic IP associated with the instance
(can be retrieved on the specific Elastic IP address
details page)
Deployment region -
AWS Region (e.g.,
ap-southeast-2)
Authentication credentials -
IAM User Access Key and Secret Access Key (you may directly provide the downloaded
.csvfile)
- Instance ID (can be retrieved on the instance details
page)