Create a NAT Gateway
For the server in private subnet, you need to create a NAT gateway, through which servers in private subnet can send requests to the internet.
Background information
Servers in public subnets can directly access the Internet, while servers in private subnets require a NAT gateway to initiate outbound internet access.
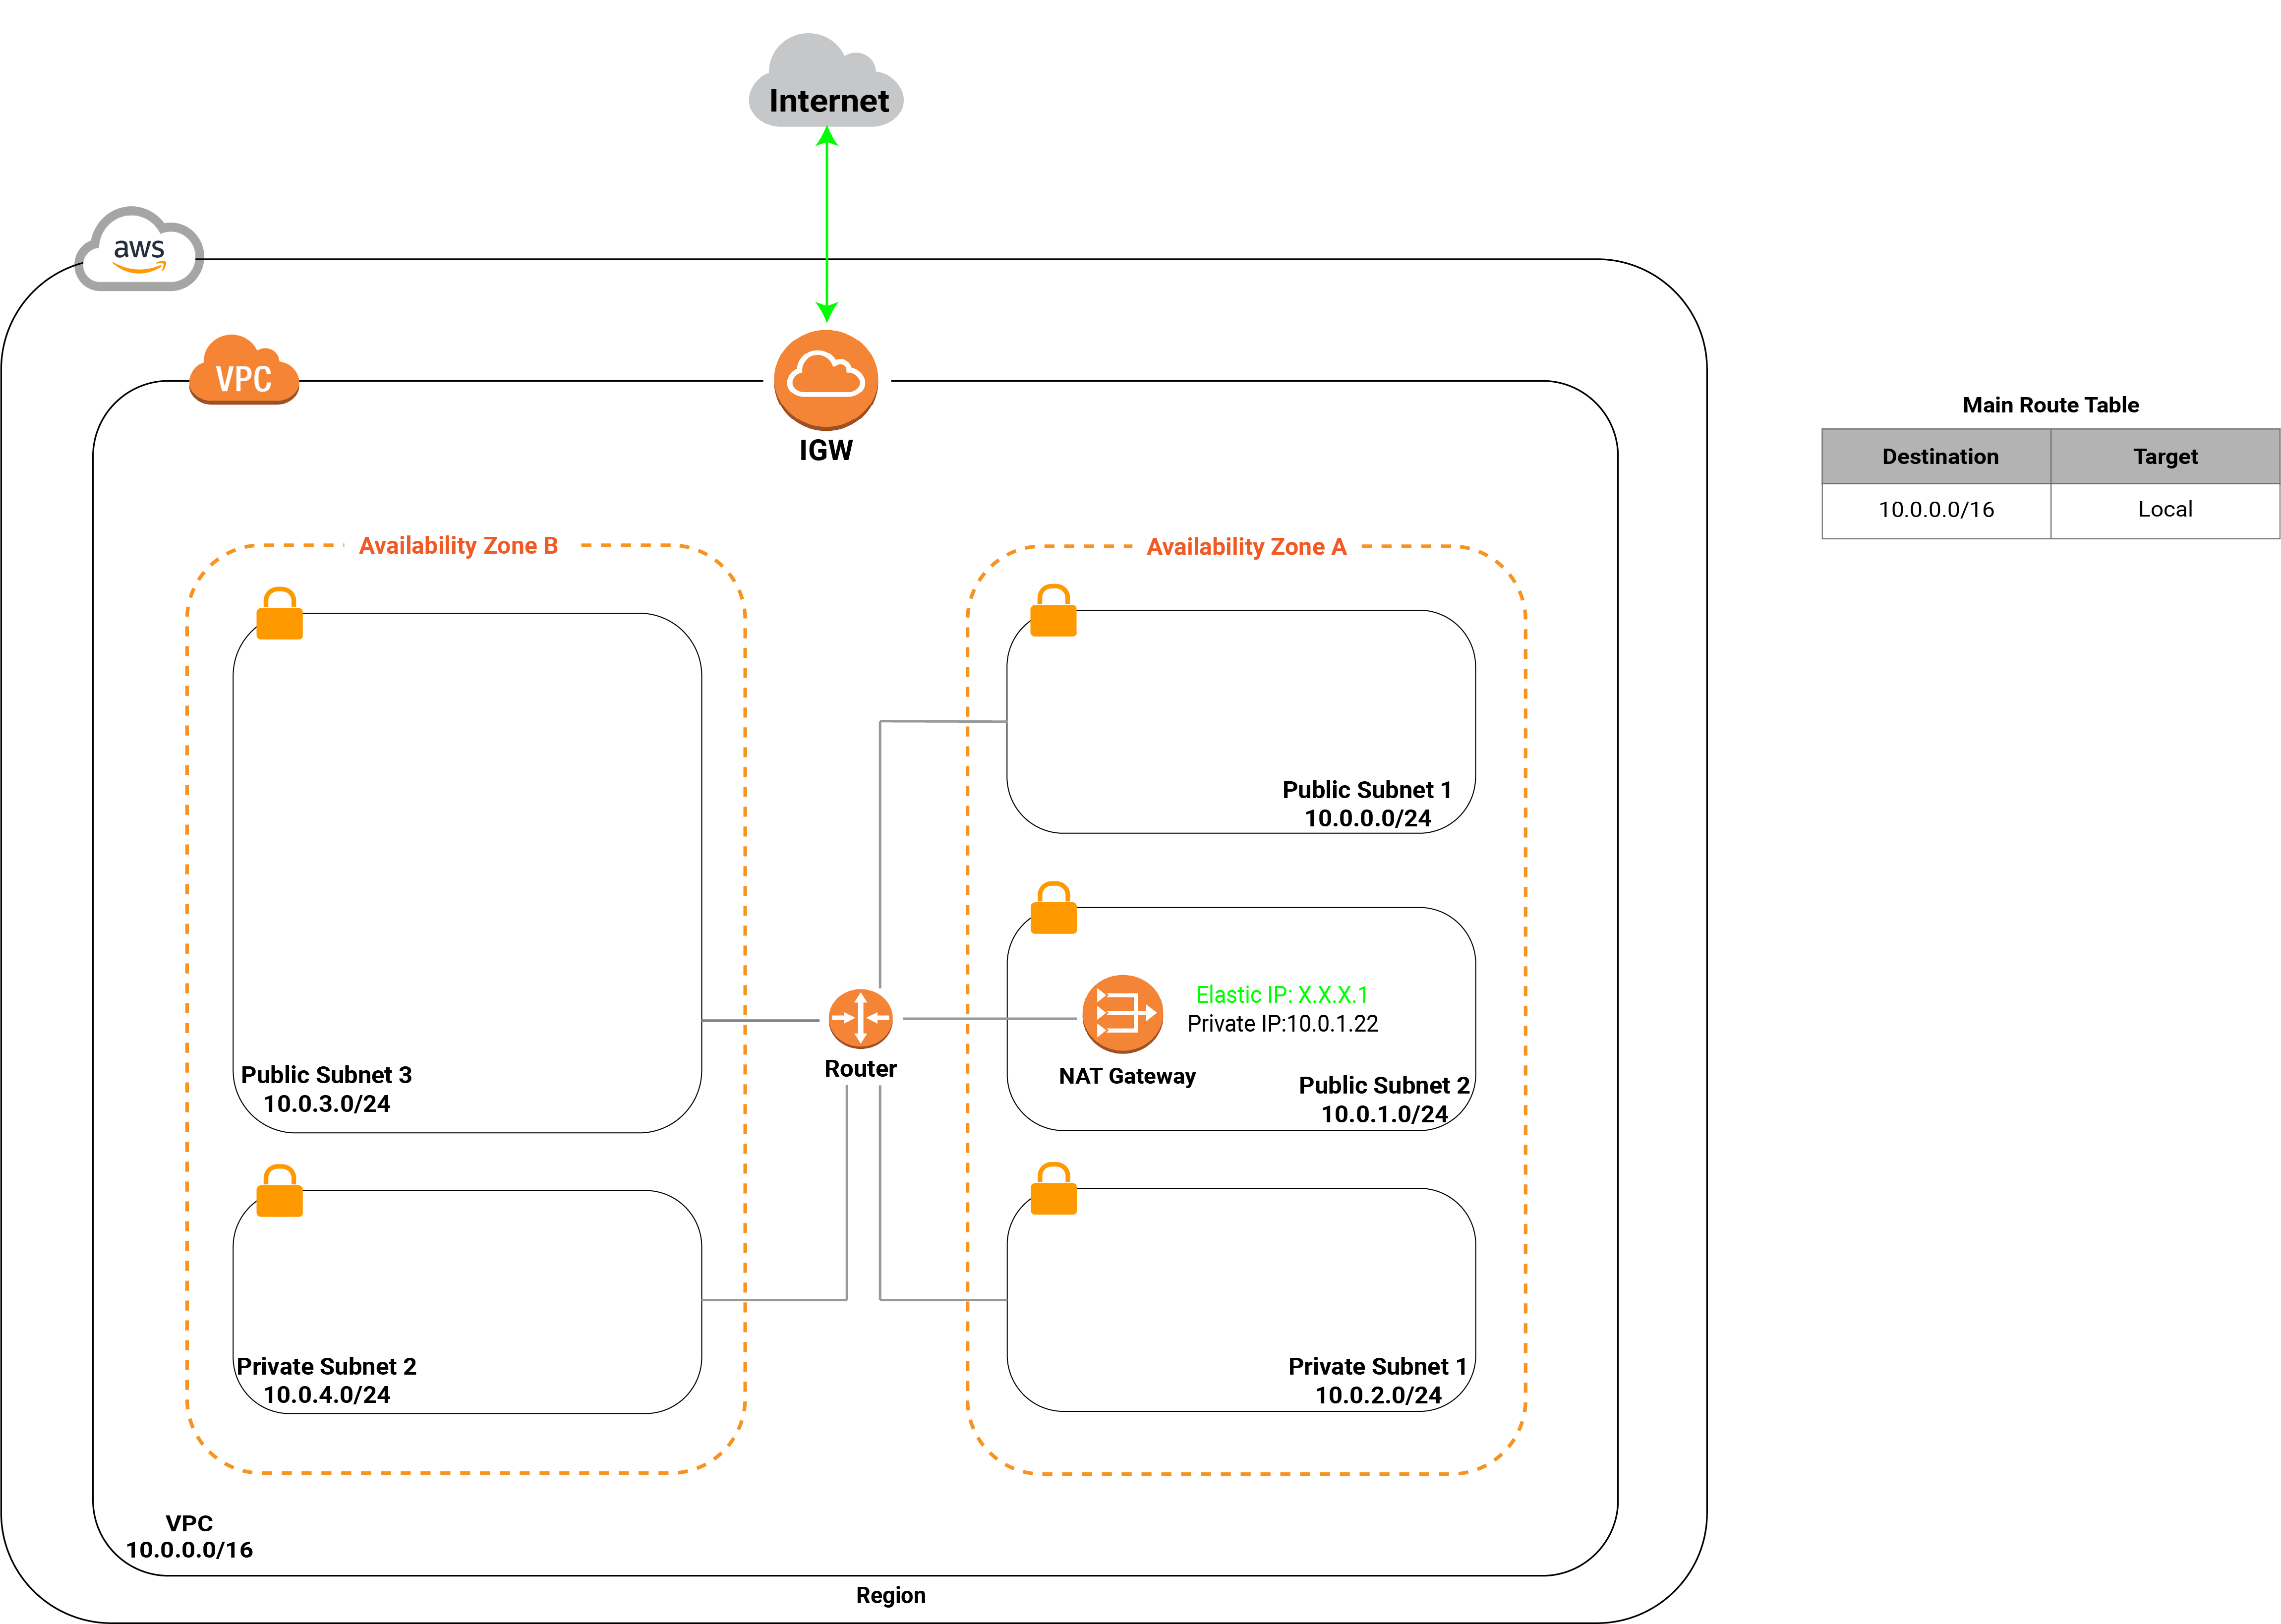
You can create a Regional NAT Gateway and associate it with your entire VPC, eliminating the need for a dedicated public subnet. It automatically scales across all Availability Zones based on your workload, so you don't have to deploy separate NAT gateways per AZ or edit route tables every time your workloads expand. Servers in private subnets can then initiate outbound internet access through the NAT gateway, which blocks unsolicited inbound connections for one-way connectivity.
The following diagram shows the architecture of your VPC after you complete this step.
Procedure
- Log in to Amazon VPC Console.
- On the left navigation pane, click NAT Gateways, then
click Create NAT gateway.

- In the NAT gateway settings section, complete the
following settings.
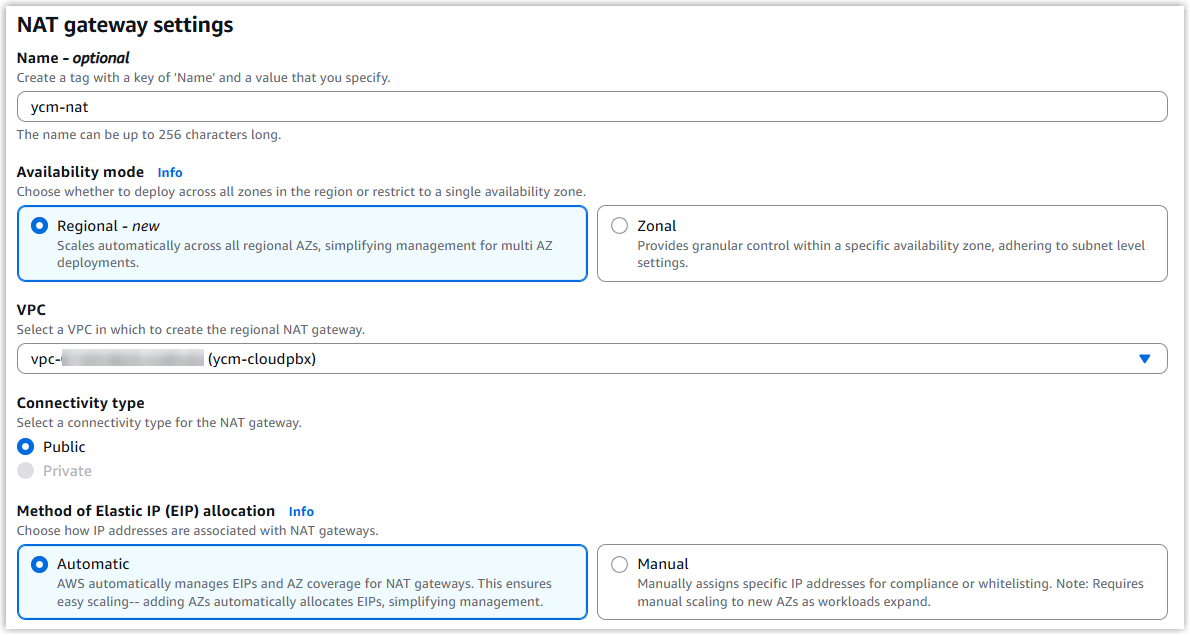
- Name: Optional. Enter a name to help you identify the NAT gateway. In this example, enter ycm-nat.
- Availability mode: Select Regional for automatic cross-AZ scaling based on workload.
- Subnet: Select the VPC that you've created
for Cloud PBX. In this example, select
ycm-cloudpbx. - Connectivity type: Select Public.
- Method of Elastic IP (EIP) allocation: Select how IP addresses are associated with NAT gateways. In this example, select Automatic.
- Click Create NAT gateway.
Result
The newly created NAT gateway is listed in the NAT gateways list with the State displayed as Available.

What to do next
- Click the Primary public IPv4 address of the NAT
gateway to enter the Elastic IP addresses
list.

- Hover your mouse over the name tag of the allocated Elastic IP address,
click
 to specify a name for the NAT gateway IP
address.
to specify a name for the NAT gateway IP
address.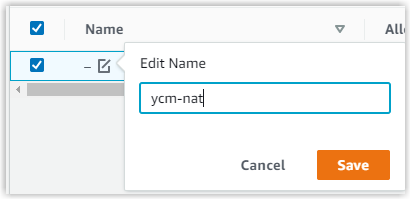
- Click Save.