Launch Instances into the VPC
Now you can launch instances in the VPC for the required servers.
Background information
When launching an instance, you need to complete the required settings listed
below:
- Set up storage volumes for system data and independent PBX recording files.
- Create a security group to control both inbound and outbound traffic for associated instances.
- Set up key pairs to secure the login information for your instances.
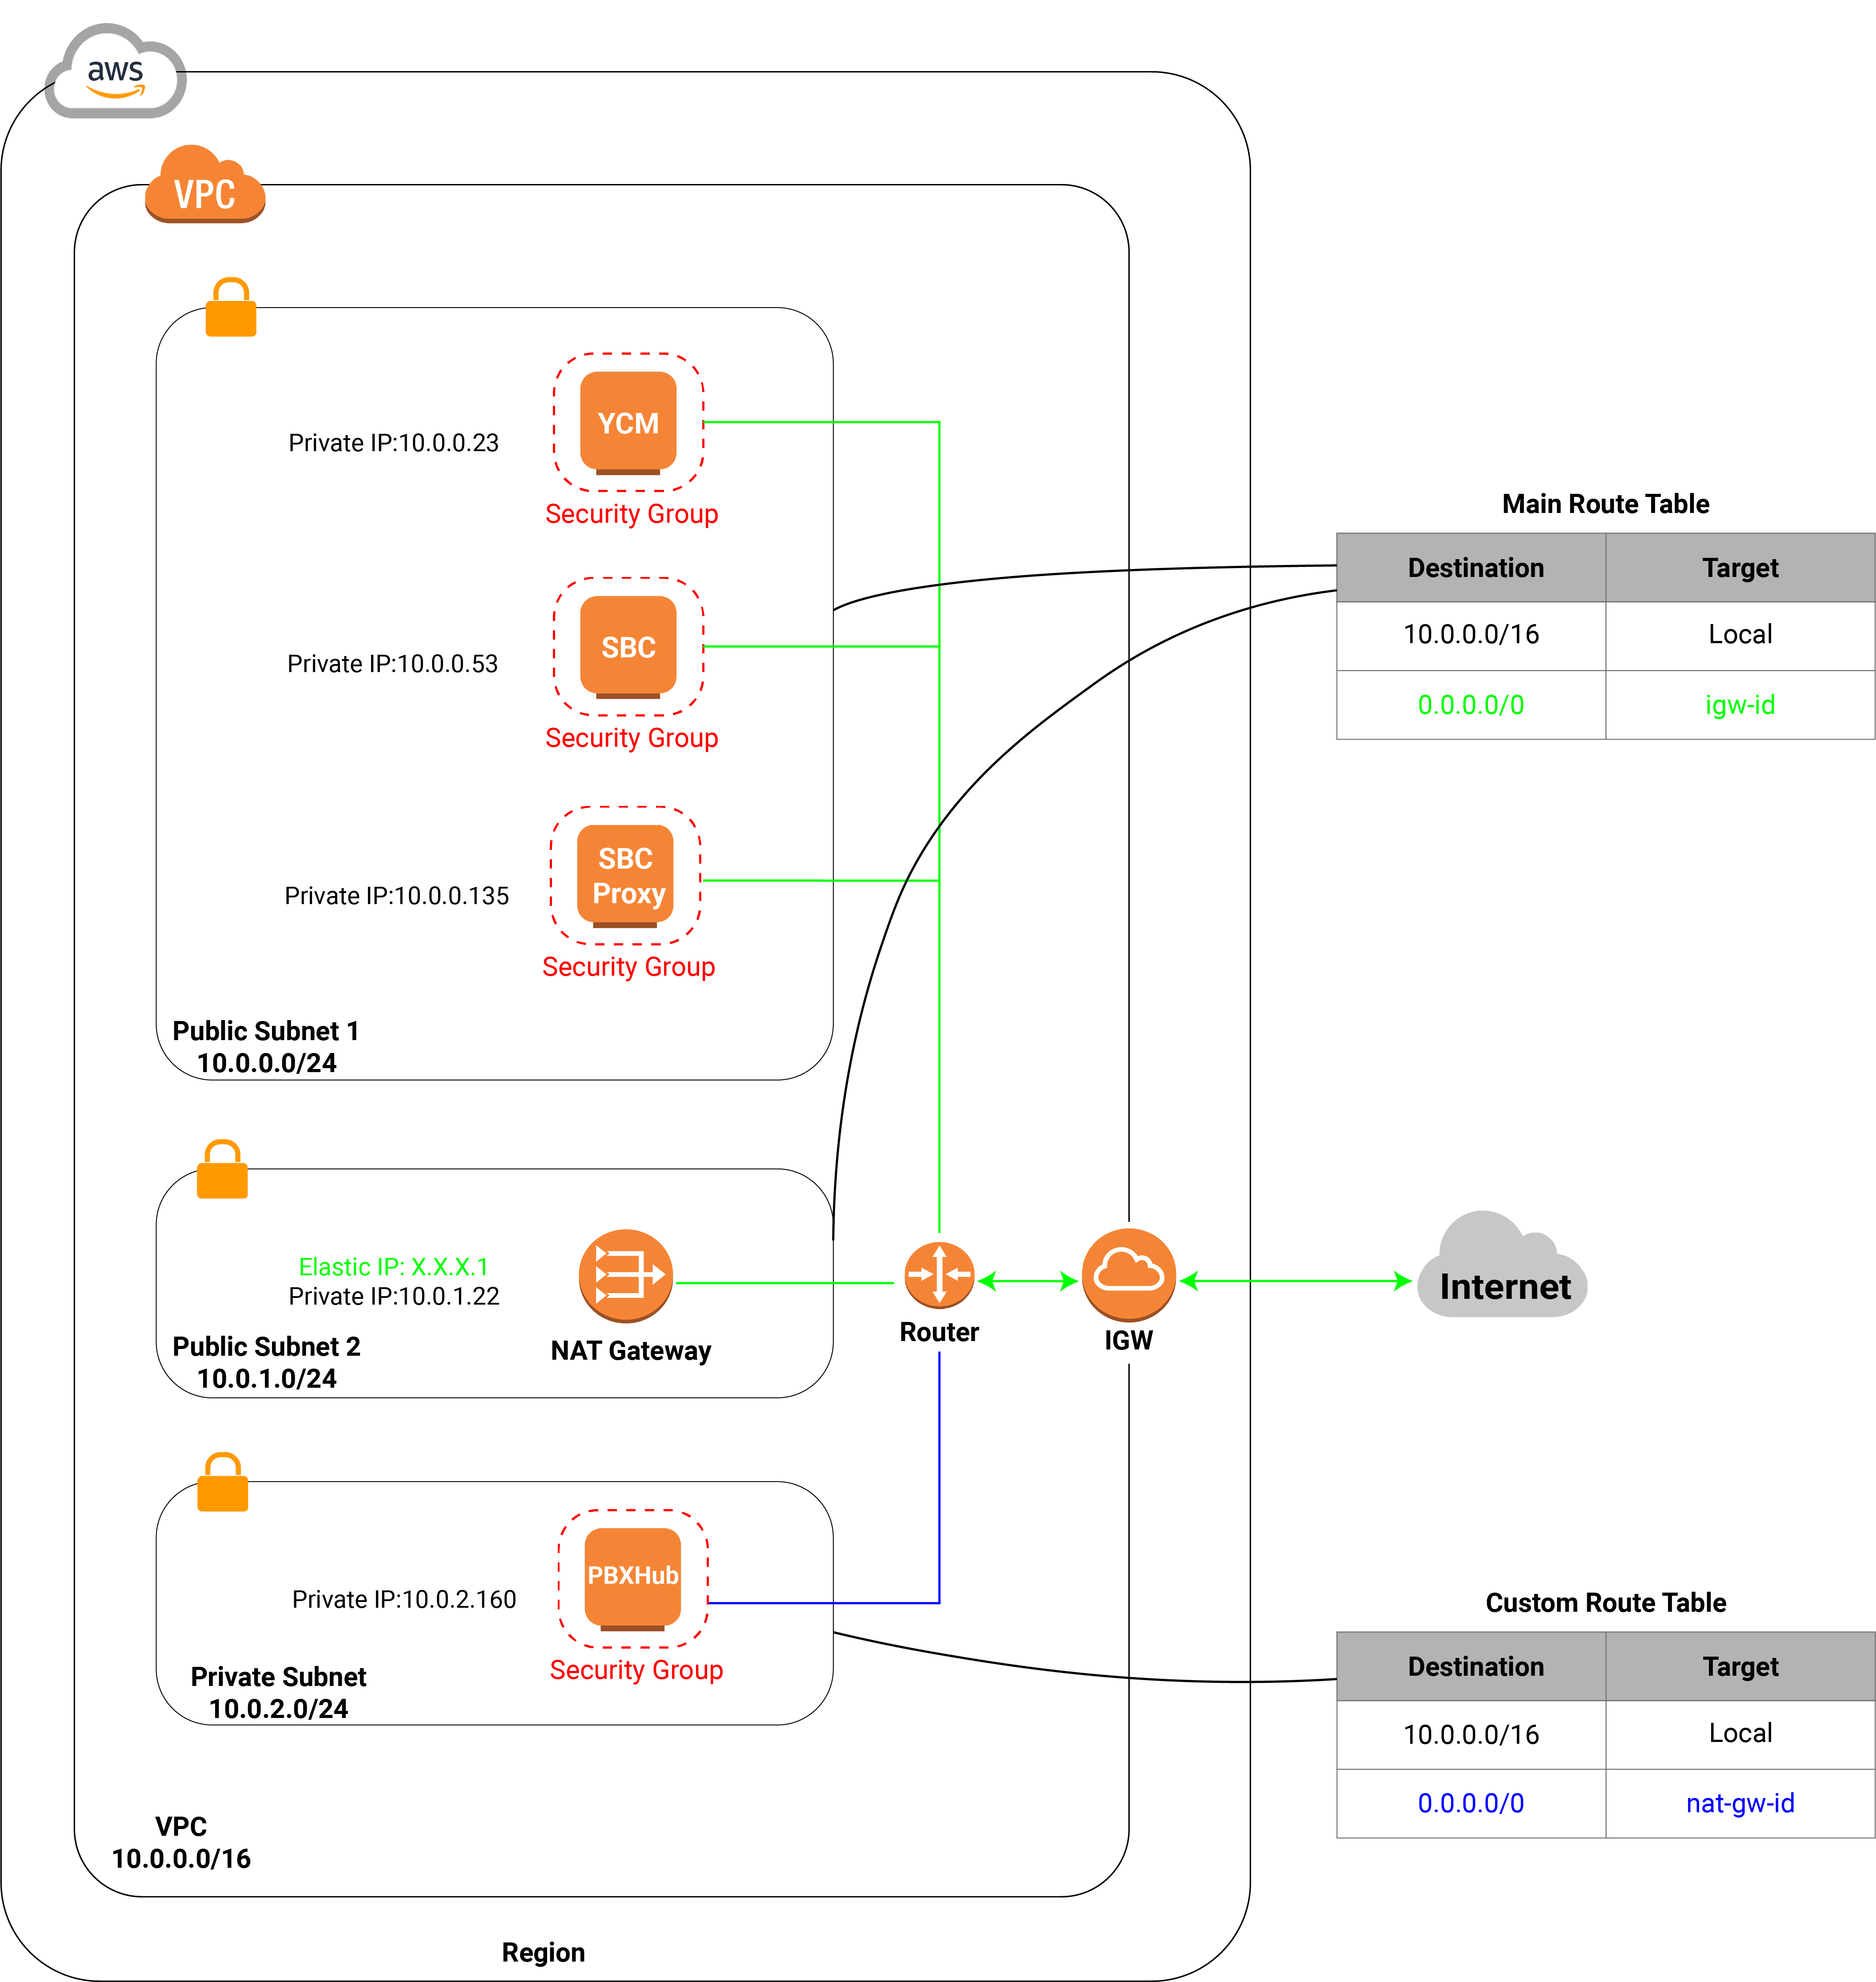
The following diagram shows the architecture of your VPC after you complete this step.
Requirements
Check the recommended instances and instance types as listed in the following table.
| Instance | Instance type | Storage (Root Device) |
Storage (EBS Volume) |
Subnet where the instance resides |
|---|---|---|---|---|
| YCM Server | C5.xlarge (4 vCPU 8 GB) | 200 GB | N/A | Public Subnet 1 |
| SBC Server | C5.xlarge (4 vCPU 8 GB) | 200 GB | N/A | Public Subnet 1 |
| SBC Proxy Server | C5.xlarge (4 vCPU 8 GB) | 200 GB | N/A | Public Subnet 1 |
| PBXHub Server | m5.4xlarge (16 vCPU 64 GB) | 200 GB | 200 GB * 2 | Private Subnet |
Procedure
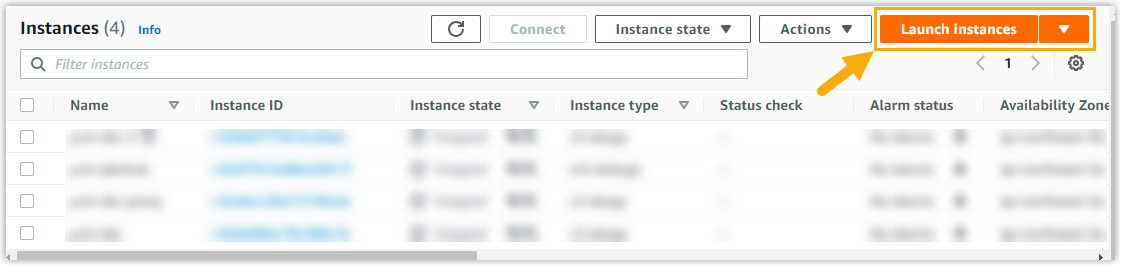
- Log in to Amazon EC2 Console.
- On the left navigation pane, click
Instances, then click Launch
instances.
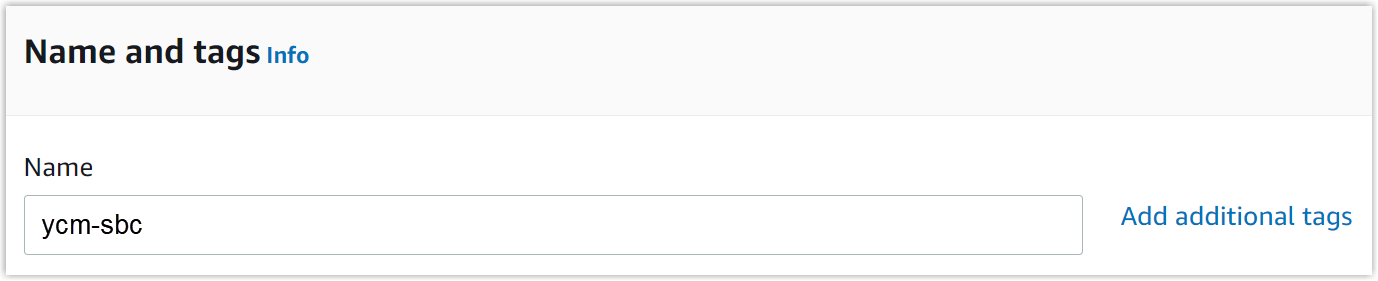
- In Name and tags section, add a name
to help you identify the server instance.
- In Application and OS Images section,
select the desired AMI.
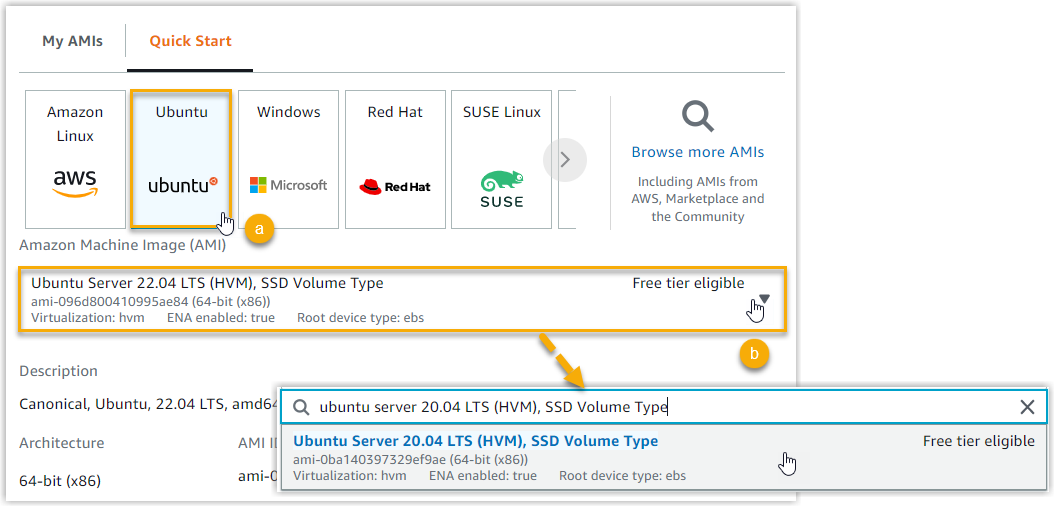
- Under the Quick Start tab, click Ubuntu.
- In the Amazon Machine Image (AMI) drop-down list, search and select Ubuntu Server 24.04 LTS (HVM), SSD Volume Type.
- In Instance type section,
select an instance type that can meet the performance requirements of your
server workload.

- Click the Instance type field to expand the instance type list.
- Search and select the required instance type for the server.
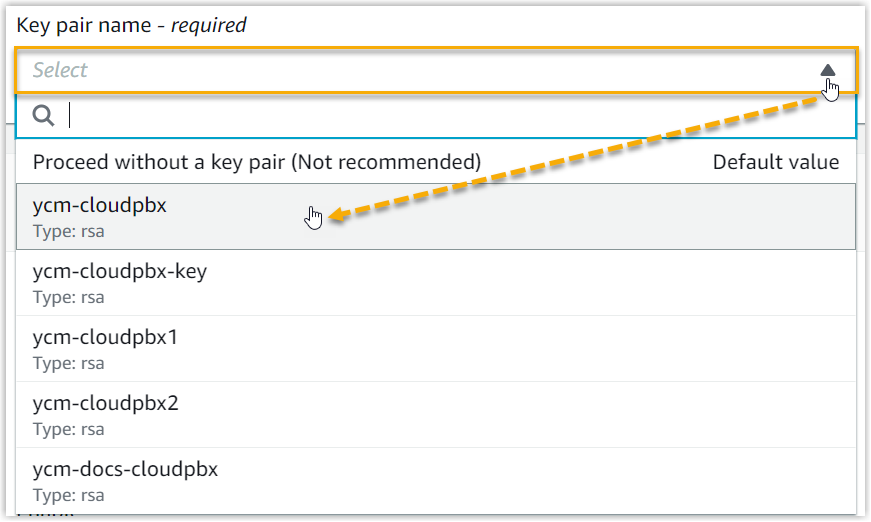
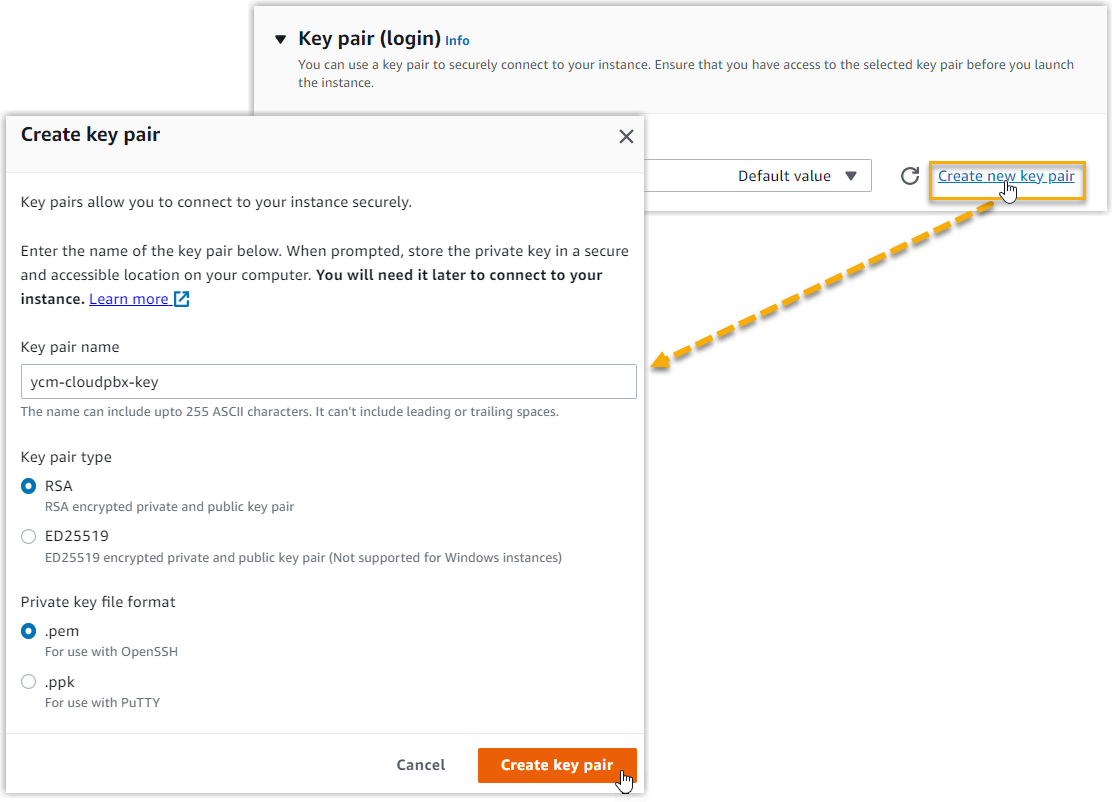
- In Key pair (login) section, set a
key pair for instance access.
- To use an existing key pair
- To use a new key pair
- In Network settings section,
click Edit to complete the following
settings.

- Set up the network configuration of the instance.

- VPC: Select the VPC you've created for the Cloud PBX.
- Subnet: Select the corresponding subnet created for the server.
- Auto-assign public IP: Select Disable.
- In Firewall (security
groups) section, set up a security group to
control the traffic for the instance.Note: All the server instances of Yeastar P-Series Cloud PBX should use the same security group.
- To create a new security group
- You need to create a security group for Yeastar P-Series Cloud PBX. To set up the related inbound rules, do as follows:
-
- Click Create security
group.

- In Security group name field, specify a name to help you identify it.
- In Description field, enter a remark or leave the default description.
- In Inbound security group
rules section, click Add
security group rule to add the
following security group rules for the server
instance.
Table 1. Type Protocol Port range Source type Source Custom TCP TCP 0 - 1021 Anywhere – Custom TCP TCP 1023 - 65535 Anywhere – All UDP UDP 0 - 65535 Anywhere – Custom TCP TCP 1022 Custom Add the IP addresses that are allowed to access the instance. Note: Contact Yeastar to obtain the allowed IP addresses.
- Click Create security
group.
- To use an existing security group
- Select the same security group created for
Yeastar P-Series Cloud PBX for all the servers in
the later instance creation.Note: If you use an existing security group, make sure the following ports are included in the inbound rules:
Protocol Port TCP 80, 443, 5061, 9092 TCP_UDP 1090, 5060, 11009 UDP 8111 -
- Click Select existing security
group.

- In the Common security
groups drop-down list, select the
desired security group.
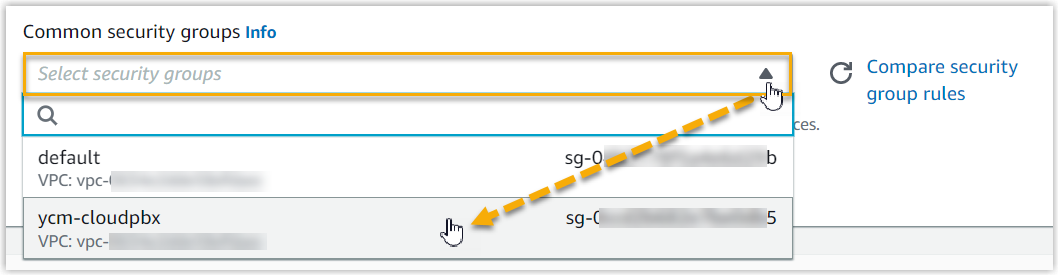
- Click Select existing security
group.
- Set up the network configuration of the instance.
- In Configure storage section, set
up storage for the instance according to the server storage requirements.
- Configure storage volume for YCM
Server.
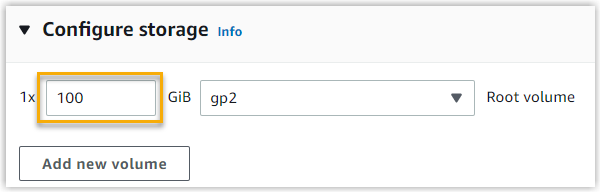
- Change the size of the Root volume to
200. - Set the volume type to gp2.
- Change the size of the Root volume to
- Configure storage volume for SBC Server or
SBC Proxy Server.

- Change the size of the Root volume to
200. - Set the volume type to gp2.
- Change the size of the Root volume to
- Configure storage volume for PBXHub
Server.

- Change the size of the Root volume
to
200. - Set the volume type to gp2.
- Click Add new volume to attach two
additional EBS volumes to the server instance, each has a
storage size of
200GiB with a volume type ofgp2.
- Change the size of the Root volume
to
- Configure storage volume for YCM
Server.
- In Summary section, set the
Number of instances to
1.
- Review and confirm the settings that you've set, then click Launch instance.
- Repeat Step 2 - 10 to create instances for other servers.
Result
The new created instance is displayed on the Instances list with the Instance state displayed as Running.
