Integrate Yeastar P-Series Cloud Edition with Zoho CRM
This topic describes how to integrate Yeastar P-Series Cloud Edition with Zoho CRM.
Prerequisites
- Only an Administrator of a Zoho CRM account can enable the Zoho CRM integration.
Procedure
Step 1. Get the PBX authentication information
- Log in to PBX web portal, go to .
- Click Zoho, then select your Zoho CRM
edition.
- In Network section, select the URL from the
Homepage URL drop-down list. Note: The Homepage URL is the web page URL of your PBX, Zoho CRM will communicate with the PBX with the selected URL.
A redirect URI according to the selected Homepage URL is automatically generated in the Authorized Redirect URI field.

- Take note of the Homepage URL and the redirect URI as you will use them later on Zoho CRM.
Step 2. Register the PBX with Zoho CRM
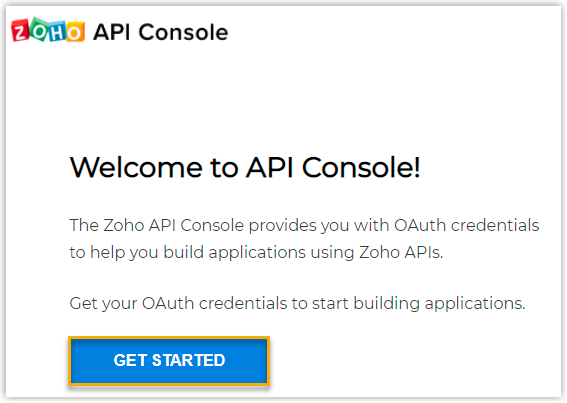
- Log in to the Zoho API Console, click GET
STARTED.
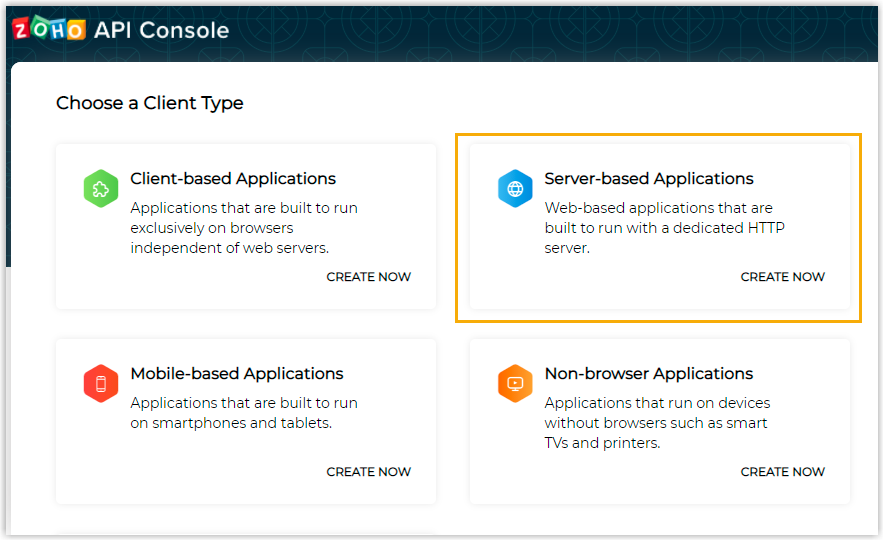
- On the Choose a Client Type page, select
Server-based Applications.
- On the Create New Client page, enter the PBX
information to register as a Zoho CRM client.
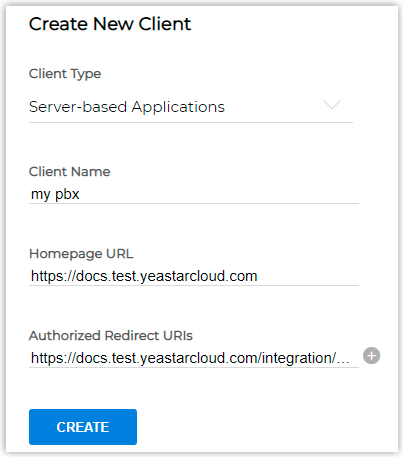
- Client Name: Set a client name.
- Homepage URL: Paste the PBX Homepage URL.
- Authorized Redirect URI: Paste the PBX authorized redirect URI.
- Click CREATE.
A Client ID and a Client Secret are generated.
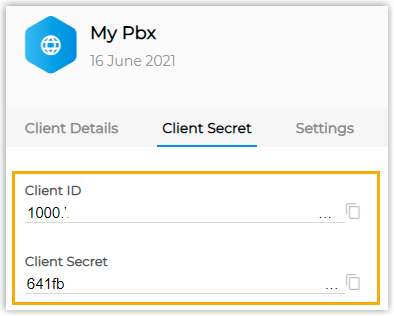
- Take note of the Client ID and Client Secret, as you will need them later.
Step 3. Make Authorization Request to Zoho CRM
- Log in to PBX web portal, go to .
- Click Zoho.
- In Authorization section, fill in the following API
authorization information.
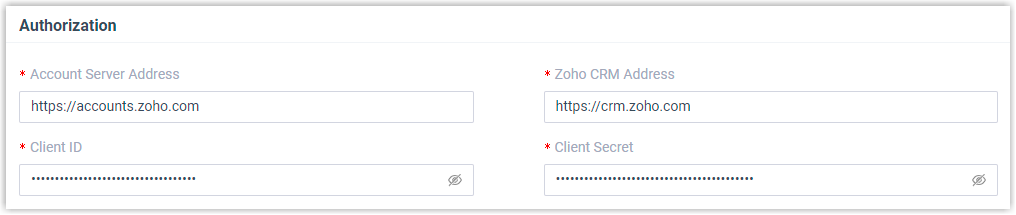
- Account Server Address: Enter the CRM Account
Server URL. Note: The default URL
https://accounts.zoho.comapplies in many cases, but you may need to change the domain URL according to the location where you signed up your Zoho account. For example, if your Zoho account is signed up in Europe, you need to change the URL tohttps://accounts.zoho.eu.
- Zoho CRM Address: Enter the Zoho CRM URL. Note: The default URL
https://crm.zoho.comapplies in many cases, but you may need to change the domain URL according to the location where you signed up your Zoho account. For example, if your Zoho account is signed up in Europe, you need to change the URL tohttps://crm.zoho.eu. -
Client ID: Paste the Zoho API Client ID.
-
Client Secret: Paste the Zoho API Client secret.
- Account Server Address: Enter the CRM Account
Server URL.
- Click Save.
A new browser page will be launched to request for Zoho CRM data access permission.
- In the authorization page, select the checkbox of the disclaimer, then click
Accept to allow the PBX to access data in your
Zoho account.
You are redirected to the PBX configuration page, a pop-up window displays the authentication result.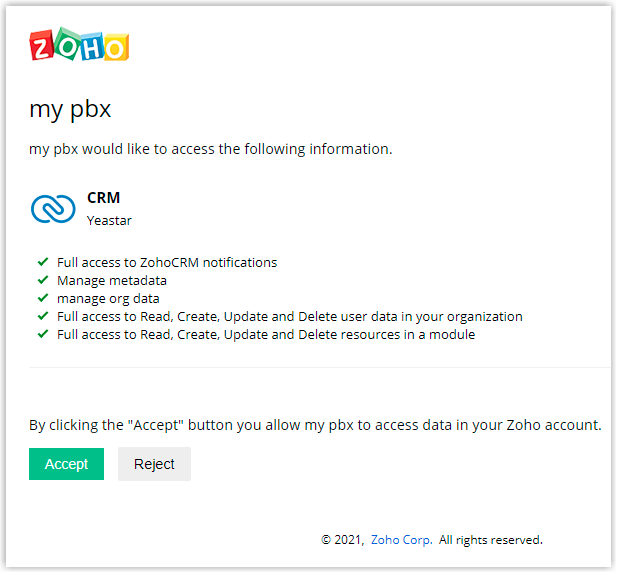
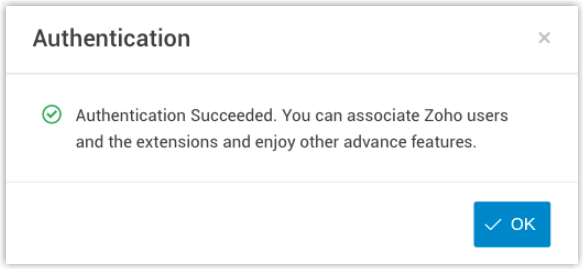
- Click OK to confirm.
The Status field will display Connected, indicating that the Zoho CRM integration is successfully set up.

Step 4. Associate Zoho CRM users with PBX extensions
- On the CRM integration page, click
 besides Zoho User
to obtain the latest Zoho CRM user list.
besides Zoho User
to obtain the latest Zoho CRM user list.
- Associate the Zoho users with PBX extensions.
- Associate automatically
- If users bind the same email address to their Zoho accounts
and PBX extensions, you can implement automatic association
of their Zoho accounts and PBX extensions.
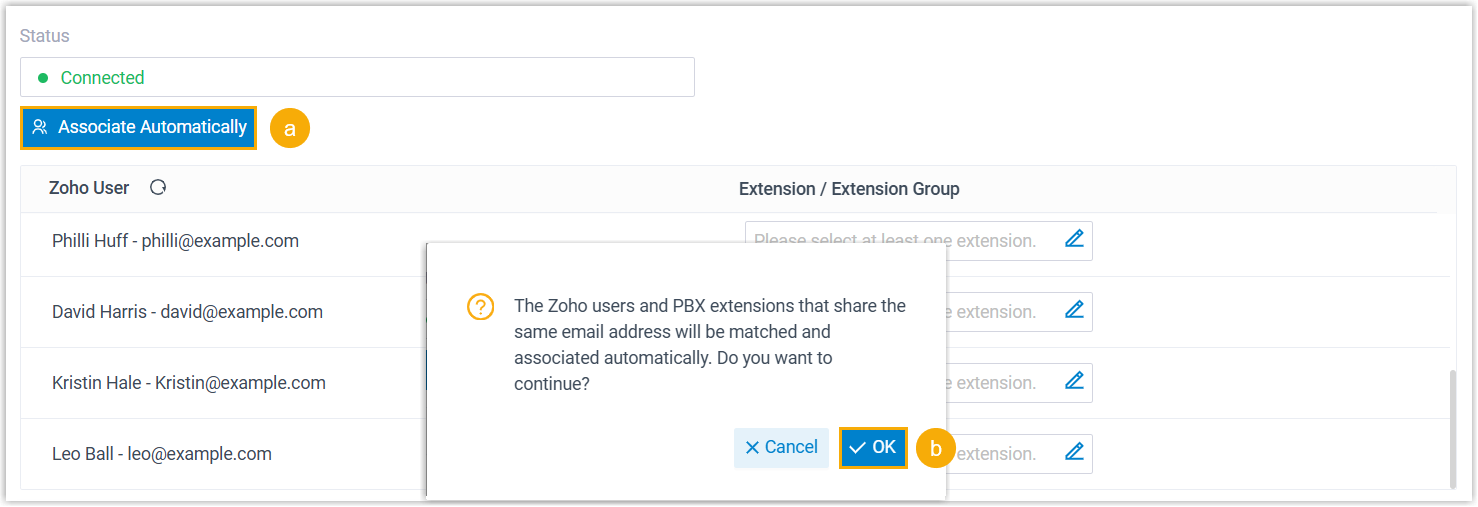
- Click the Associate Automatically button.
- On the pop-up window, Click OK.
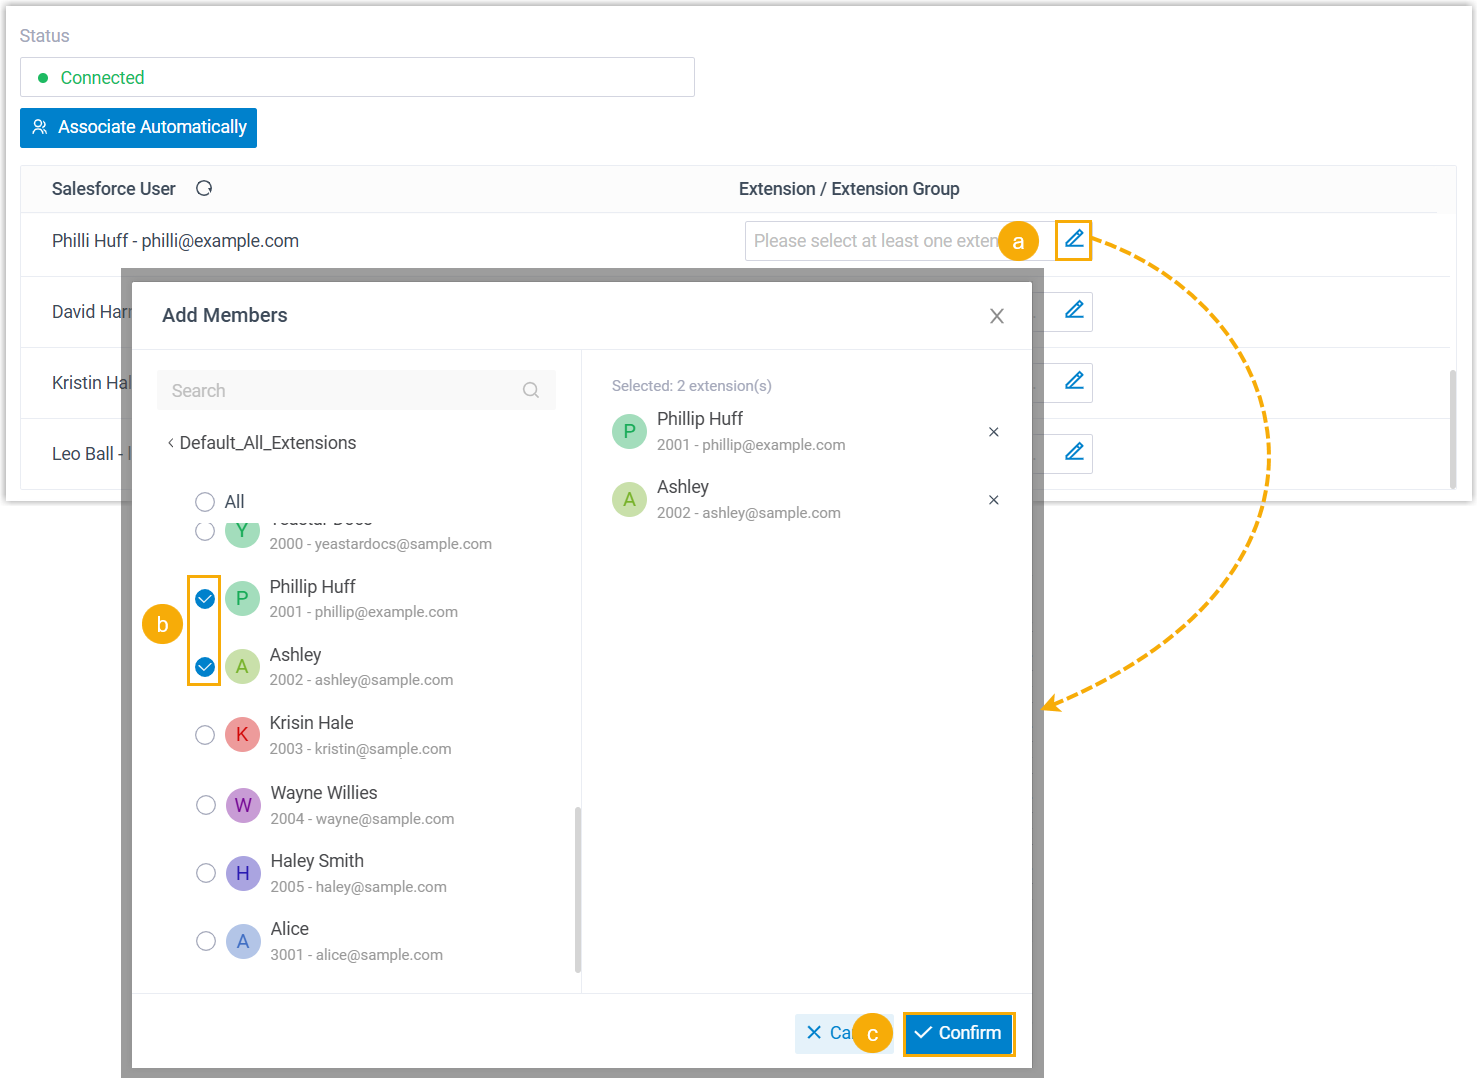
- Associate manually
- If users bind different email addresses to their Zoho account
and PBX extension, you need to manually associate the user's
Zoho account and PBX extension.
-
- In the Extension / Extension
Group field beside the Zoho user, click
 .
. - In the pop-up window, select the desired user's extension(s).
- Click Confirm.
- In the Extension / Extension
Group field beside the Zoho user, click
- Click Save.
Result
- The integration of Yeastar P-Series Cloud Edition and Zoho CRM is set up.
- Associated Zoho CRM users can make or receive calls with their PBX extensions.