Integrate Yeastar P-Series PBX System with a CRM using Template
If your desired CRM is not in the list of ready-made integrations, you can implement a custom integration via a CRM integration template. This topic describes how to establish the integration.
Prerequisites
- You have added a CRM integration template.
- You have obtained the necessary authorization information from the CRM
system according to its authentication requirements.
Authentication Method Description None authentication Obtain the required integration information (such as API key or Webhook URL) if needed. Basic authentication Obtain the credential for authentication (such as username and password, or API key). OAuth2 authentication Obtained the PBX authentication information first (Path: ), then use the information to create an application on the CRM system, and obtain the corresponding authorization information (such as client ID and client secret). 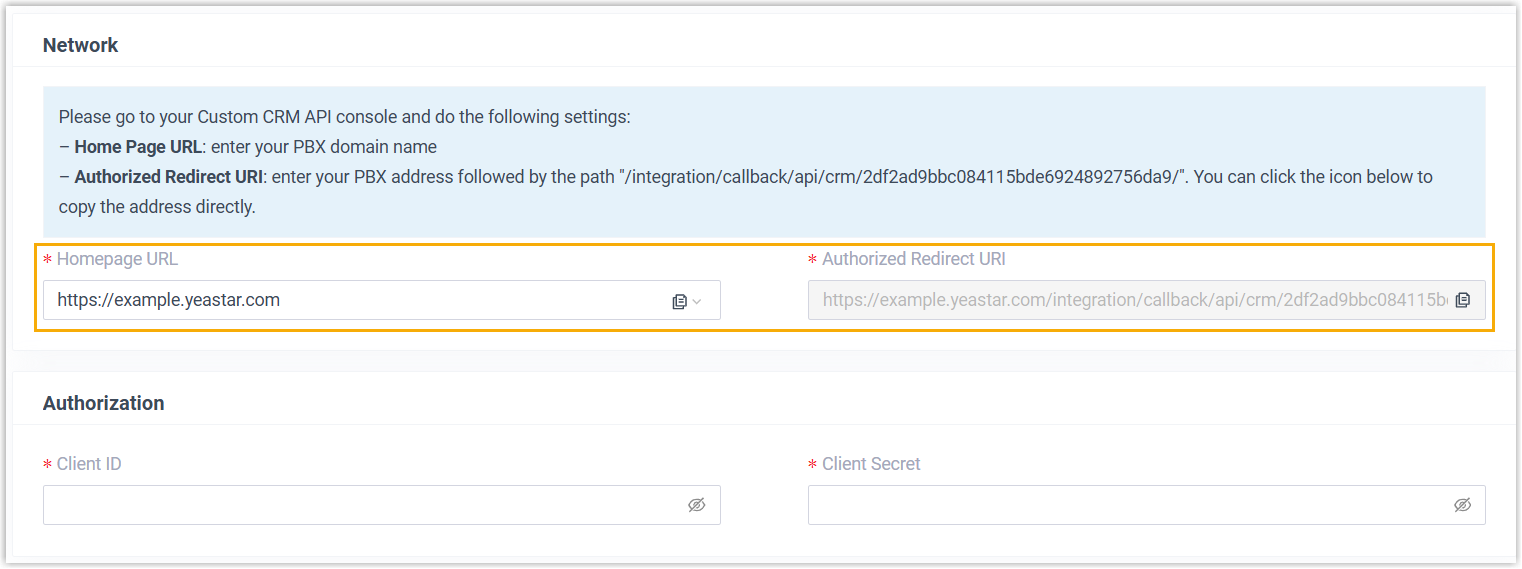
Bearer Token authentication Obtained the credential for authentication (such as client ID and client secret).
Procedure
- Log in to PBX web portal, go to .
- In the CRM list, click the CRM that you have added via a template.

- Complete the authentication according to the CRM system's requirements.
- None authentication
-
Note: If no additional information is required, the integration will be completed once you click the CRM.

- In the Settings section, enter the required information for integration.
- Click Save.
- Basic authentication

- OAuth2 authentication
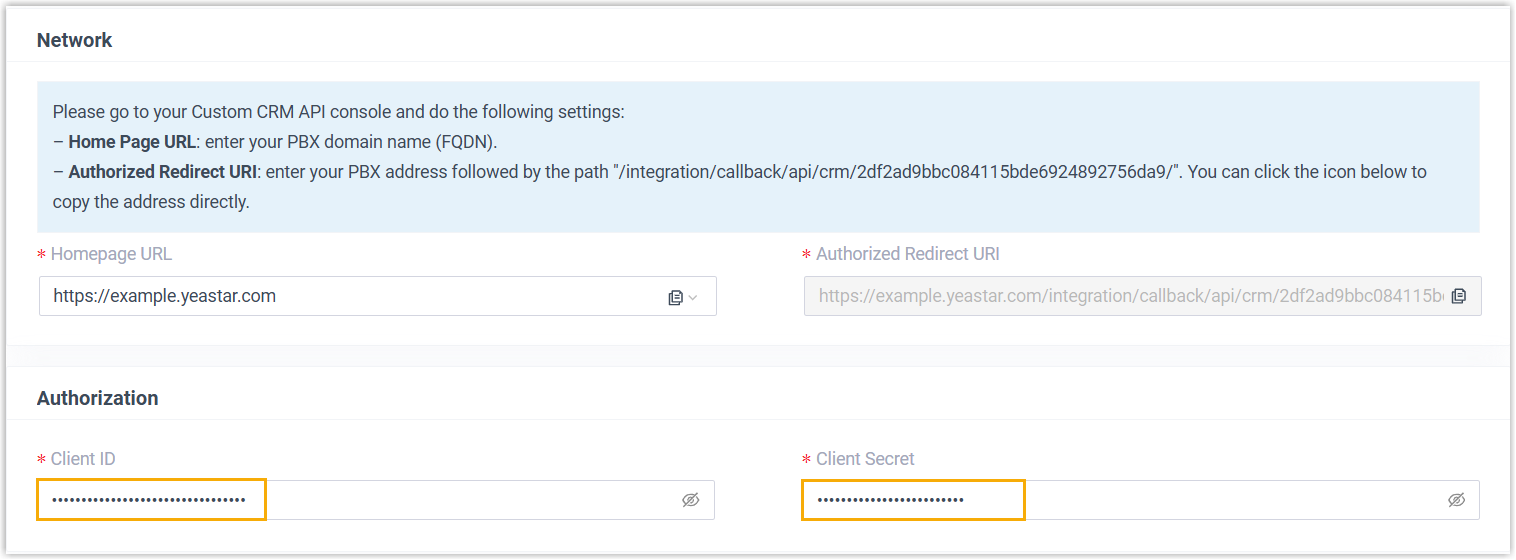
- In the Authorization section, enter the authorization information obtained from the application created in the CRM system.
- Click Save.
A new browser page will be launched to request for CRM data access permission.
- Accept the request to allow the PBX to access data in
your CRM account.
On the PBX configuration page, a pop-up window displays the authentication result.
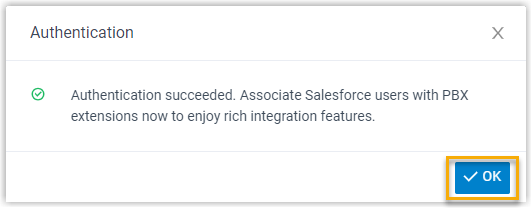
- Click OK to confirm.
The Status field displays Connected, indicating that the CRM integration is successfully set up.
- Bearer Token authentication

- Associate CRM users with PBX extensions.
If the CRM requires the association of CRM users with PBX extensions to access the integration functionalities, complete the following settings.
- On the CRM integration page, click
 to
synchronize the latest list of CRM users.
to
synchronize the latest list of CRM users.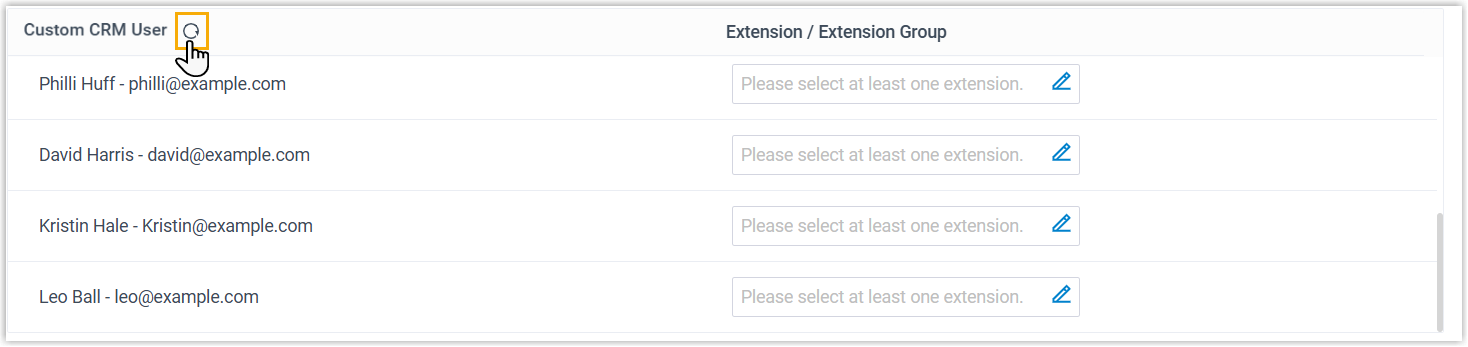
- Associate the CRM users with PBX extensions.
- Associate automatically
- If users bind the same email address to their CRM
accounts and PBX extensions, you can implement
automatic association of their CRM accounts and PBX
extensions as follows:
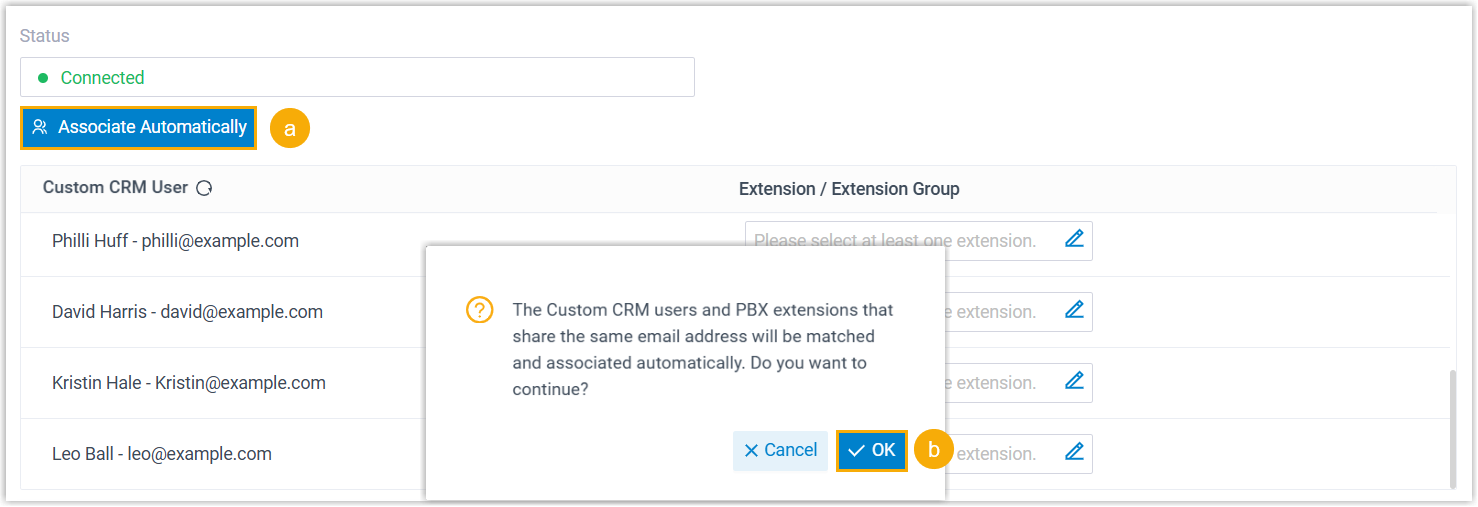
- Click the Associate Automatically button.
- On the pop-up window, click OK.
- Associate manually
- If the user binds different email addresses to their
CRM account and PBX extension, you need to manually
associate the user's CRM user account and PBX
extension.
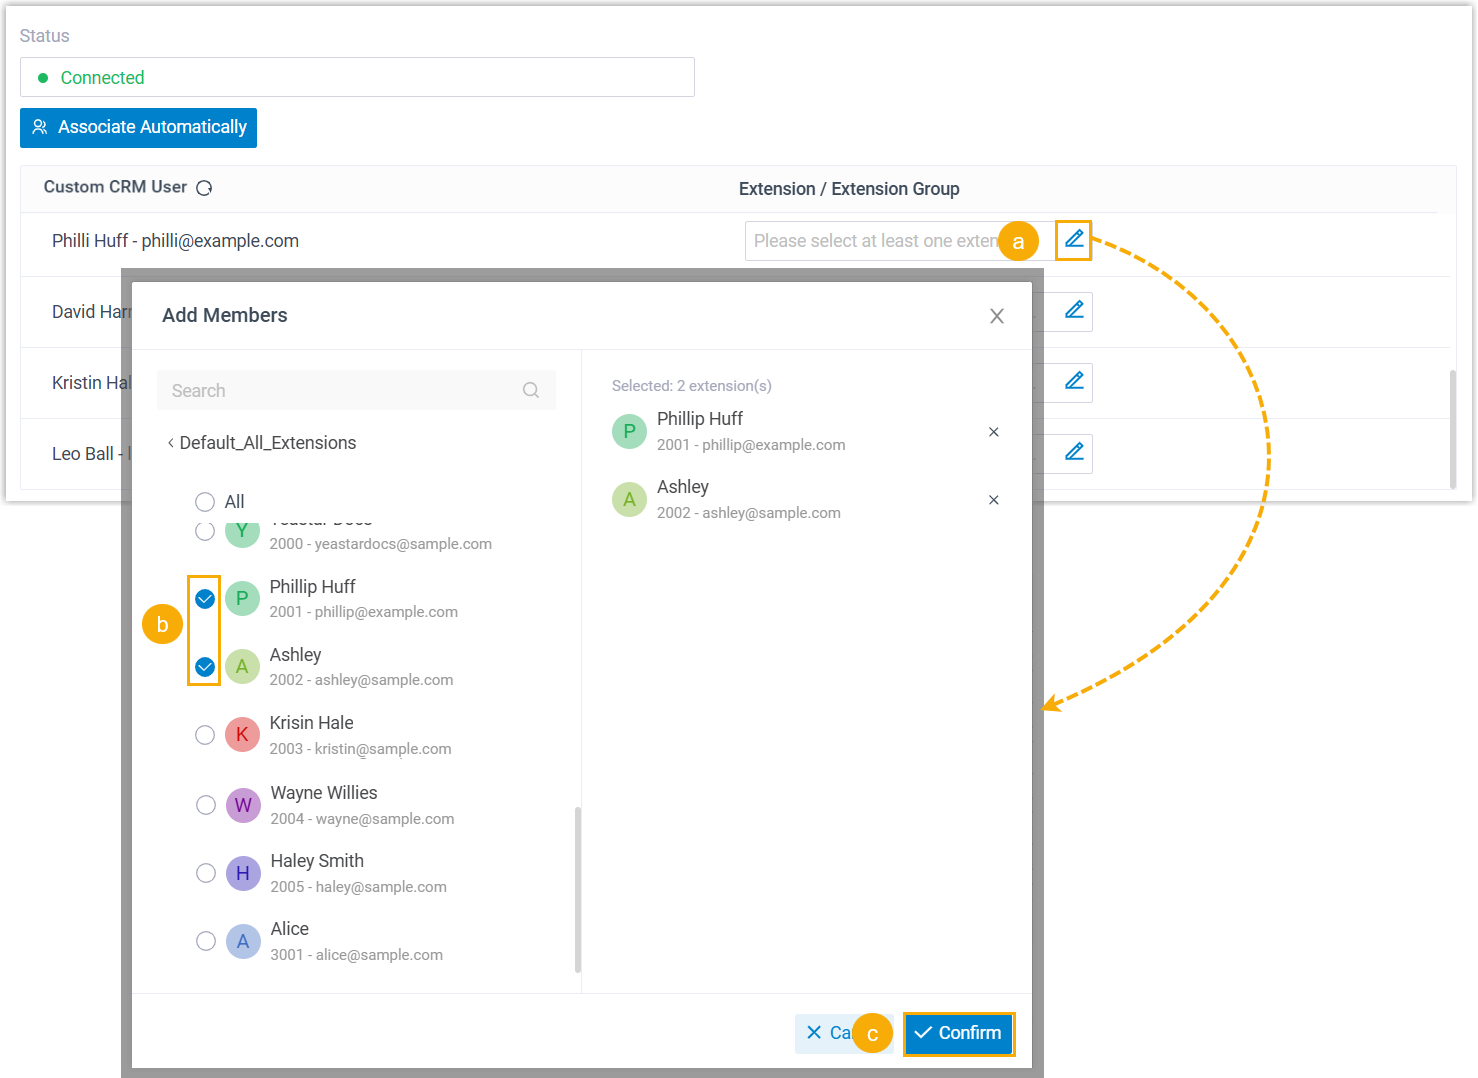
- In the Extension field
beside the CRM user, click
 .
. - In the pop-up window, select the desired user's extension(s).
- Click Confirm.
- In the Extension field
beside the CRM user, click
- Click Save.
- On the CRM integration page, click