Install Yeastar K2 IPPBX System on Dell EMC PowerEdge R240 Server
This topic describes how to install Yeastar K2 system on Dell EMC PowerEdge R240 server.
Before You Begin
You need to write Yeastar K2 image in a USB, then connect the USB driver to the physical machine to start installing the K2 system.Step1. Prepare before Installation Process
Note: Do not connect Dell EMC PowerEdge R240 Server to network, or problems may occur
during the installation process.
- Connect the USB driver to the USB 2.0 port on Dell EMC PowerEdge R240 Server.Note:
- The USB 2.0 port is at the right side of the front panel.
- The installation process cannot work with USB 3.0.

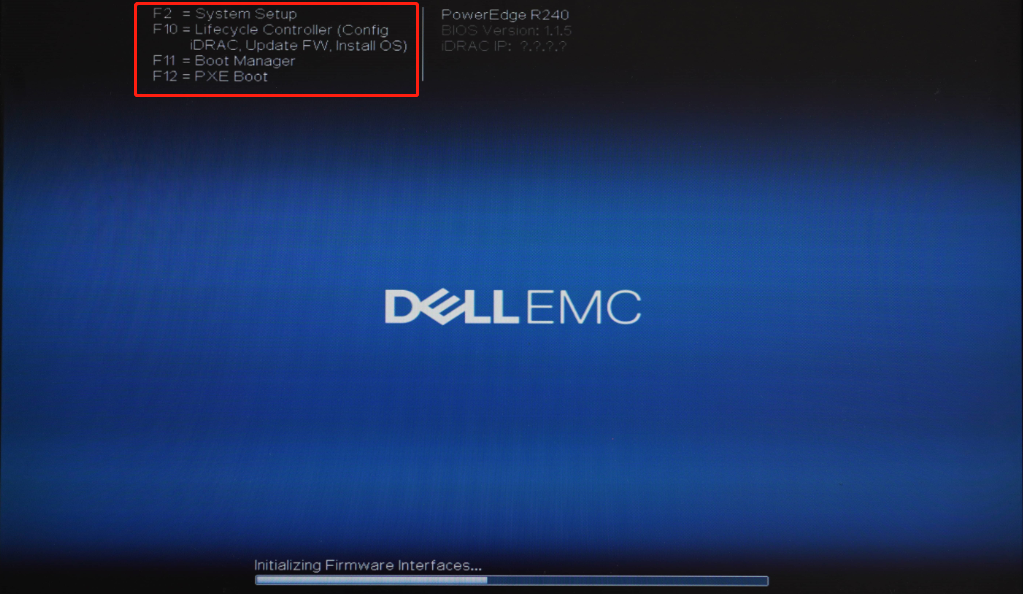
- Press the power button to power on the device.
- When you see the following figure, press F2 immediately to enter system
setup.Note: If you don't press F2 in time to enter the system setup, reboot the device to try again.
- Go to , set the Boot Mode to
UEFI.

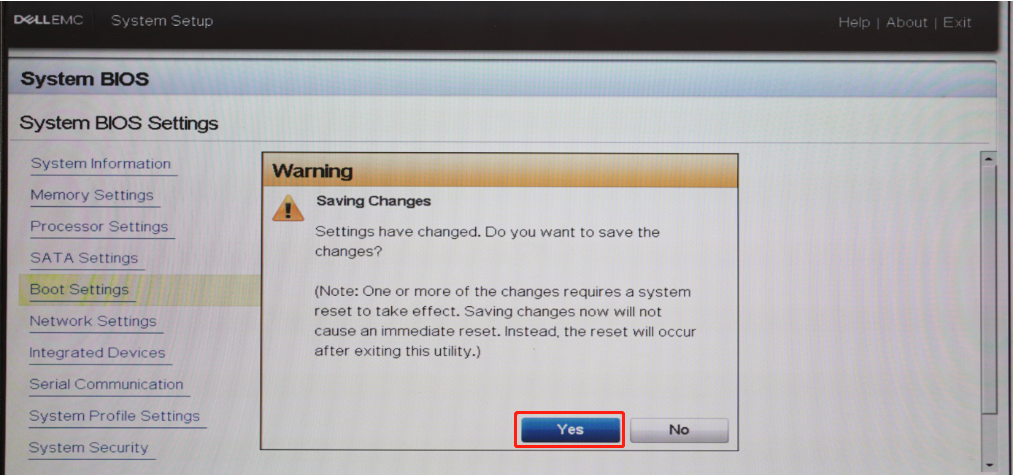
- Press Esc key twice to exist System BIOS
Settings, then select Yes to save the
setting.
- Press Ctrl + Alt + Delete key to reboot the sever.
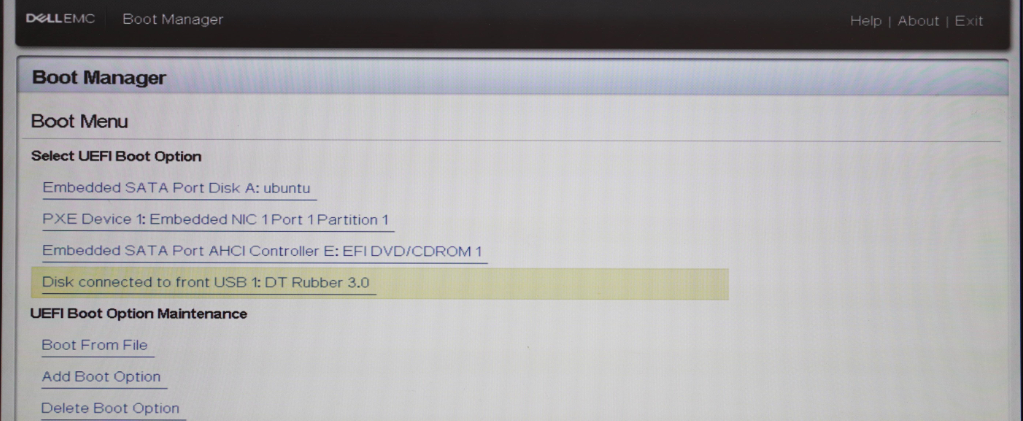
- During boot, press F11 to enter the Boot Manager.
- Select One-shot UEFI Boot Menu, then select
Disk connected to front USB 1: DT Rubber
3.0.
- Select Install Ubuntu Server to install K2
system.

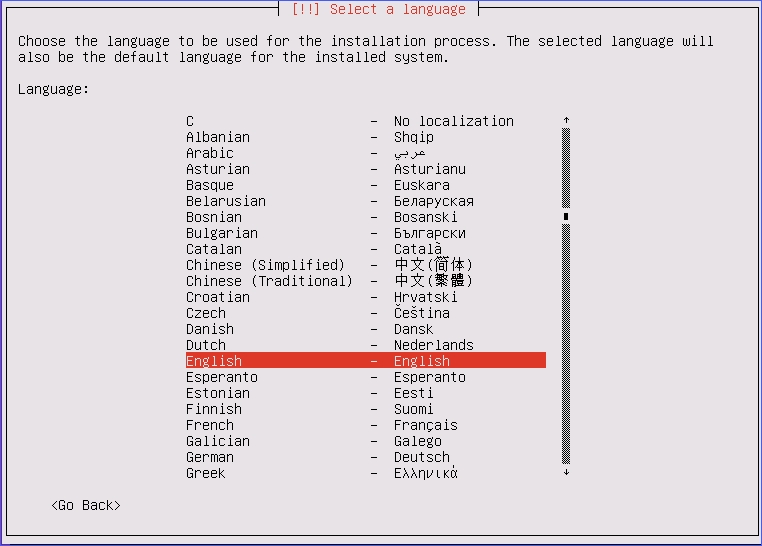
Step 2. Configure language and location
The installer will begin with a prompt to select a language for the installation process.
- Select a language to be used for the installation process and installed
system.
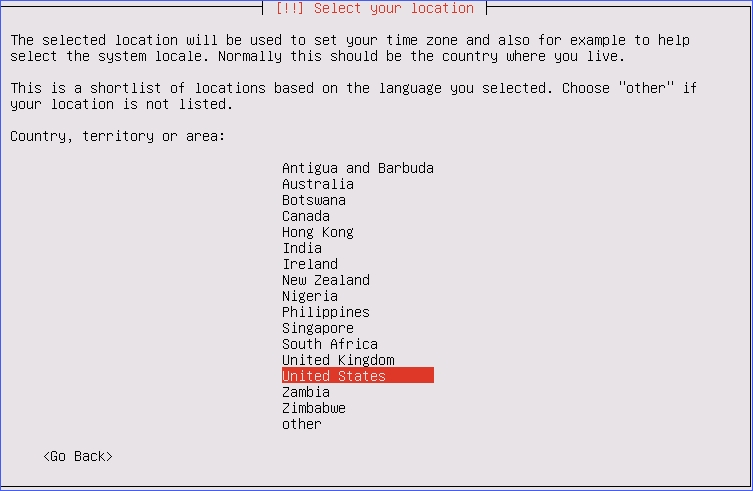
- Select your location based on the language you selected.
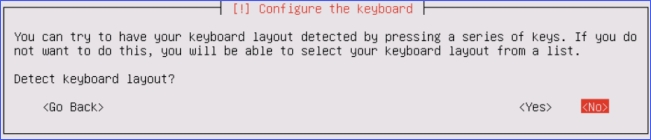
Step 2. Configure the keyboard
- Select NO, not to do keyboard layout
detection.
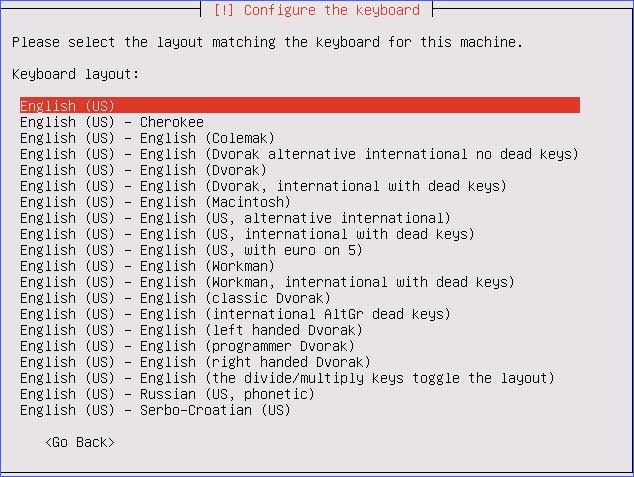
- Select a country of origin for the keyboard of this computer.

- Select the layout matching the keyboard for your machine.
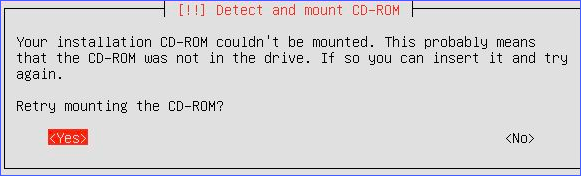
- If it is the first time to install K2 on R240 server, you may be prompted
that the installation CD-ROM couldn't be mounted. To solve this issue,
disconnect your USB driver and reconnect it again.
Step 3. Skip network configuration
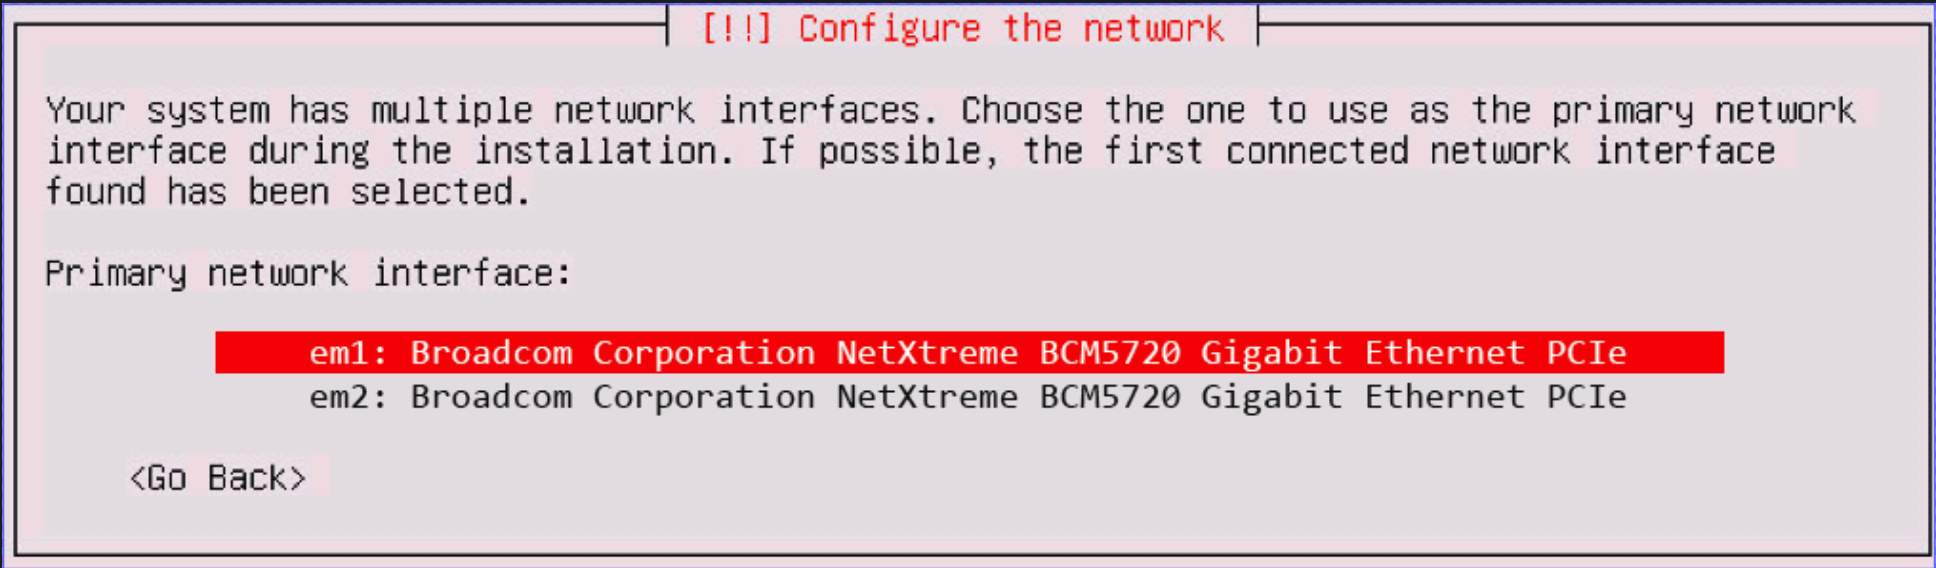
- Select the primary network interface.
- When you see the DHCP configuration process, press
Enter key to cancel.
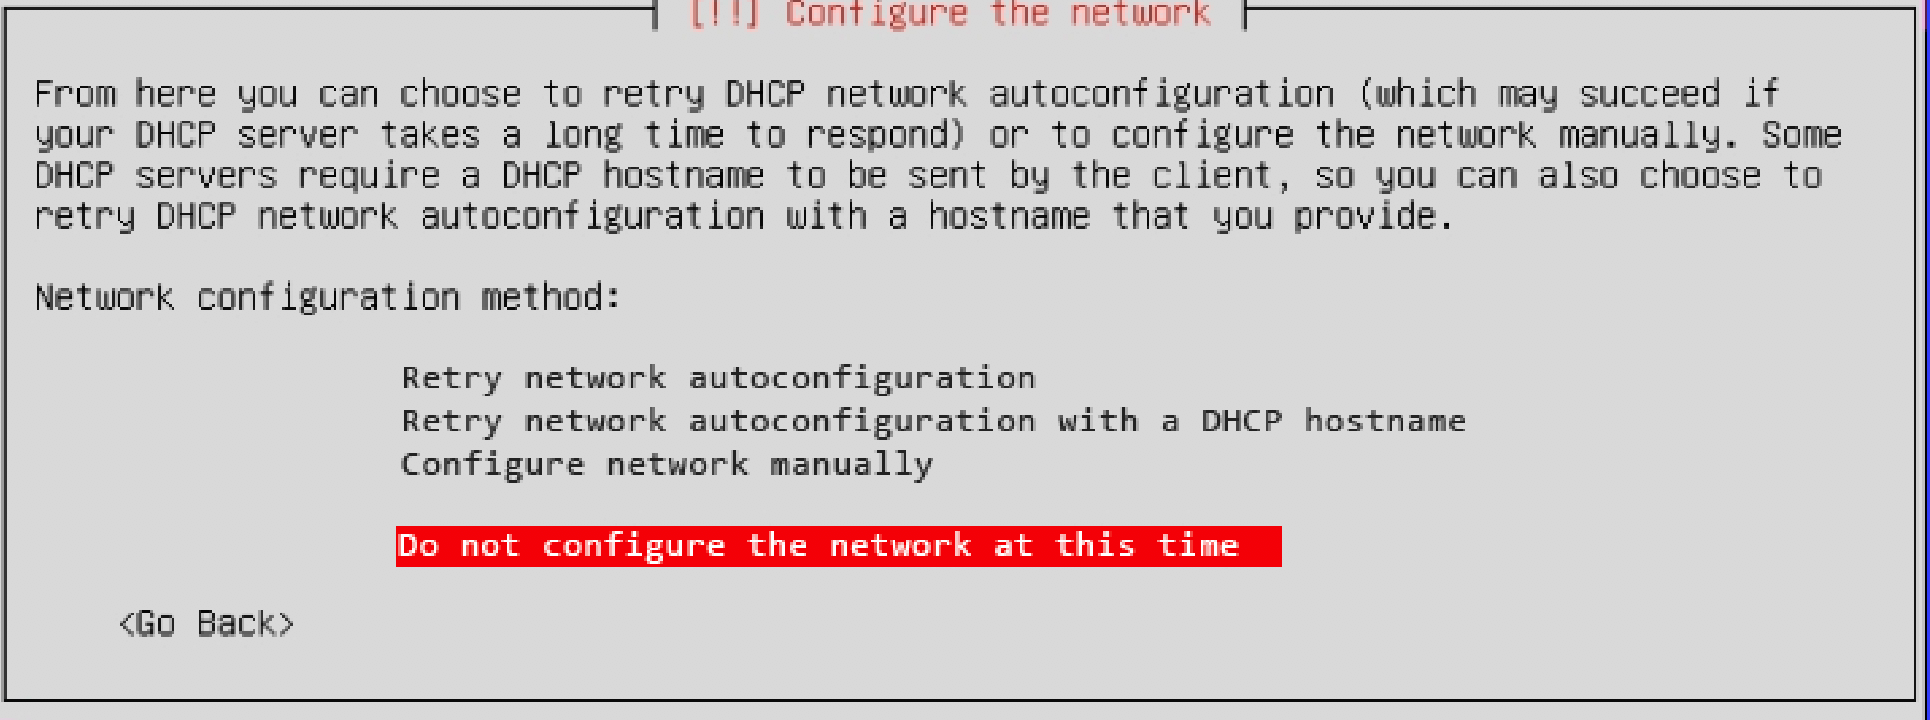
You will be prompted that the network auto configuration failed, press Enter key to continue.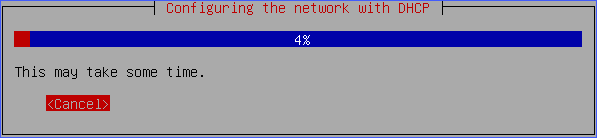

- Select Do not configure the network at this
time.
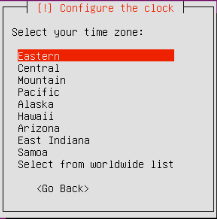
- Select the time zone.
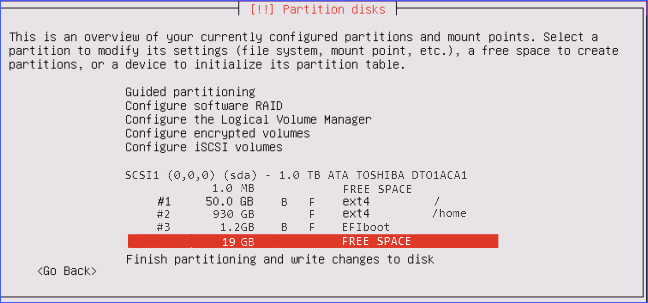
Step 4. Plan and create partition disk
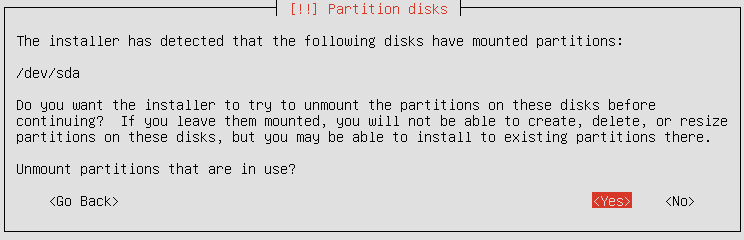
- Unmount partitions that are in use.
- Select Yes to unmount the partitions.
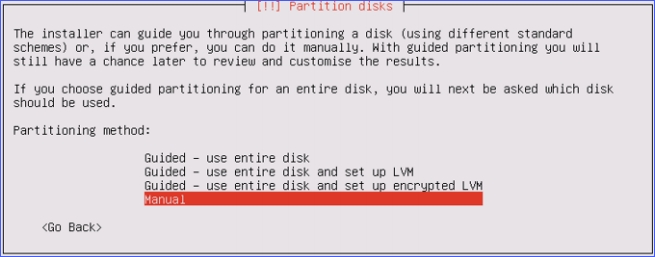
- Select Manual partitioning method.
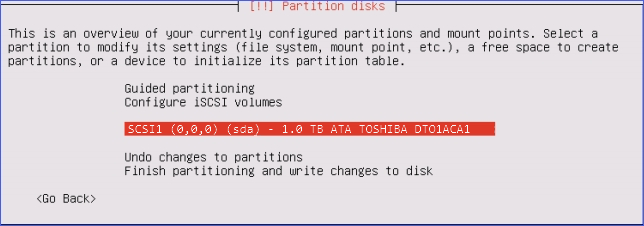
- Select the partition of the system.
- Select Yes to create new empty partition table on
this device.

- Select Yes to unmount the partitions.
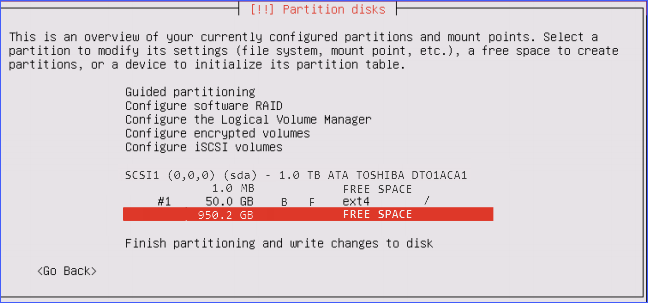
- Create partition 1: root directory for system files.
- Select the FREE SPACE to create partition
1.
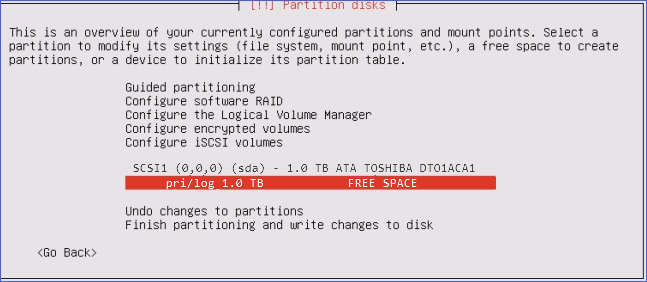
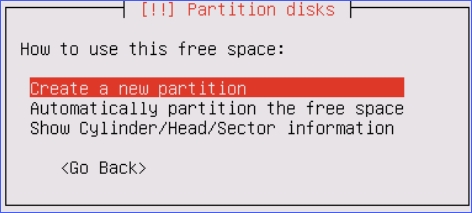
- Select Create a new partition.
- Set the partition size.
Recommended size: 50 GB.

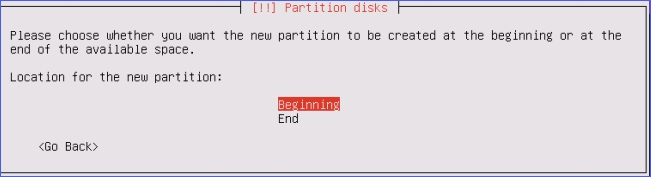
- Select location for the partition as
Beginning.
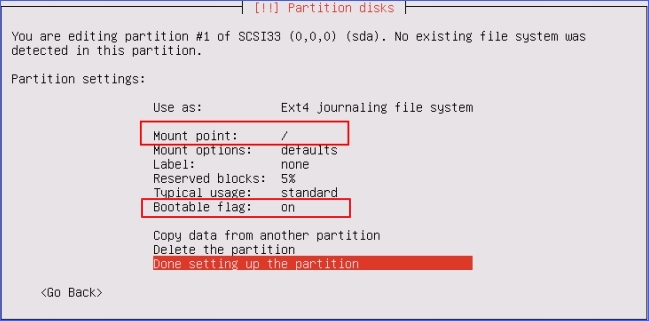
- Set Use as and Mount point
for the partition 1, then select Done settings up the
partition.
- Use as: Ext4 journaling file system
- Mount point: /
- Bootable flag: on
- Select the FREE SPACE to create partition
1.
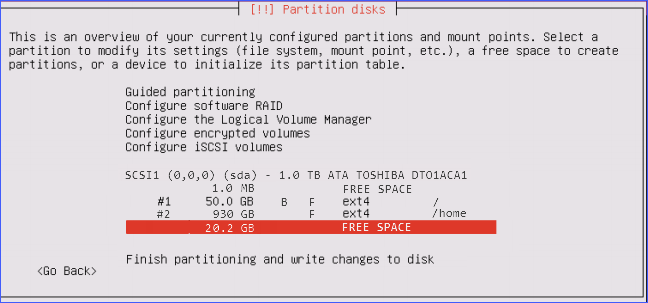
- Create partition 2: home directory for data and recordings.
- Select the FREE SPACE to create partition 2.
- Select Create a new partition.
- Set the partition size.Note:
- 1000-minute recordings require about 1GB space.
- We recommend that you set a larger space for the partition to have more space to store your recordings and other data.

- Select location for the partition as
Beginning.
- Set Use as and Mount point
for the partition 2, then select Done settings up the
partition.
- Use as: Ext4 journaling file system
- Mount point: /home

- Select the FREE SPACE to create partition 2.
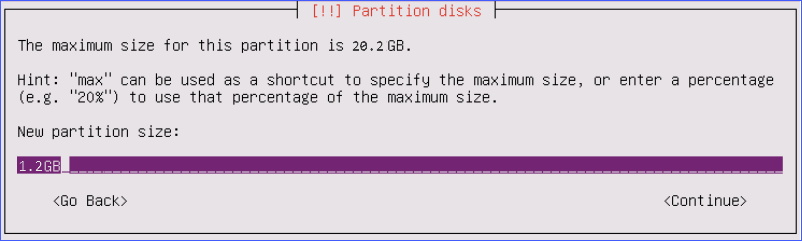
- Create partition 3: EFI boot for UEFI boot mode.
- Select the FREE SPACE to create a new partition.
- Select Create a new partition.
- Set the partition size.
Recommended size : 1.2 GB.
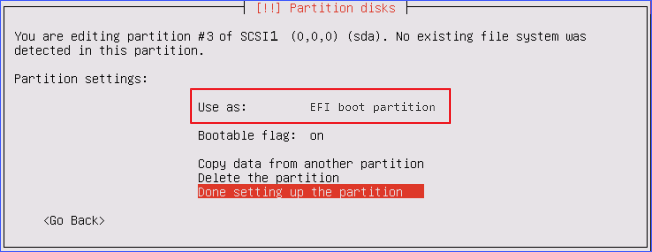
- Select location for the partition as
Beginning.
- Set Use as and Mount point
for the partition 3, then select Done settings up the
partition.
- Use as: EFI boot partition
- Select the FREE SPACE to create a new partition.
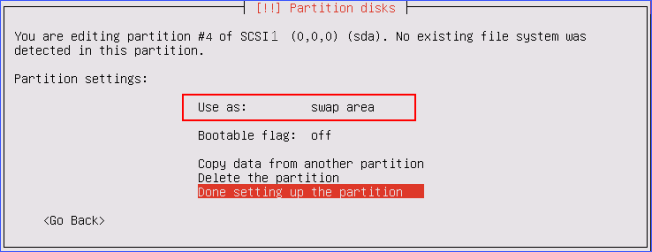
- Create partition 4: swap area for storing data when system hibernates.
- Select the FREE SPACE to create a new partition.
- Select Create a new partition.
- Set the partition size.
Recommended size : 10 GB.

- Select location for the partition as
Beginning.
- Set Use as and Mount point
for the partition 4, then select Done settings up the
partition.
- Use as: swap area
- Select the FREE SPACE to create a new partition.
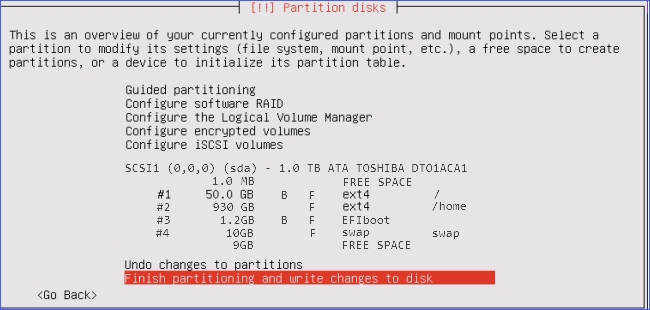
- Select Finish partitioning and write changes to
disk.
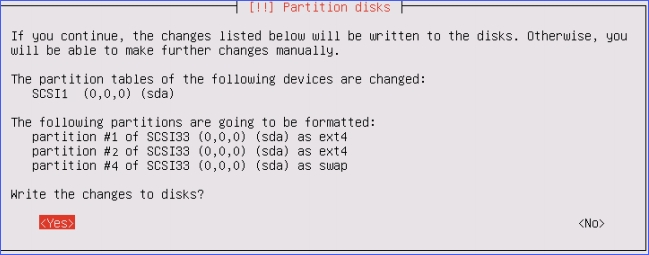
- Select Yes, write the changes to disks.
Step 5. Install the IPPBX System
After finishing partitioning and write changes to disk, the K2 system starts to be
installed on the server. Wait for a few minutes for the installation.
- Select No automatic updates.Important: Do not select other options.
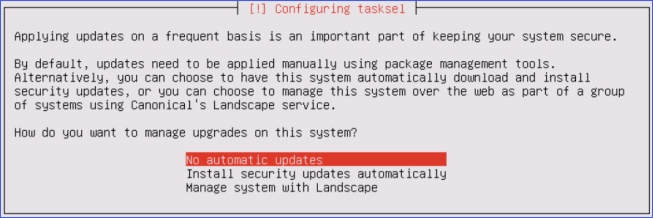
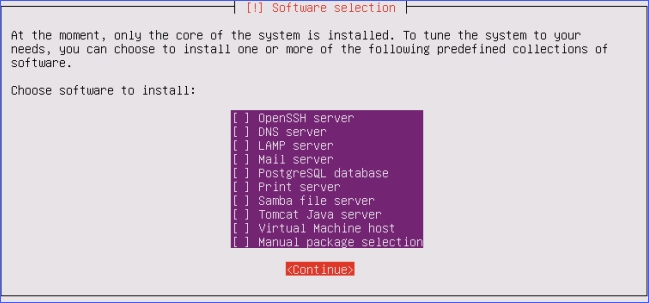
- Press Tab to select Continue
to skip this step.
The system installation starts.
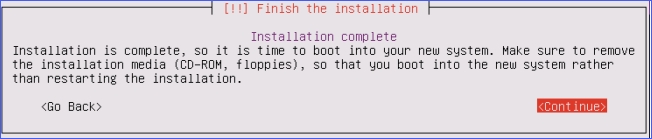
- When you are prompted that the installation is complete, disconnect your USB
driver, then select Continue to boot into your
system.
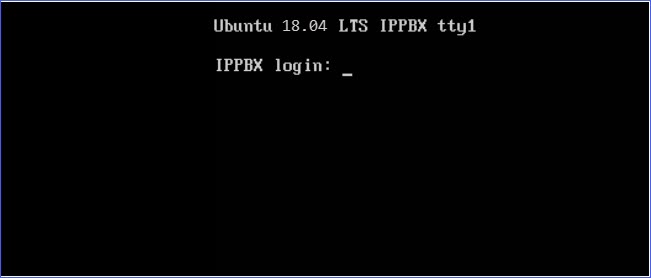
When the following screen displays, the IPPBX system is successfully installed.