Integrate Linkus Desktop Client with TAPI
Yeastar offers a TAPI software driver that can be installed on your PC to seamlessly integrate with your Linkus Desktop Client (Windows Desktop). This integration allows you to implement click-to-call directly from a variety of TAPI-enabled applications (such as your CRM application) using Linkus Desktop Client, eliminating the need for manual dialing of telephone numbers and thus enhancing productivity.
Requirements
- PBX Server: Version 83.20.0.128 or later
- Linkus Desktop Client (Windows Desktop): 1.16.4 or later
- Windows Operating System: Windows 7, Windows 8, Windows 8.1, Windows 10, Windows 11, Windows Server 2008 R2, Windows Server 2012 R2, Windows Server 2016, and Windows Server 2019 (all 64-bit)
Install the Yeastar TAPI driver
Download the TAPI driver on Linkus Desktop Client and install the driver on your PC.
- Log in to Linkus Desktop Client, go to .
- At the top-right corner of the TAPI Integration
section, click TAPI Driver Download.

A YeastarTAPISetup.exe file is downloaded to your PC.
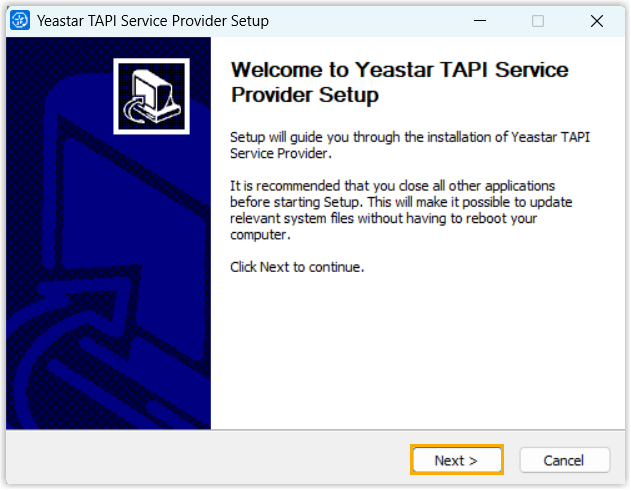
- Open the YeastarTAPISetup.exe to install the TAPI driver.
- Select the desired language.

- Click Next.
- Specify one or more extensions that are allowed to use this TAPI
integration, then click Install to continue
the installation.Note: By default, you can add up to 5 extensions on this setup page. If you require more lines, you can add the desired extensions by editing the TAPI driver's configuration files after installation. For more information, see Add More TAPI Lines.
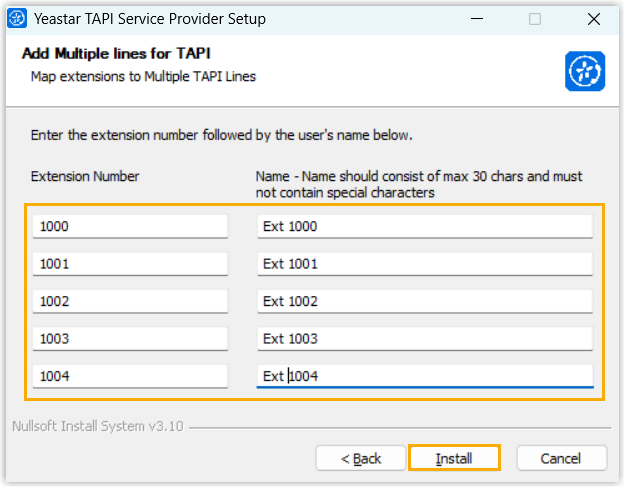
- Extension Number: Enter the desired extension number.
- Name: Enter a name to help you
identify the extension.Note: Only letters, numbers, and spaces are allowed.
- When finished, click Finish to close the
installer program.

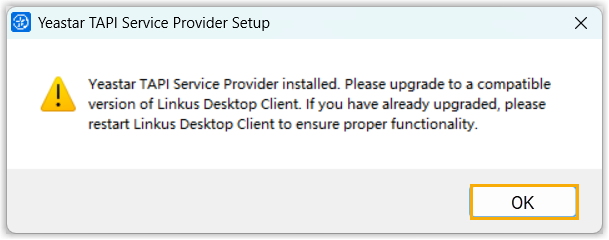
-
In the pop-up window, click OK.
- Select the desired language.
- Restart the Linkus Desktop Client.
Check the installation result of the Yeastar TAPI driver
You can check whether the Yeastar TAPI driver is installed successfully on your PC.
- Press Win + R to open the Run command window.
- Type telephon.cpl and press
Enter to open the Phone and
Modem window.
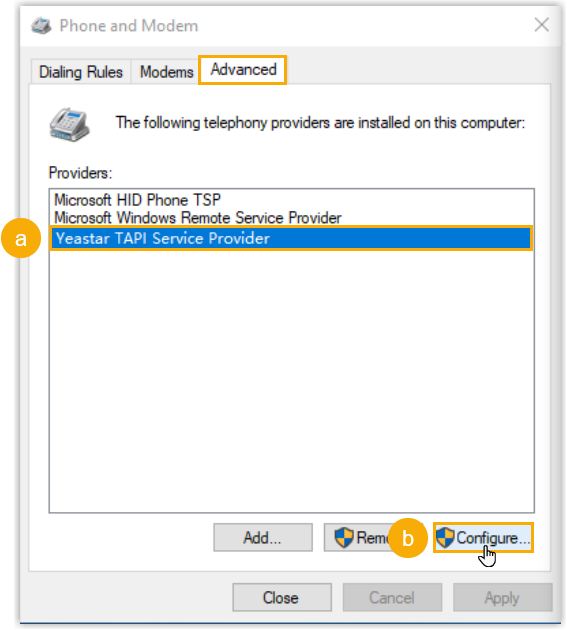
Under the Advanced tab, if you see the Yeastar TAPI Service Provider displayed in the Providers list, it indicates that the Yeastar TAPI driver is installed successfully.

(Optional) Add more TAPI lines
- On the Phone and Modem window, select the Yeastar TAPI Service
Provider, then click
Configure.
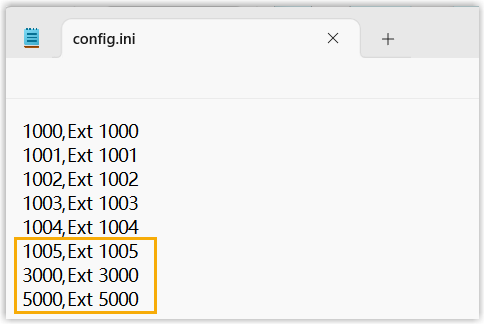
The TAPI driver's configuration file
config.iniopens automatically. -
In the configuration file, add as many lines as you need following the structure of the existing configurations, then save the file.Note: For optimal performance, it is recommended to add up to 50 lines via the configuration file.
- Restart the Telephony service to apply the changes.
- Press Win + R to open the Run command window.
- Type services.msc and press Enter to open the Service window.
- Find and right-click the Telephony service, then select Restart.
Make a test call via Yeastar TAPI driver
Make a test call to verify whether the Yeastar TAPI driver is operational.
In this example, we use the Windows Dialer app to show how to make a call via Yeastar TAPI driver.
- Prerequisites
-
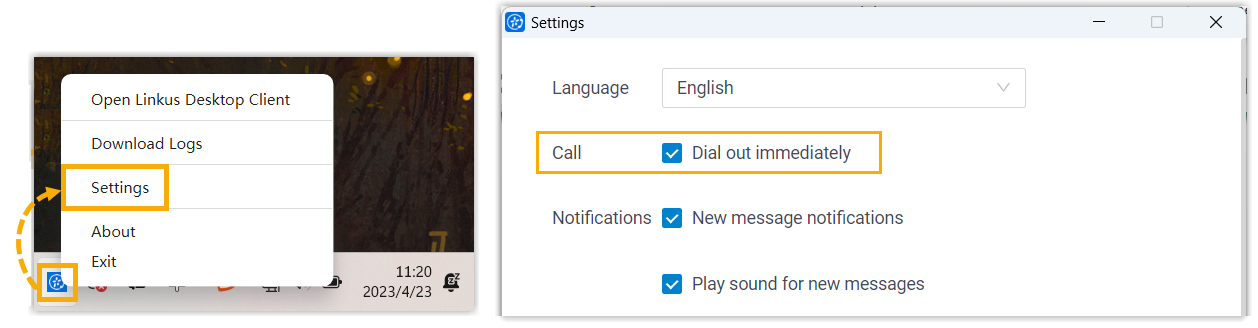
- You have logged in to Linkus Desktop Client.
- The Dial out immediately setting on Linkus Desktop
Client has been enabled.
- If you have set up default calling app to other driver or app for
your PC before, you need to change it to Linkus.
For more information, see How to set Linkus as the default calling app.
- Procedure
-
- On your PC, press Win + R to open the Run command window.
- Type dialer.exe, then press Enter to open the Phone Dialer window.
- On the top menu, click Tools, then select
Connect Using....

- In the Line drop-down list, select the
desired extension, then click
OK.
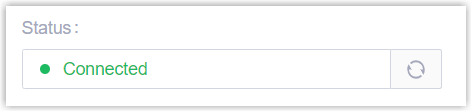
When the selected extension log in to Linkus Desktop Client, the TAPI integration status will be displayed as Connected (Path: ); The numbers dialed in the Dialer will be called out through this line.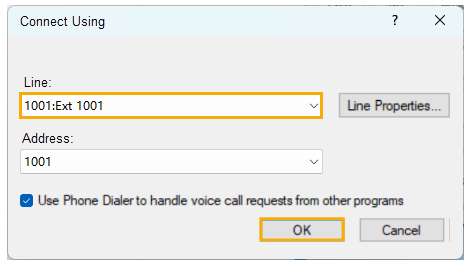
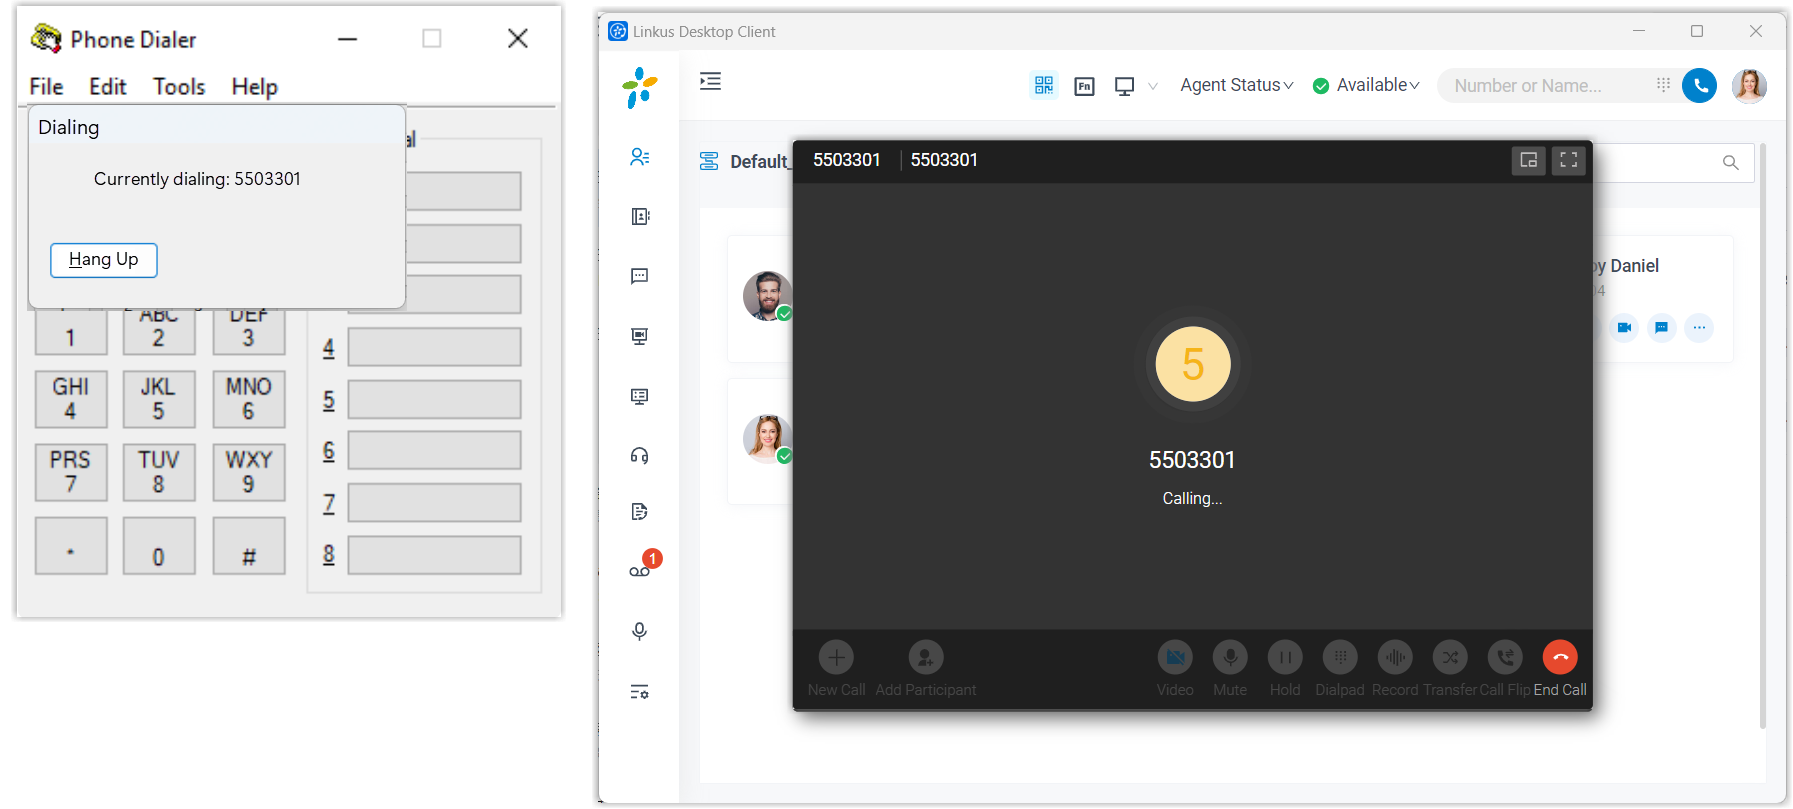
- In the Number to dial field, enter a
phone number and click Dial.
Linkus Desktop Client is launched, initiating an outgoing call.