Integrate Linkus Desktop Client with Outlook for Windows
This topic describes how to integrate Linkus Desktop Client with Outlook for Windows.
Requirements
- Microsoft Outlook
-
- Client: Outlook for Windows
- Version: Outlook 2016 or later
- Operating System: Windows 10, Windows 11
- Yeastar PBX
- Contact administrator to ensure that the plan of your organization's PBX is Enterprise Plan (EP) or Ultimate Plan (UP).
Step 1. Set up Outlook integration on Linkus Desktop Client
- Log in to Linkus Desktop Client, go to .
- Turn on the switch of Enable Outlook
Integration.

- Set up automatic contact creation and call logs synchronization as needed.
Feature Instruction Automatic Contact Creation With automatic contact creation set up, Outlook will automatically pop up the contact creation page when you receive or make calls with an unknown number that doesn't match an Outlook contact.
- Select the checkbox of Create New Contacts Automatically.
- In the Call Types to Auto-create
Contacts drop-down list, select when
will Outlook pop up the contact creation page.
- Inbound: Inbound call from an unknown number that doesn't match an Outlook contact.
- Outbound: Outbound call to an unknown number that doesn't match an Outlook contact.
Call Logs Synchronization With call logs synchronization enabled, all the call histories with your Outlook contacts will be synchronized to Outlook.
To enable call log synchronization, select the checkbox of Synchronize Call Logs Automatically. - Click Save.
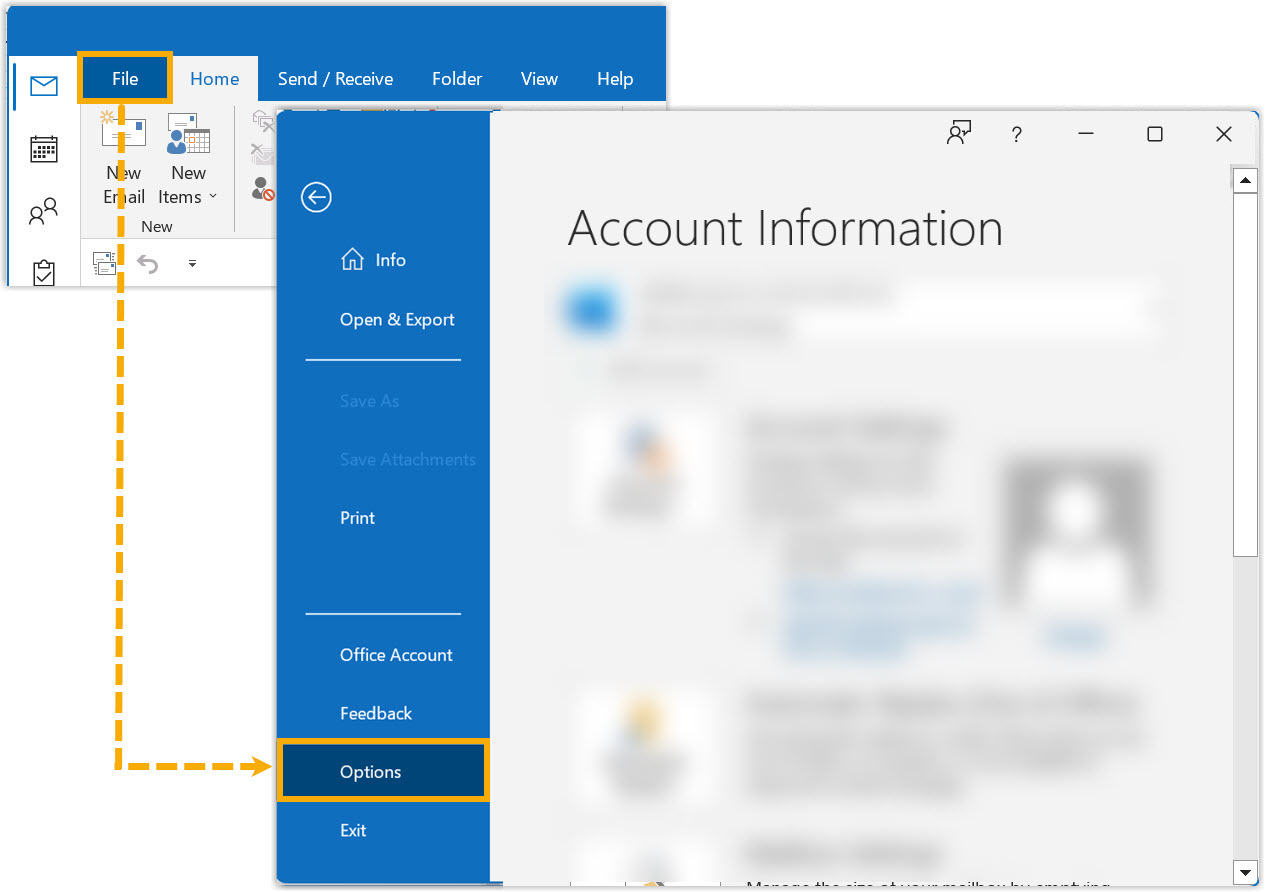
Step 2. Activate Linkus add-in on Outlook
- Open
or restart Outlook, go to .
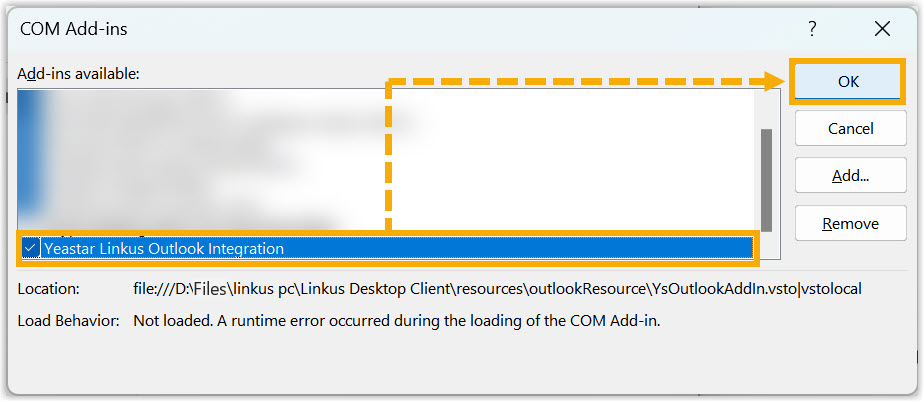
- In the pop-up window, click Add-ins and click
Go....

- In the pop-up window, select the checkbox of Yeastar Linkus Outlook
Integration and
click OK.
- In the pop-up window, click Install.
Result
-
The integration of Linkus Desktop Client and Outlook for Windows is set up.
- You can make phone calls and utilize call features within Outlook.