Activate Yeastar Workplace Online
This topic describes the online activation steps for Yeastar Workplace on-premise deployment.
Procedure
Step 1. Enter the authorization code
-
Contact Yeastar Sales for the authorization code.
-
Open a web browser, enter the domain name or IP address of your Yeastar Workplace, then press Enter.
-
Select Online Activation and enter the authorization code.
-
Click Confirm.

Step 2. Set up the email server
noreply@workplace.yeastar.com.- Use the default email server
-
-
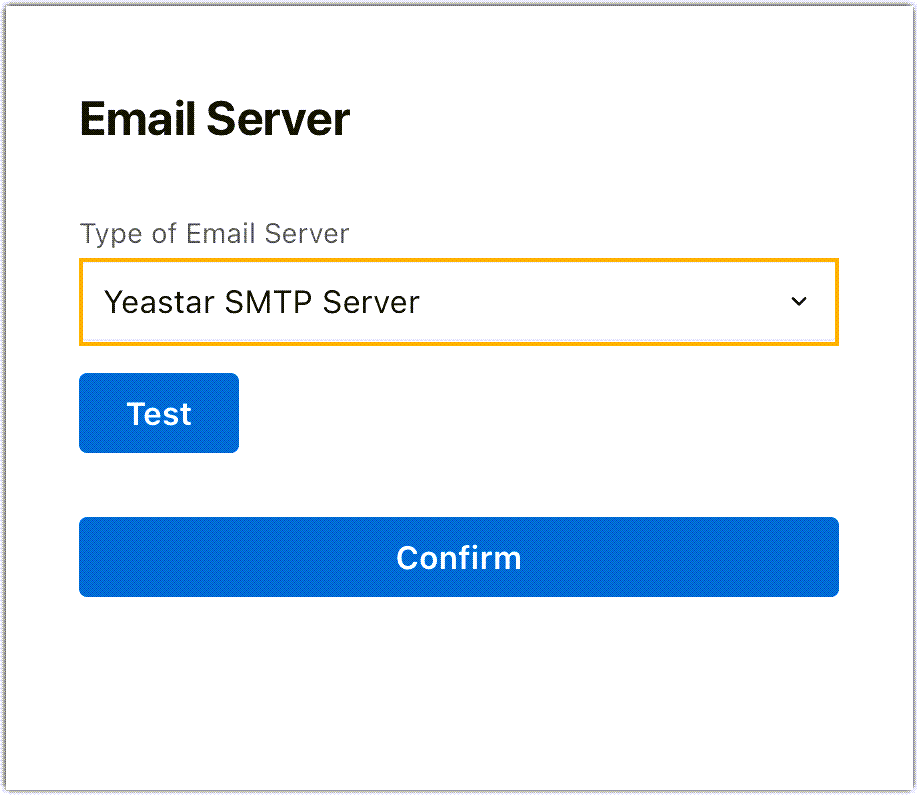
In the Email Server page, click the Type of Email Server drop-down and select Yeastar SMTP Server.
-
Click Test, in the pop-up dialog box, enter an email address to receive the test mail.
-
Click Send to test if this email address is available.
-
When the test succeeds, click Confirm to continue.
-
- Set up a custom email server
-
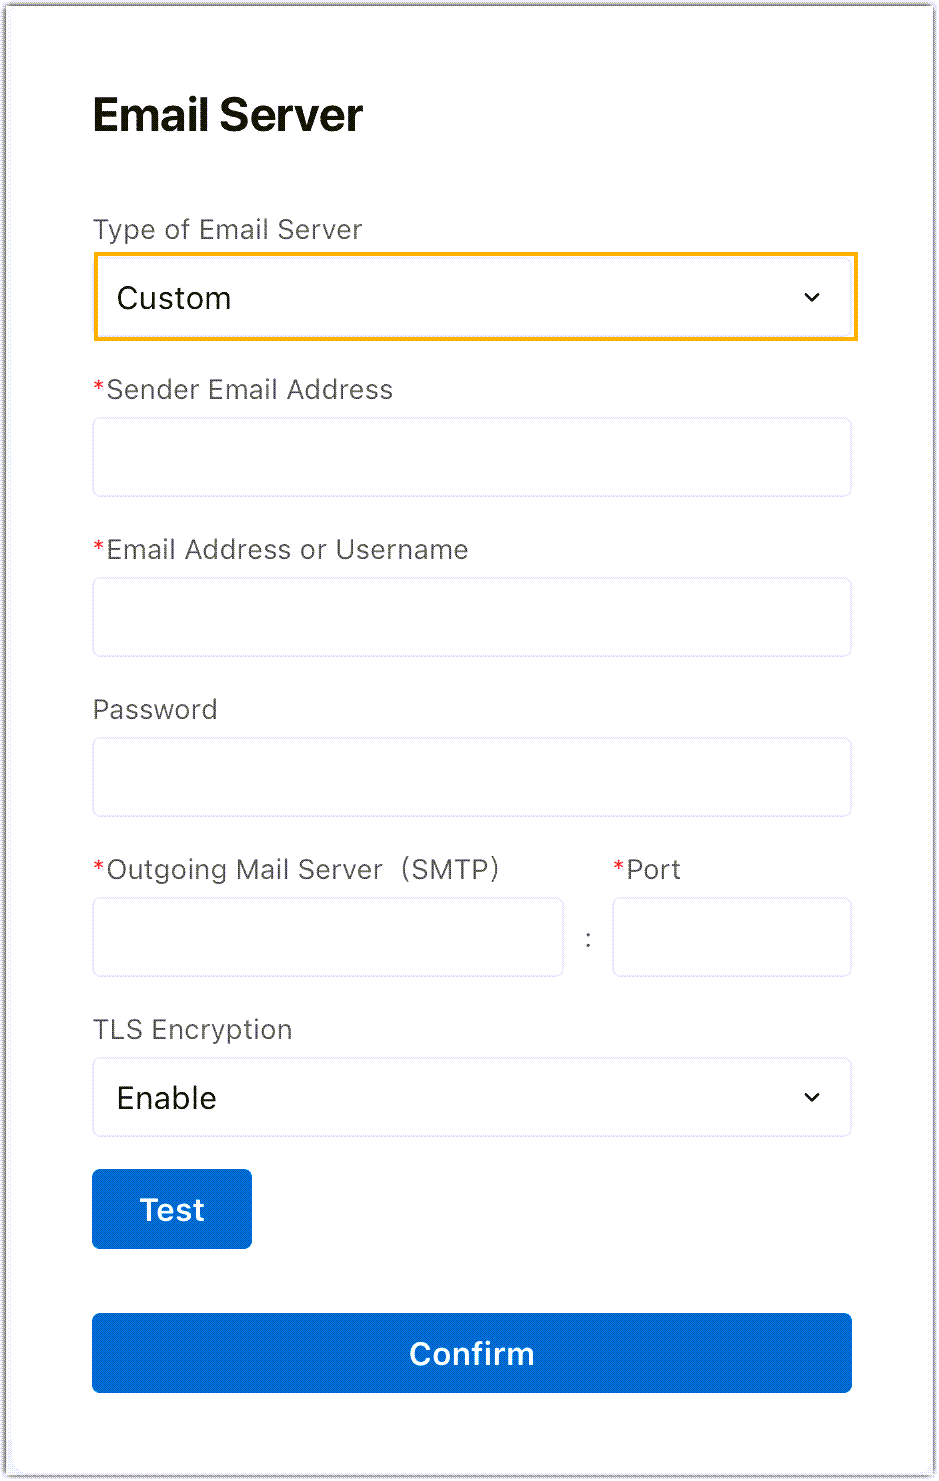
- In the Email Server page, click the
Type of Email Server drop-down
and select Custom System Emails
Server, and fill in the following
fields:
 Note: If you wish to set up Gmail or Outlook as an Email Server, see the following topics:
-
Sender Email Address: Enter the email address, and Yeastar Workplace will send emails through it.
-
Email Address or Username: Enter your email address or username, which is used to access the SMTP server.
-
Password: Enter the password of your email, which is used to access your mail server.
-
Outgoing Mail Server(SMTP): Enter the outgoing mail server.
-
Port: Enter the port of the SMTP server.
-
TLS Encryption: Enable or disable TLS encryption.
-
-
Click Test, in the pop-up dialog box, enter an email address to receive the test mail.
-
Click Send to test if this email address is available.
-
When the test succeeds, click Confirm to continue.
- In the Email Server page, click the
Type of Email Server drop-down
and select Custom System Emails
Server, and fill in the following
fields:
Step 3. Create a company account
- Register an account
-
-
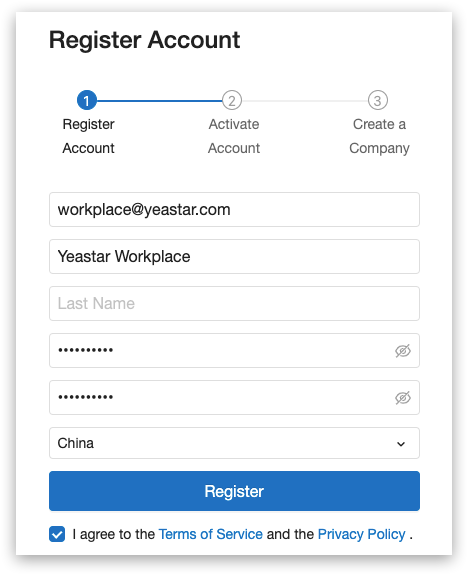
On the account registration page, enter your email address, username, password, and confirmed password.
-
Select your country and region.
-
Read our Terms of Service and Privacy Policy, and check the checkbox to agree to them.
-
Click Register. An activation email is sent to your email.
-
- Activate the account
-
-
Go to your email inbox to check the activation email.
-
Click the activation link in the email. Your account will be activated.

-
- Create a company
-
-
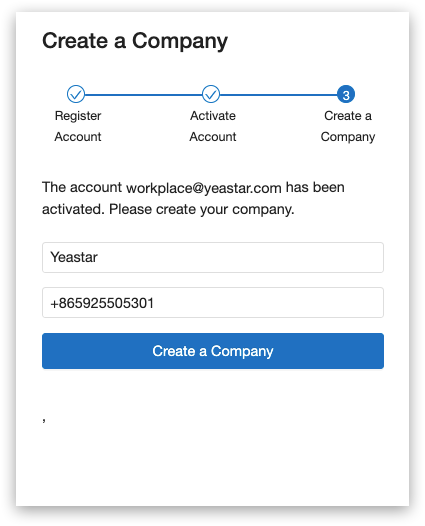
Enter your company name and your company phone number.
-
Click Create a Company.
-
Result
The system is activated and ready for use.