Integrate Yeastar S-Series VoIP PBX and Zoho Applications
This topic introduces how to integrate Yeastar S-Series VoIP PBX and Zoho applications.
Log in the PBX web interface, open Zoho Integration, follow the steps below to complete integration.
Note:
- Only an super administrator can enable the integration.
- Once integration enabled by the super administrator, the integration is activated for all users.
Prerequisite steps
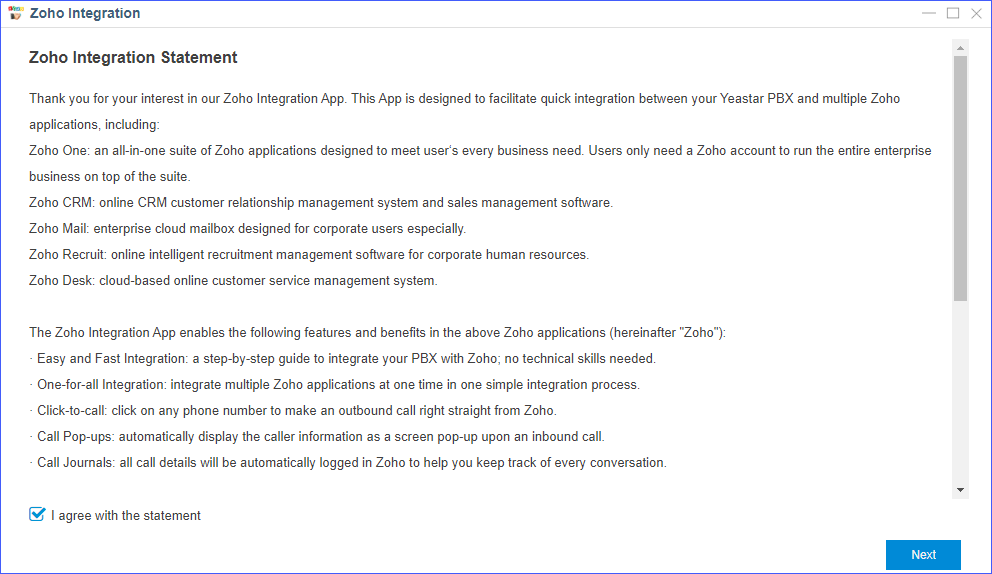
- Agree with integration statement.
- Read the integration statement, and select the check-box of I agree with the statement.
- Click Next.
Step 1. Enter the public IP address or domain
- In the Public IP Address or Domain field, enter the
public IP address or domain of your PBX.Note: If your PBX uses HTTPS protocol, you need to enter the domain in the Public IP Address or Domain field.
- In the drop-down list of Protocol and external port,
select the forwarded external port.Note:
- We recommend that you use HTTPS 8040 for secure communication, and upload HTTPS certificate to PBX.
- Make sure that the web access port of your PBX is forwarded to the selected external port on public IP or domain . Otherwise, the authorization will fail.

- Click Next, enable Phonebridge on Zoho.
Step 2. Enable Phonebridge on Zoho
The procedures are different on Zoho One and Zoho applications:
- Enable Phonebridge on Zoho One
-
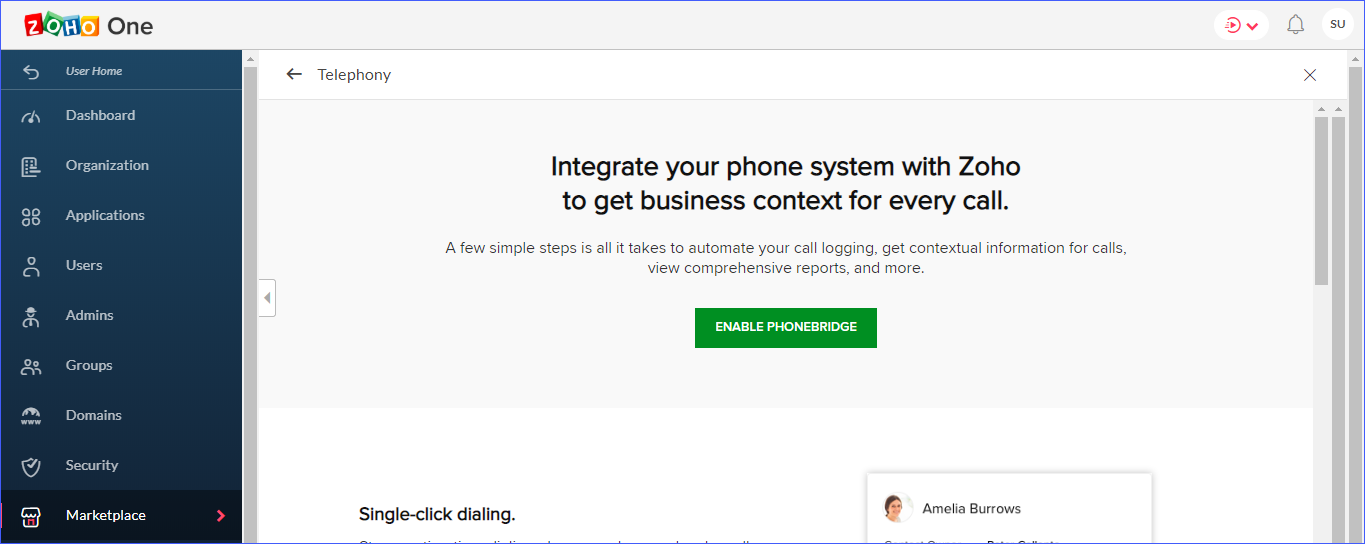
- Log in the Zoho One with super administrator account.
- Go to .
- Click Learn More button.
- Click ENABLE PHONEBRIDGE.
- Back to PBX web interface, click Next in the Zoho Integration page, get Zoho user consent.
- Enable Phonebridge on Zoho CRM, Zoho Mail or Zoho Recruit
-
- Log in your Zoho application with super administrator account.
- Go to .
- Click ENABLE PHONEBRIDGE button.

- Back to PBX web interface, click Next in the Zoho Integration page, get Zoho user consent.
Step 3. Get Zoho User consent
Note: Do NOT integrate your Zoho with multiple PBXs, or you cannot make calls and
receive calls in Zoho.
- In the Zoho Login Address drop-down list, select your
Zoho application address.
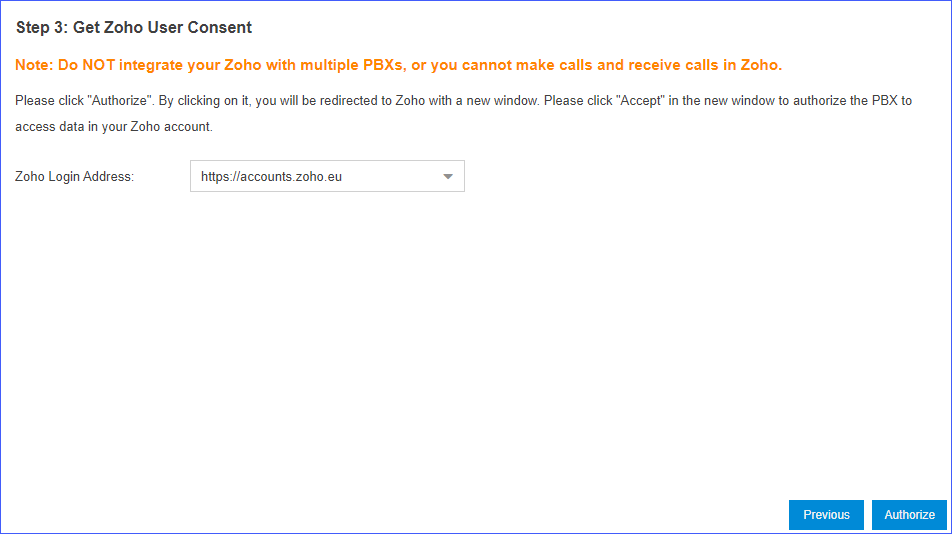
- Click Authorize, the browser automatically opens the
Zoho authentication page.
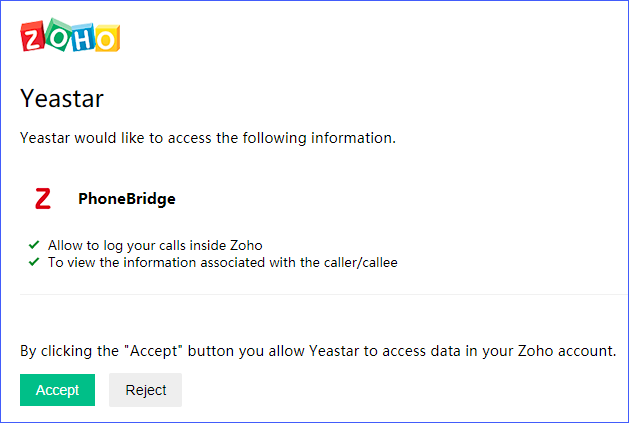
- In the Zoho authentication page, click Accept, and allow the PBX to access data in Zoho account.
- Back to PBX Zoho Integration page.
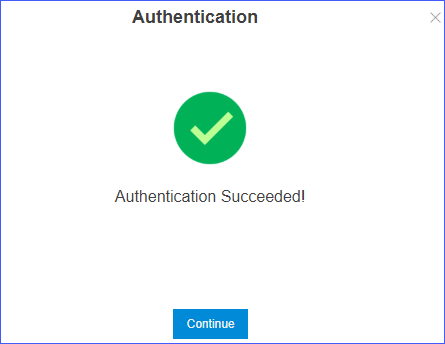
If authorization success, the following page will appear, click Continue, and associate Zoho user with PBX extension.
Step 4. Associate Zoho users with PBX extensions
To allow Zoho users make calls on Zoho applications, you need to associate their Zoho accounts and extensions.
- In the Zoho Integration page, click
 to
refresh the user list.
 - Associate Zoho users with PBX extensions:
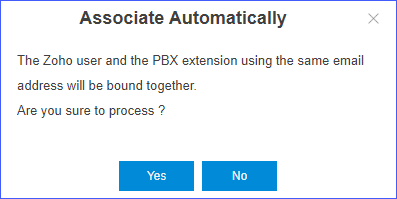
- Associate Automatically: Zoho users and the extensions with the
same email address will be associated directly.
- Click Associate Automatically.
- Click Yes.
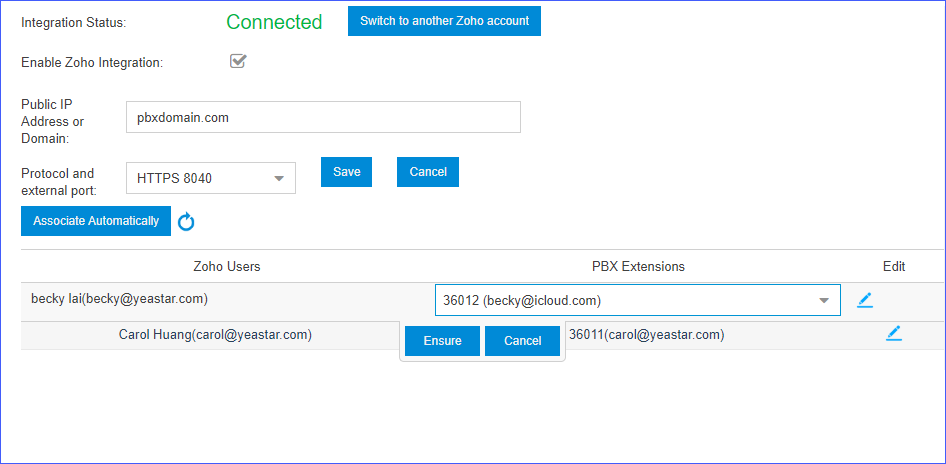
- Associate Manually: If a user binds
different email addresses to his/her Zoho account and PBX extension, you
need to manually associate the user's Zoho User account and PBX
extension.
- Beside the Zoho user, click
 , select an extension.
 - Click Ensure.
- Beside the Zoho user, click
- Associate Automatically: Zoho users and the extensions with the
same email address will be associated directly.