Import 3CX Contacts to Yeastar PBX
Yeastar provides a data conversion tool tailored for seamlessly migrating contacts from 3CX to Yeastar. You can effortlessly export 3CX contacts to a local file, convert it into a format compatible with the Yeastar P-Series Phone System, and then import the file into Yeastar PBX, facilitating a seamless bulk import of contacts.
Step 1. Export contacts information from 3CX
- Log in to 3CX Management Console, go to .
- Export contacts accordingly:
- To export all contacts, click Export.
- To export specific contacts, select the desired ones and click Export.
A csv file that contains information of all selected contacts are saved to your computer.
Step 2. Convert the 3CX contacts for compatibility
- Download the PBX Migration Tool.
- Double click PBX Migration Tool.exe to launch the migration tool.
- Click
 to select the folder where the exported 3CX
contacts file is located.
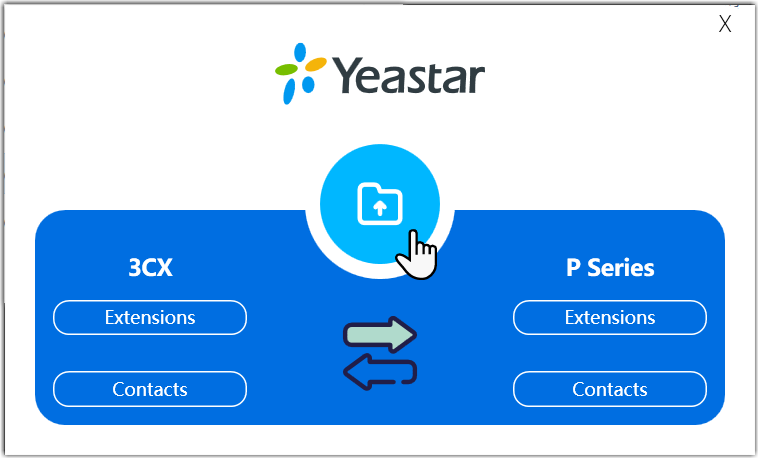
- Click Generate to generate a file that encapsulates 3CX contacts information in a format compatible with Yeastar P-Series Phone System.
- Click
 to view the generated file.

The generated files are named as p_contacts_xxx.csv.

Step 3. Import contacts data to Yeastar PBX
- Log in to Yeastar PBX management portal, go to .
- Click Import.
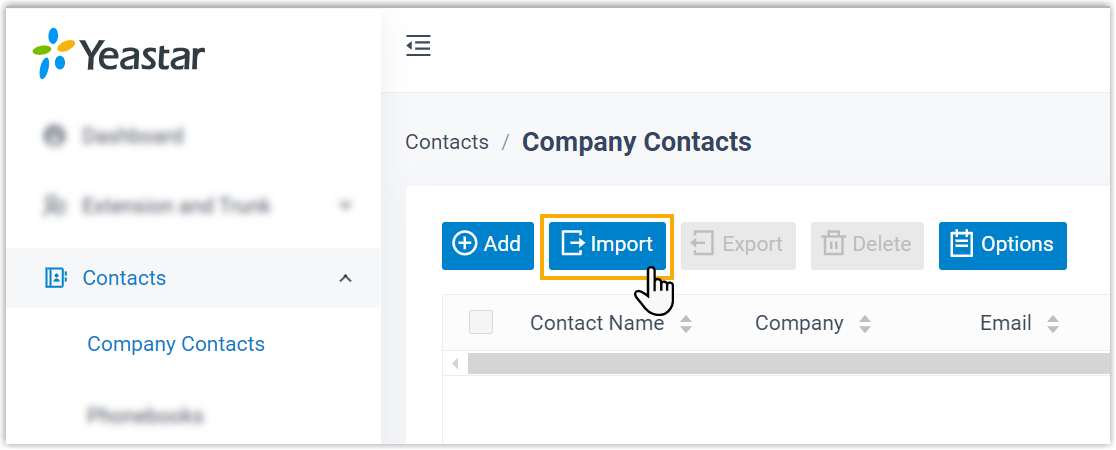
- In the pop-up window, upload the user data file.
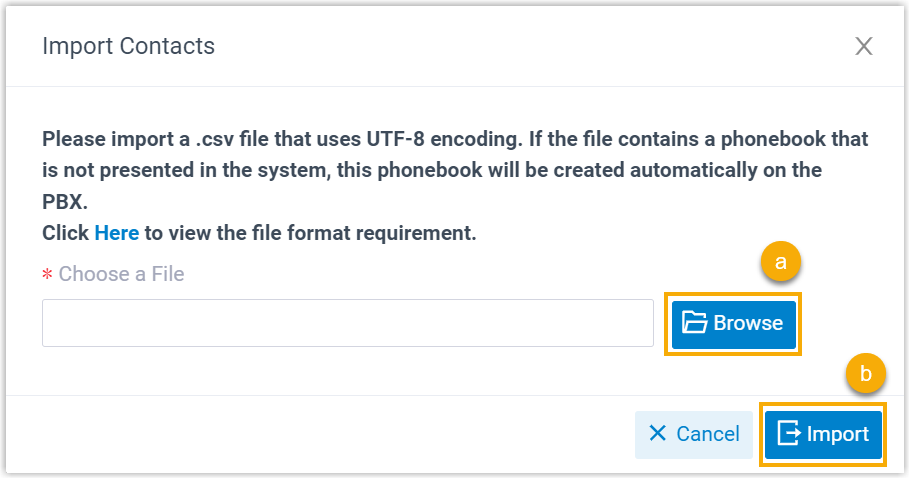
- Click Browse to select the generated file.
- Click Import.
Result
The contacts information in the file are imported to Yeastar Phone System and displayed in the Company Contacts list.