Send Linkus Client Login Credentials to Users
After you enable Linkus clients for users, you need to send login credentials to them. This topic describes what information you need to provide, and how users can login with the provided information.
Send Linkus welcome emails to users for quick login
In most cases, you can send Linkus welcome emails to users, so that they can quickly log in to Linkus clients with the login QR code or login link provided in the email.- Prerequisites
-
- System configuration
- Make sure that Linkus server has been set up.
For more information about the configurations, see Set up Linkus Server with Remote Access Service or Manually Set up Linkus Server.
- Make sure that the system email server works.
- Make sure that Linkus server has been set up.
- Extension configuration
- You have configured email addresses for the desired extensions.
- You have enabled at least one Linkus client for the desired extensions.
- System configuration
- Procedure
-
- Log in to PBX web portal, go to .
- Select the checkbox(es) of the desired extension(s), then click Welcome Email at the top of the extension list.
- Result
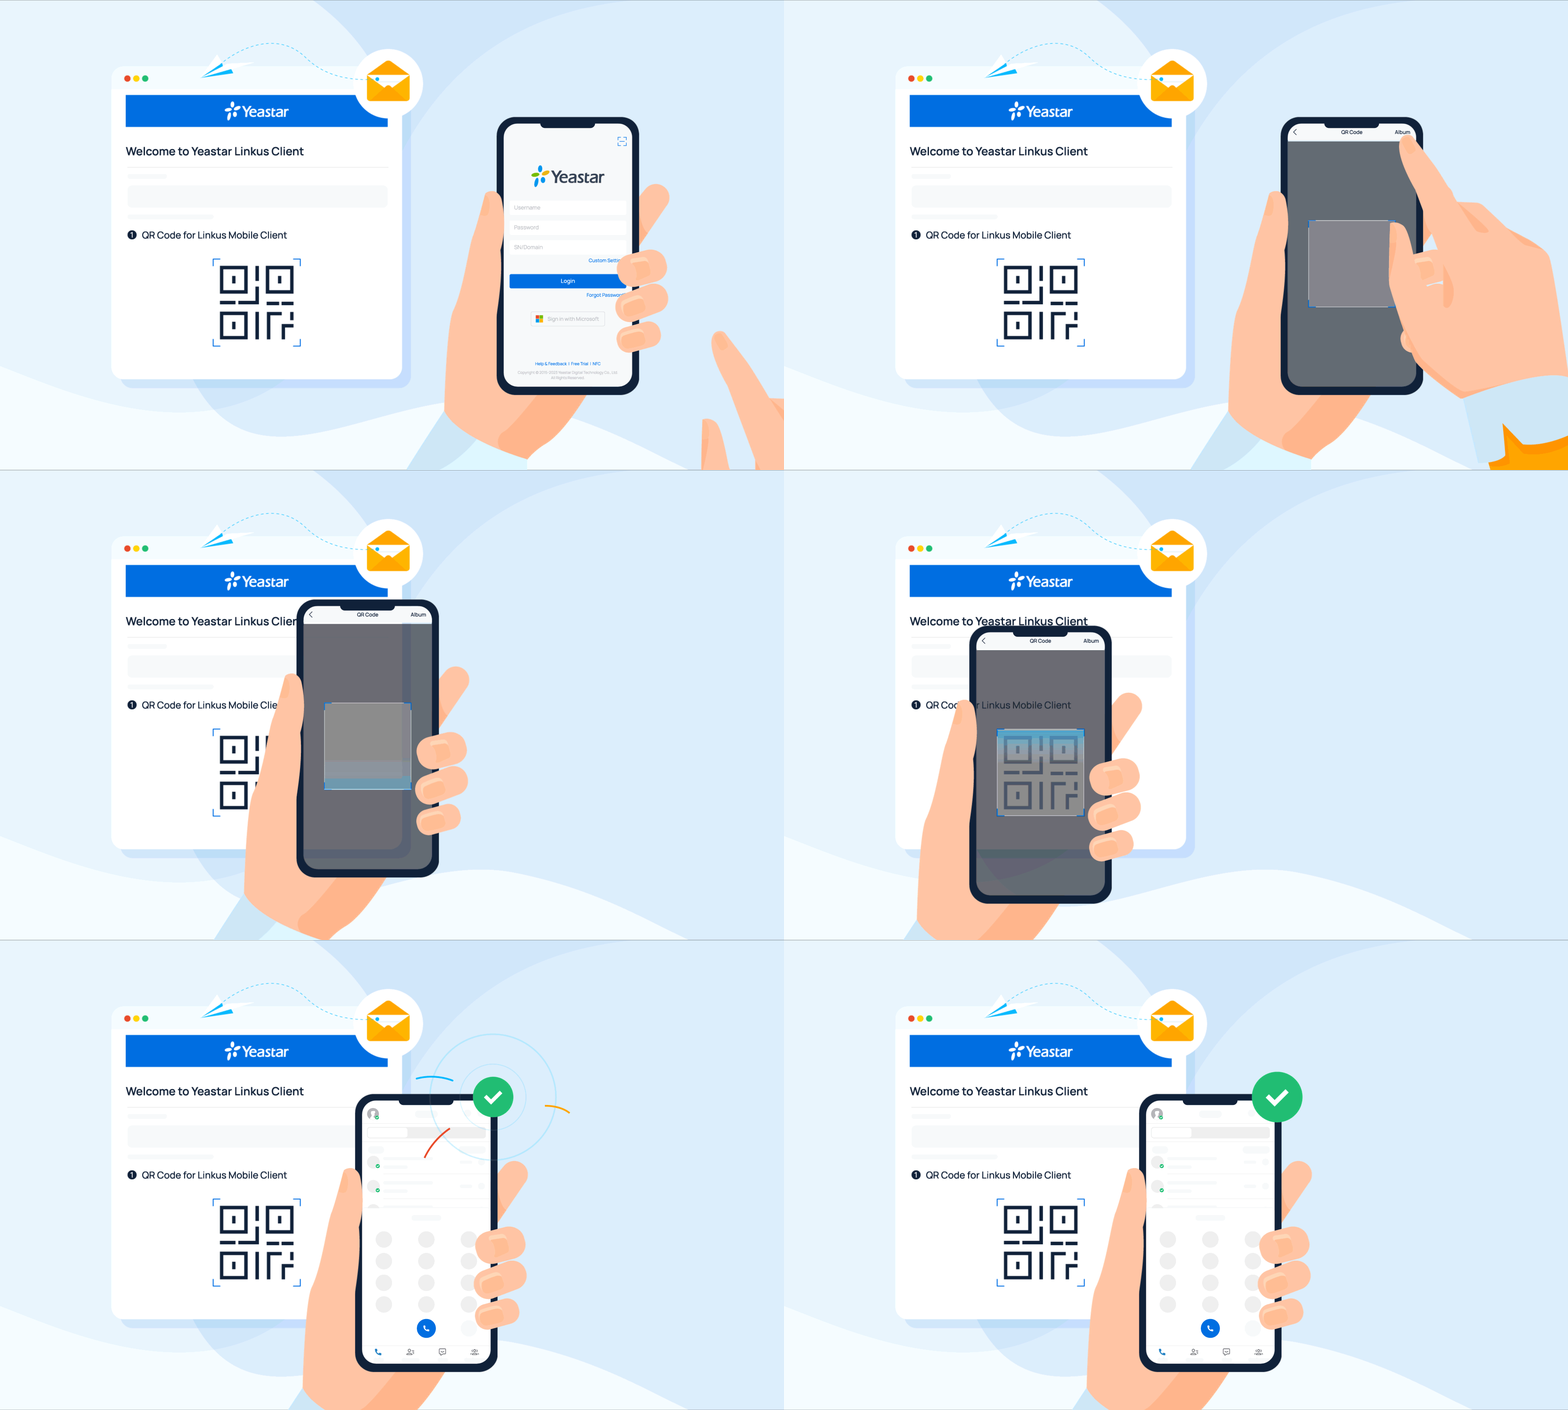
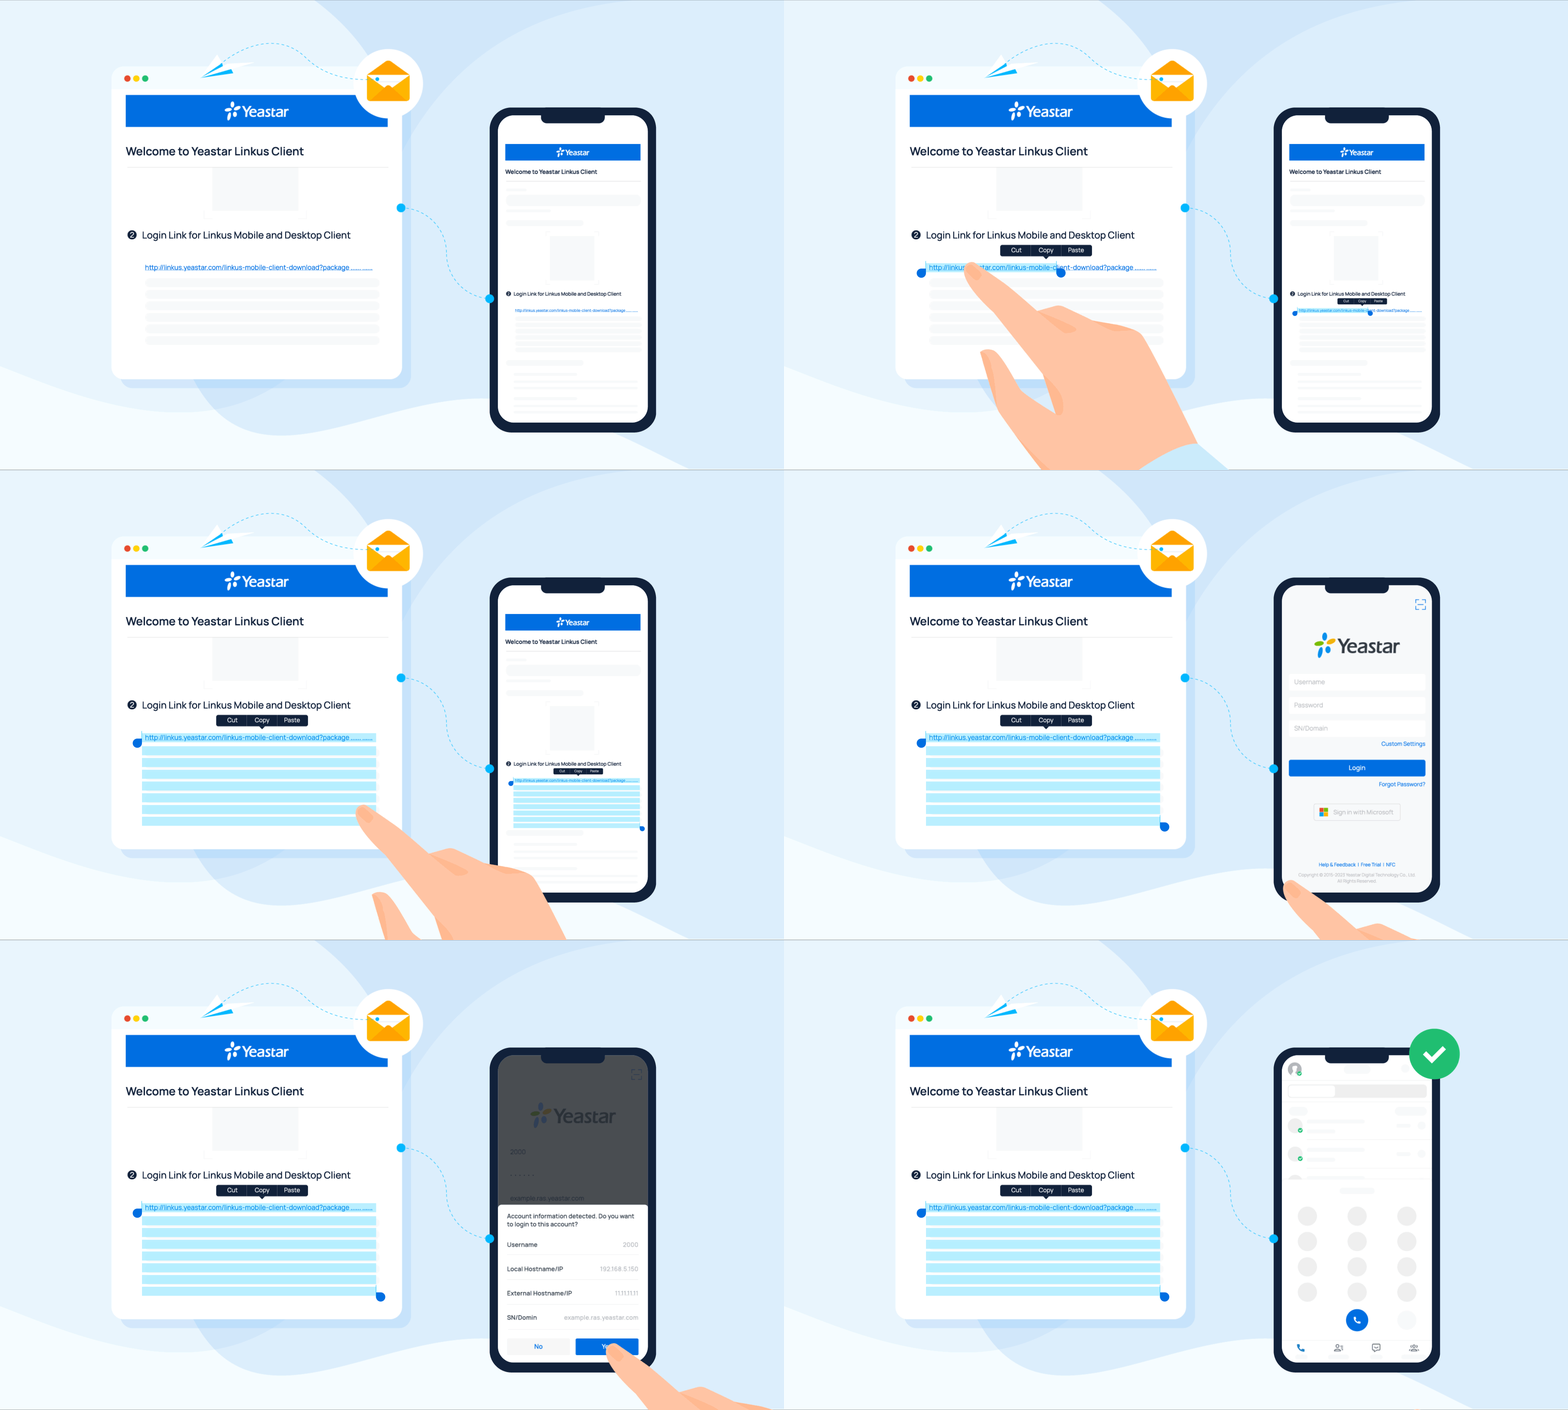
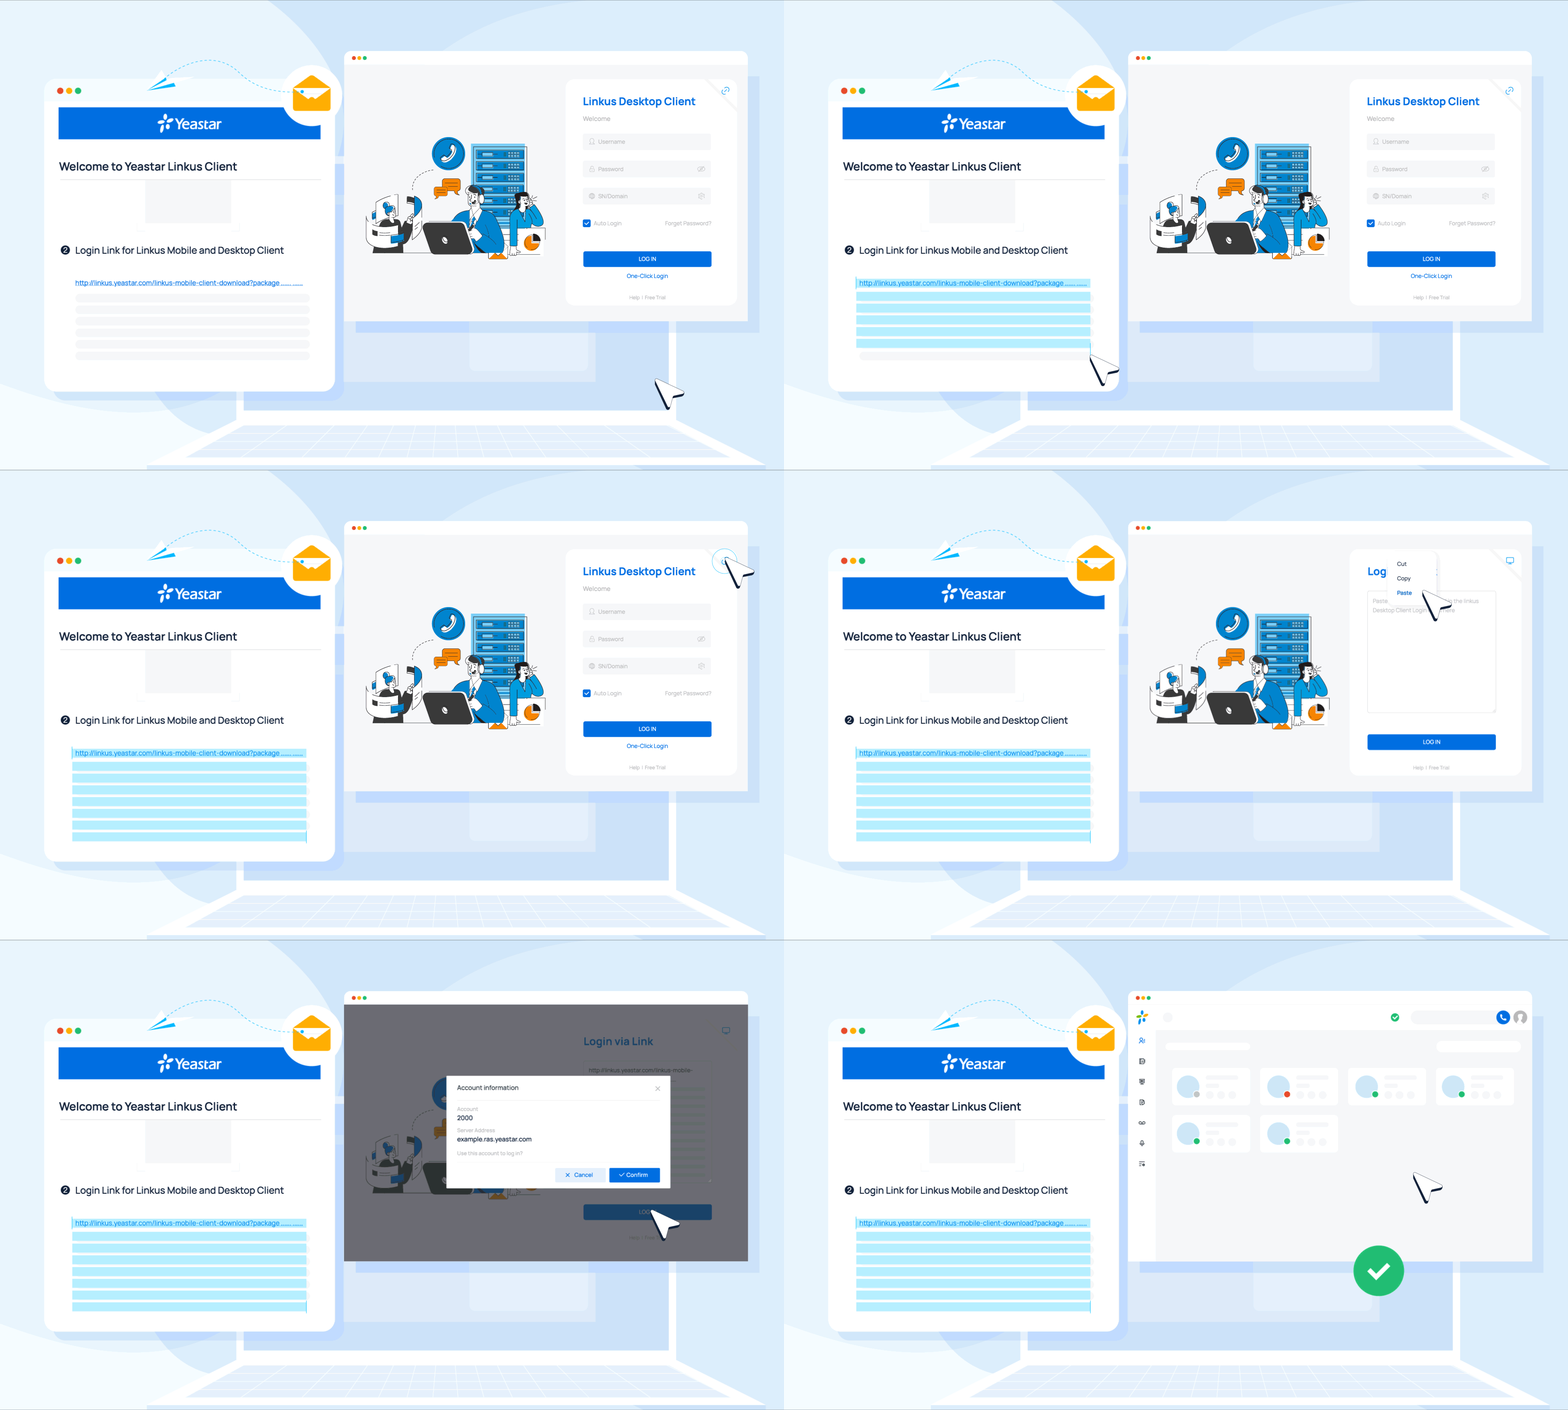
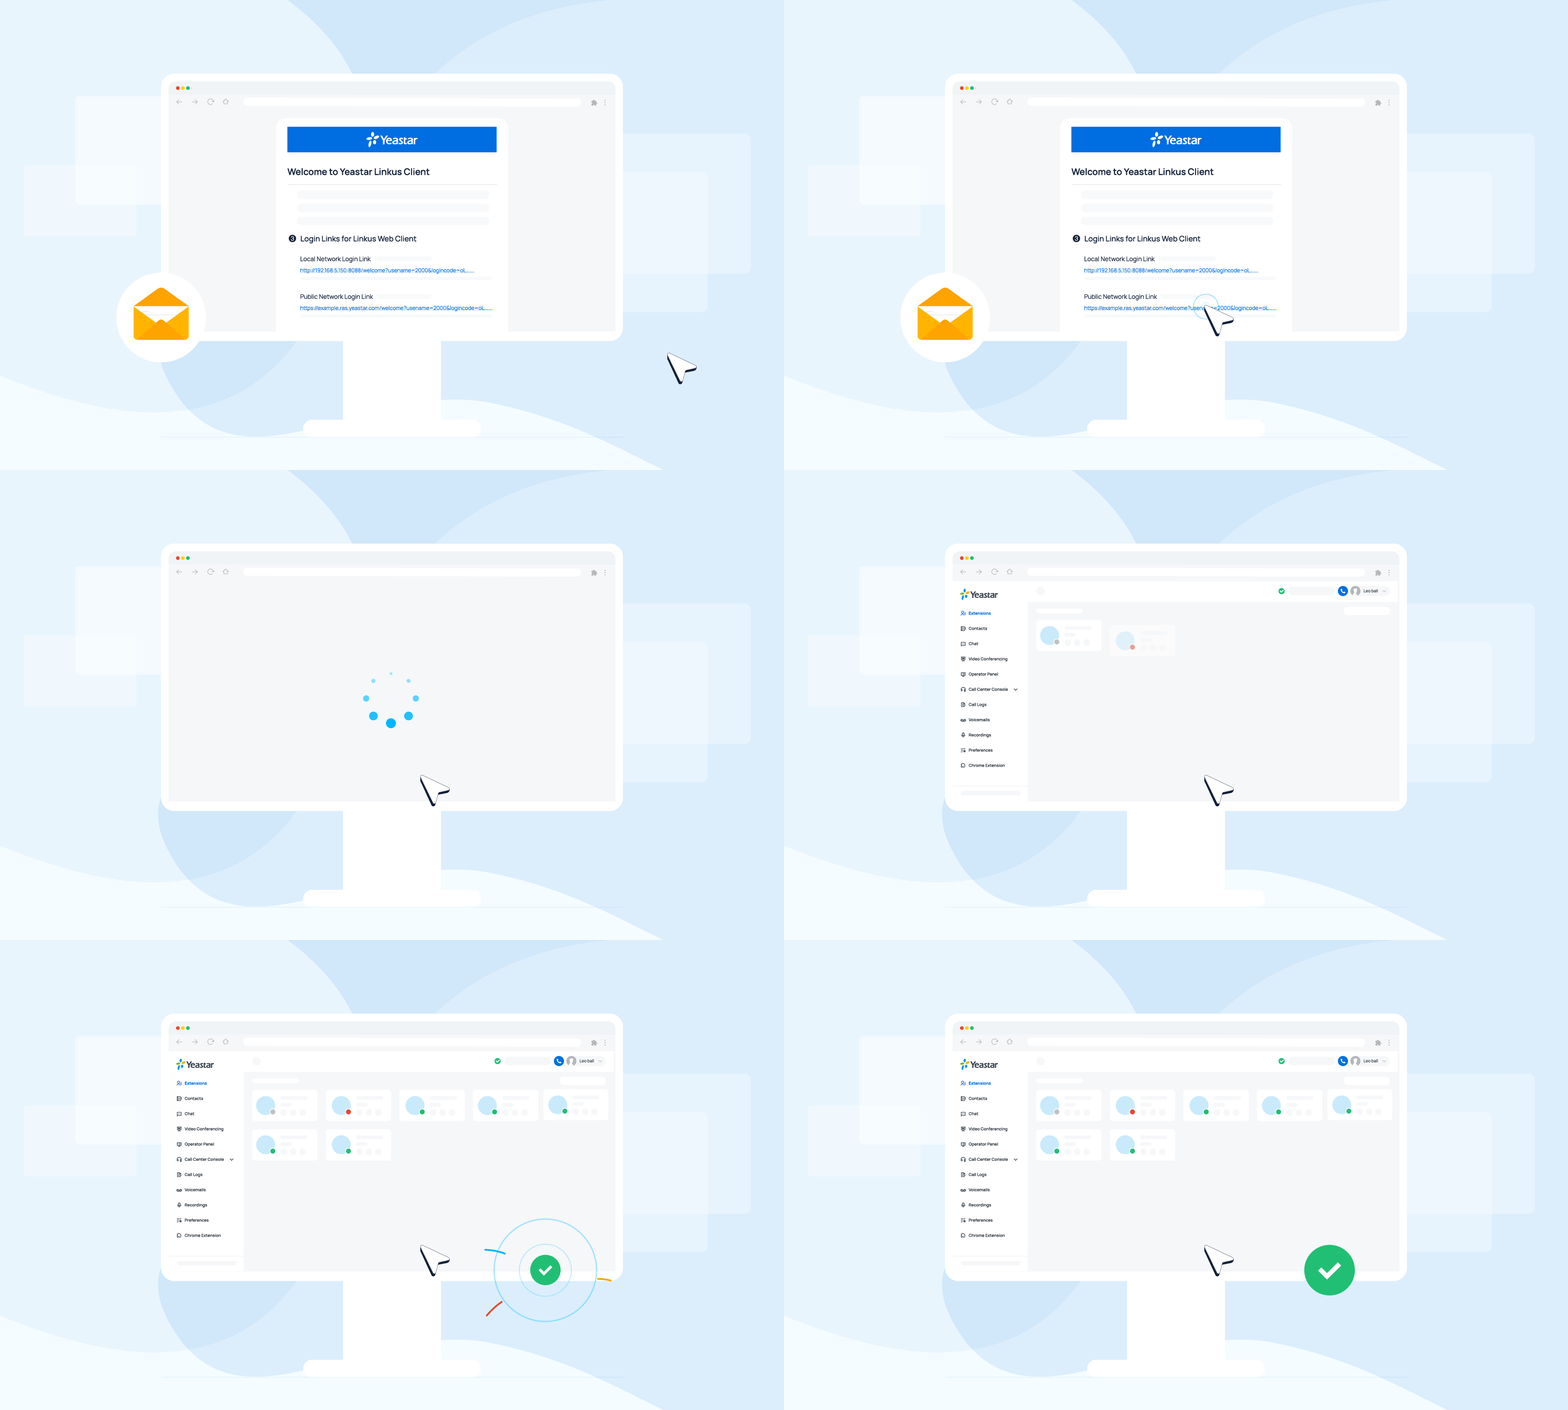
- The specified users will receive the Linkus welcome emails. They can use the QR code or the login link to log in to their Linkus clients as the following figures show.
Send Linkus login information to users for manual login
In case users fail to receive Linkus welcome emails or access their mailboxes, you can provide users with the username and password of their extension accounts, as well as the network information of Linkus server, so that users can manually enter the login information to log in.
- Procedure
- Provide different information for users based on the way you set up the Linkus server. Refer to the following table for the detailed login credentials.
- Result
- Users can log in to Linkus clients by manually entering the information
as the following figures show.
Figure 5. Mobile Client Manual Login (SN / FQDN) 
Figure 6. Mobile Client Manual Login (IP address & port) 
Figure 7. Desktop Client Manual Login (FQDN) 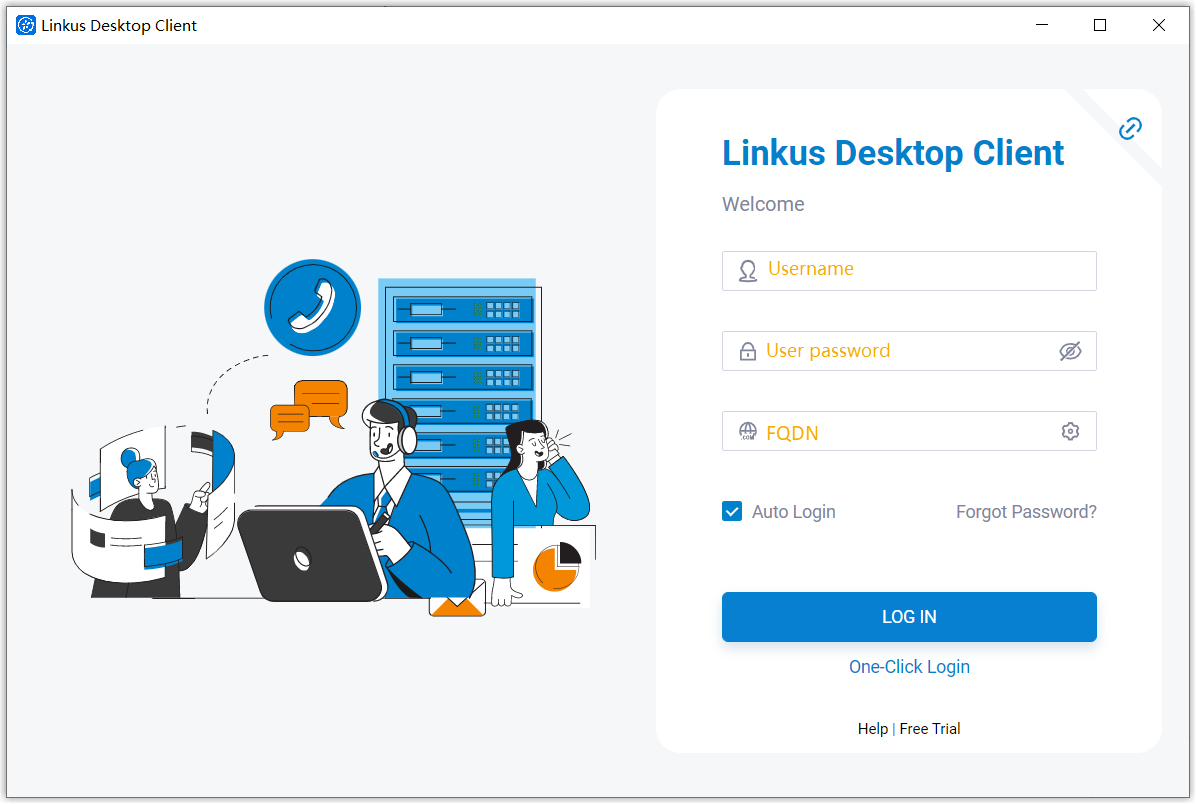
Figure 8. Desktop Client Manual Login (IP address & port) 
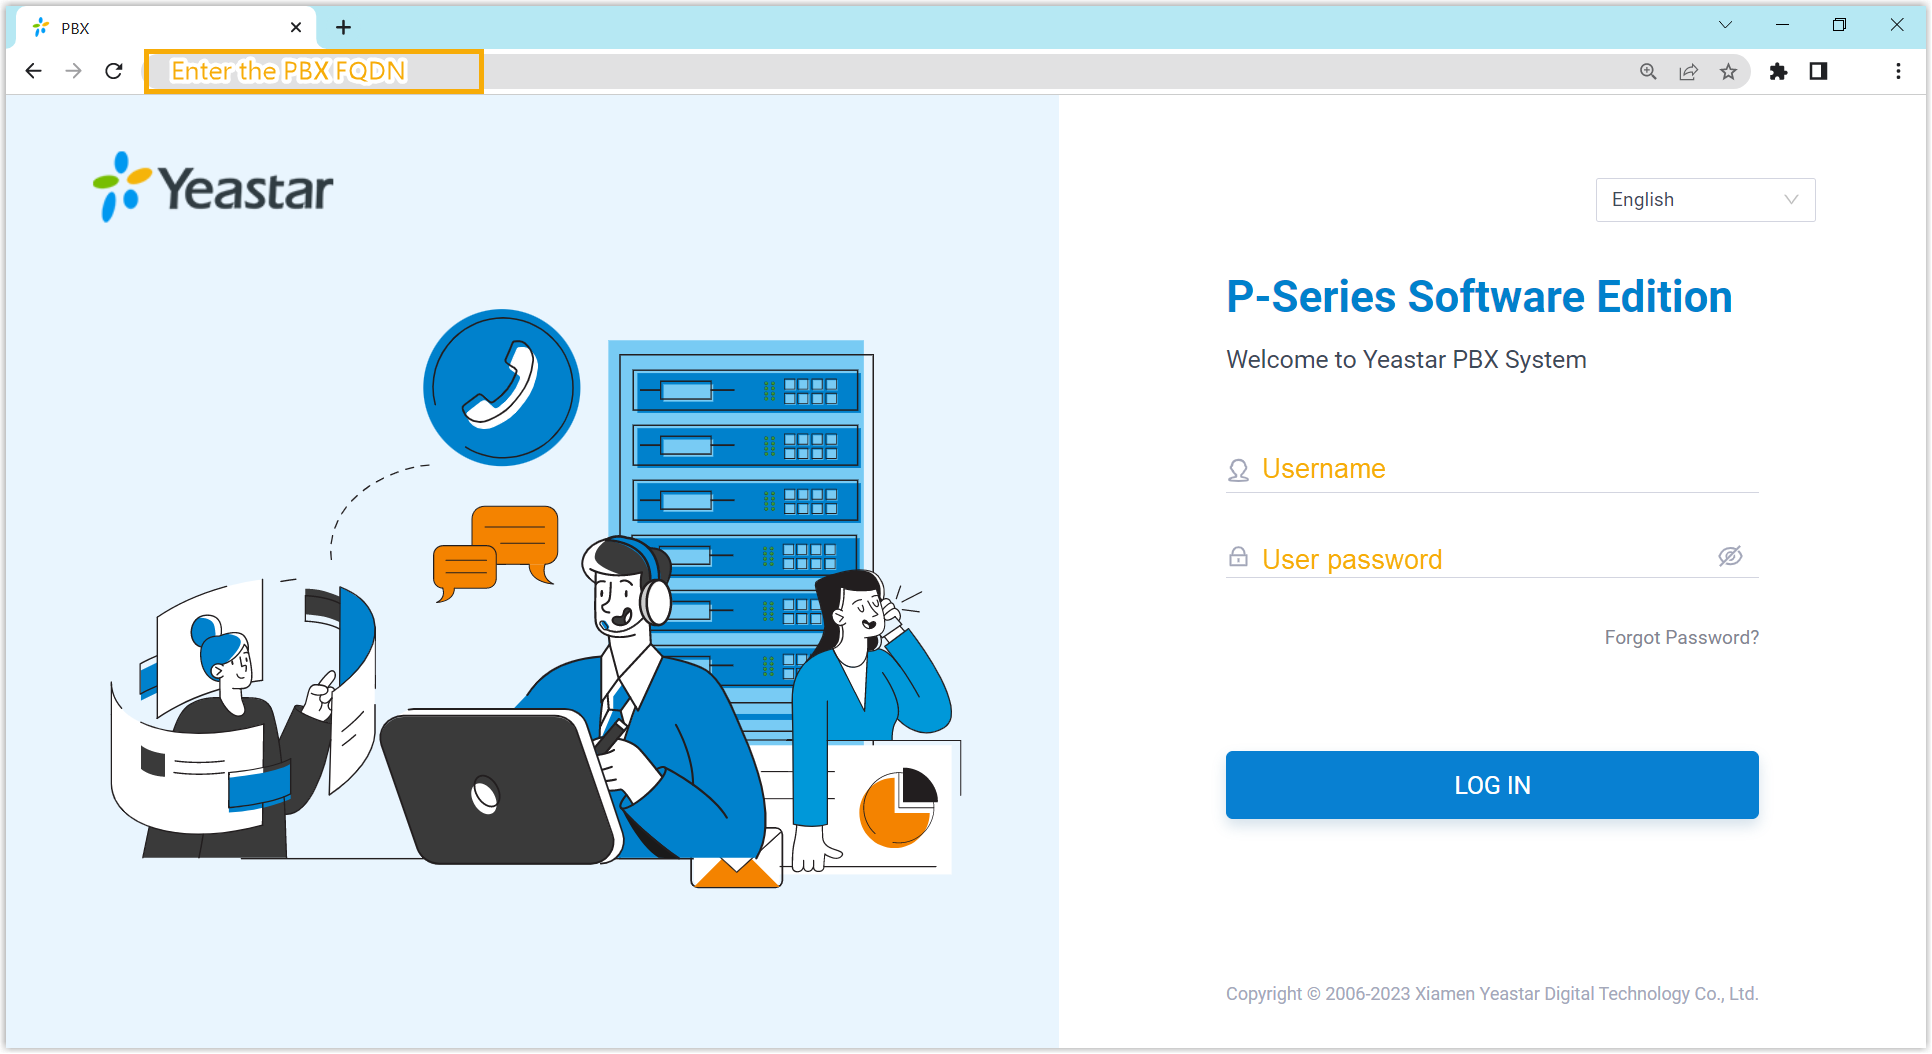
Figure 9. Web Client Manual Login (FQDN) 