Manually Register Akuvox Intercom Device with Yeastar P-Series PBX System
This topic uses Akuvox E16C V2.0 as an example to introduce how to manually register Akuvox intercom device (door phone and indoor monitor) with Yeastar P-Series PBX System. After registering PBX extensions with a door phone and an indoor monitor respectively, calls from the door phone can be routed directly to the indoor monitor by the PBX, enabling extension users to answer the calls and unlock the door remotely.
Prerequisites
- Intercom device
-
- Make sure that the intercom device supports SIP protocol.
- RESET the intercom device if it is previously used.
- Make sure that the intercom device has obtained a valid IP address, either via DHCP assignment or static IP configuration.
- Local computer
-
- Download and install the Akuvox IP scanner on your computer that is on the same subnet as the intercom device.
- Yeastar PBX
-
-
If the intercom device and PBX are in different networks, according to the provisioning method you intend to use, make sure that you have completed the corresponding setup shown below.Note: If the intercom device and PBX are in the same private network, ignore this requirement.
Method Setting Using Yeastar FQDN - Subscribe to Enterprise Plan or Ultimate Plan for the PBX and ensure the FQDN is available.
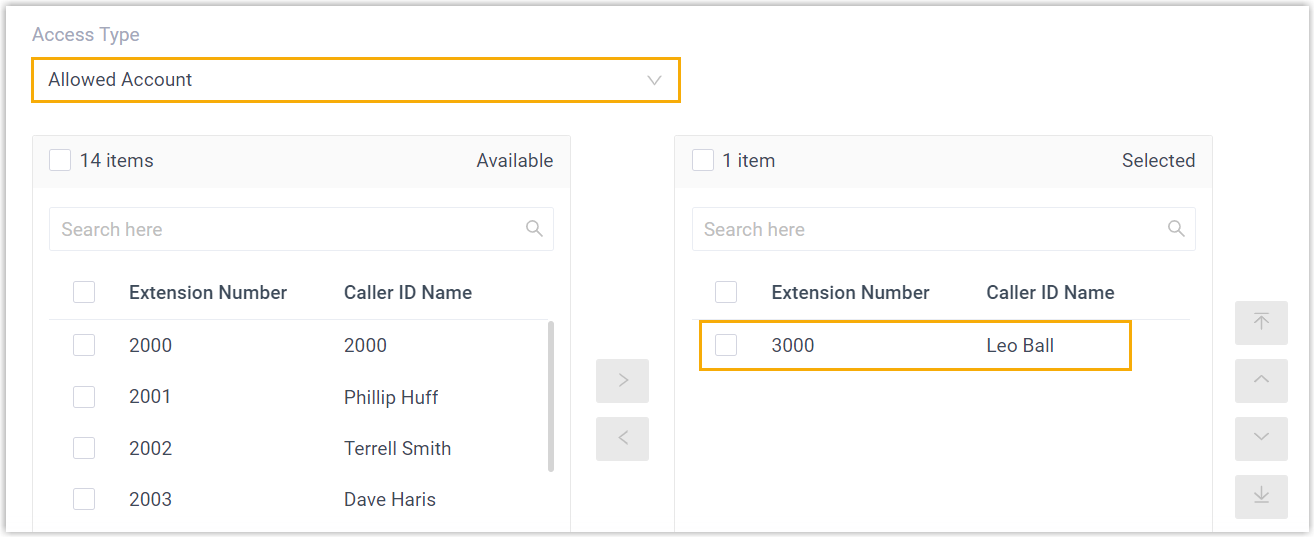
- Create a SIP extension on the PBX and grant
remote access permission for it to be registered
with the intercom device:
- Grant remote SIP access permission for the
extension, so that the extension can be
registered remotely via FQDN (Path: ).
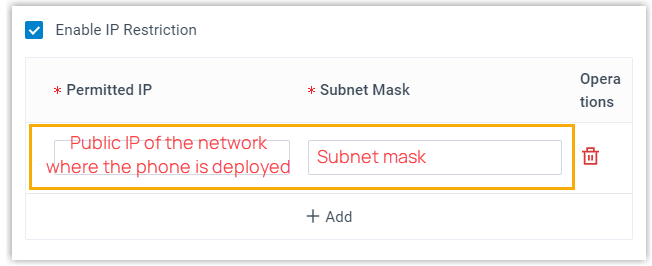
- If you have enabled IP restriction for Yeastar FQDN remote
Web access, make sure that you have added
the intercom device's IP address to the permitted
IP list, so that the device can obtain
configuration files from the PBX (Path: ).
- Grant remote SIP access permission for the
extension, so that the extension can be
registered remotely via FQDN (Path: ).
Using Public IP address / external host / Yeastar domain name - Configure PBX network for remote access by a public IP address, by an external host domain name, or by a Yeastar domain name.Important: The following PBX ports MUST be forwarded for RPS provisioning.
- RTP ports
- SIP port
- Web Server port
- Create a SIP extension on the PBX and set up
it for remote registration.
- Enable NAT for the extension (Path: Extension and Trunk > Extension >
 > Advanced > VoIP Settings > NAT).
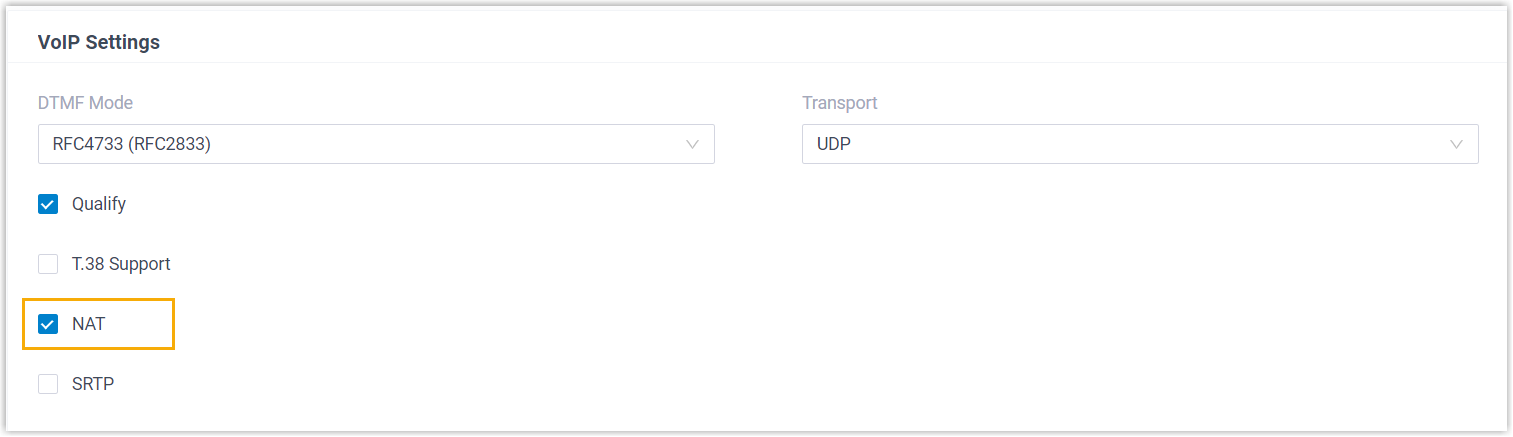
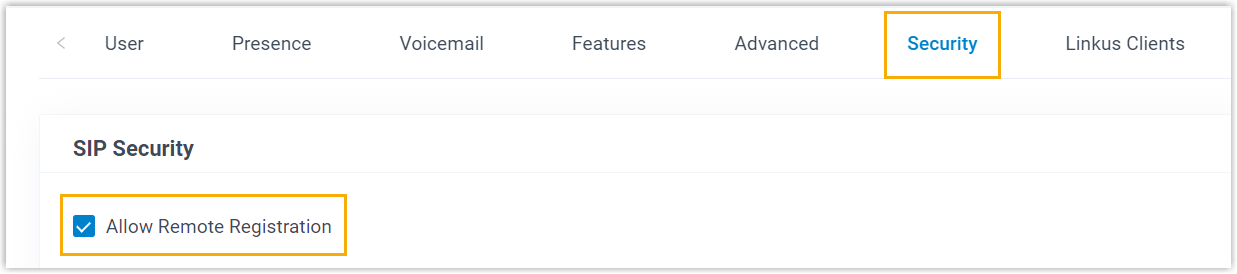
- Enable Remote Registration feature for the
extension (Path: Extension and Trunk > Extension > > Security > SIP Security > Allow Remote Registration).
- Enable NAT for the extension (Path: Extension and Trunk > Extension >
- Gather information about the SIP extension that will be assigned to the intercom device from the PBX, including extension number, registration name, and registration password (Path: ).
-
Procedure
- Obtain the IP addresses of Akuvox intercom device.
- Run the Akuvox IP scanner.
- At the tool bar, click Refresh.
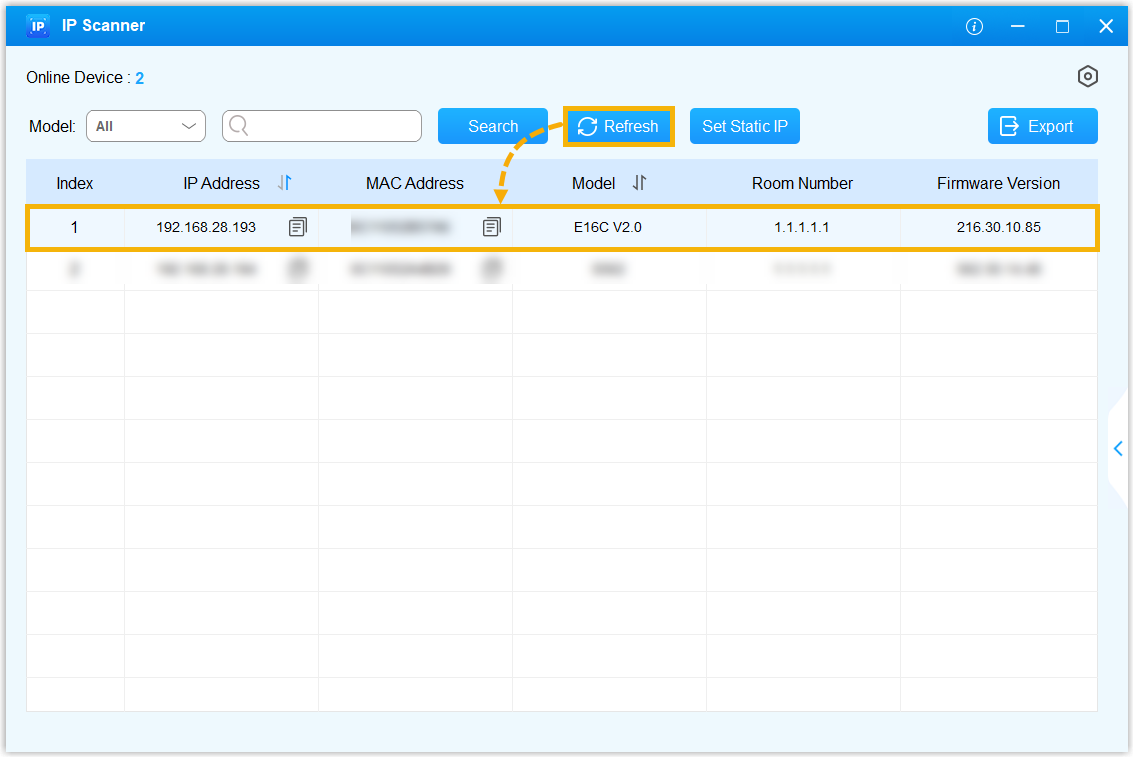
The list displays the detected intercom device along with its IP address.
- Access the Akuvox intercom device's web interface using its IP address.
- Enter the IP address in the browser search box.
- Enter username and password, then click Login.Note: The default username and password are both
admin.
- Go to .
- In the SIP Account section, complete the following
settings.
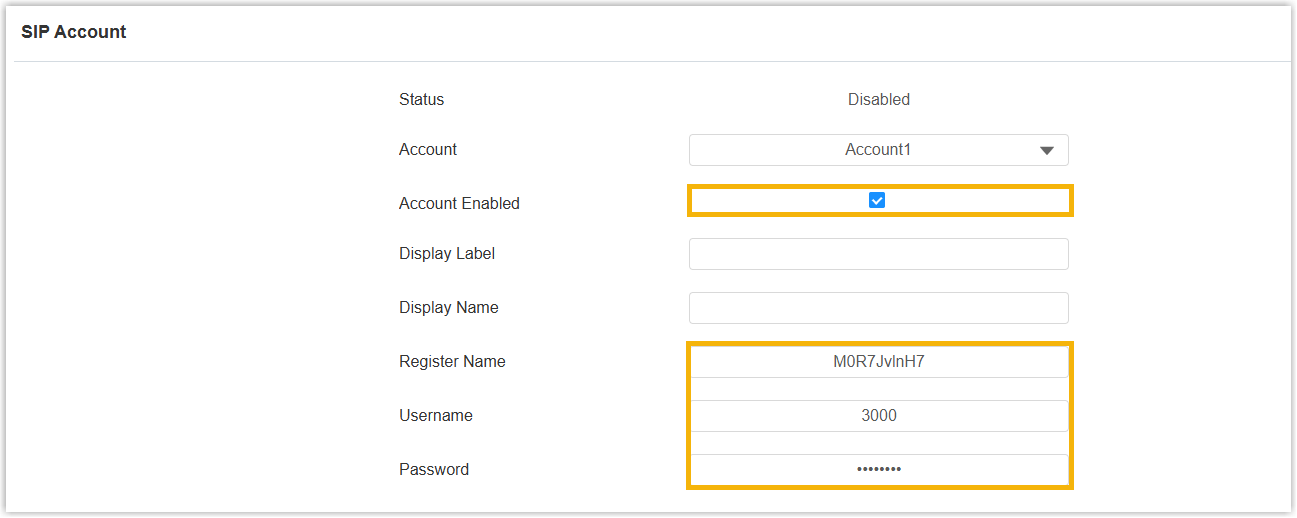
- Account Enabled: Select the checkbox to enable the SIP account.
- Register Name: Enter the extension's registration name.
- Username: Enter the extension number.
- Password: Enter the registration password.
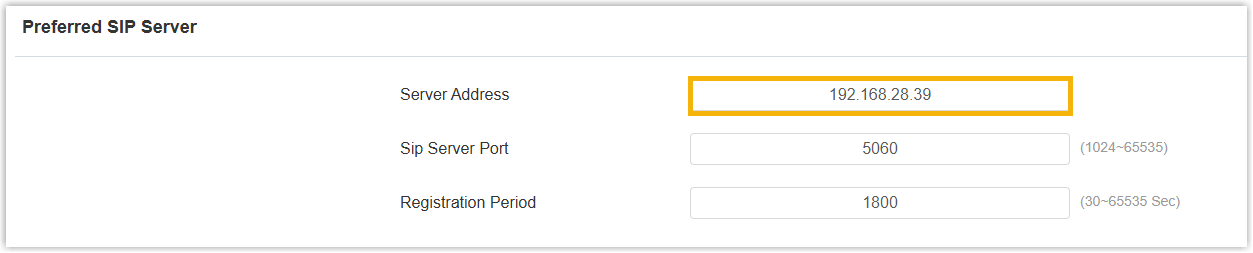
- Scroll down to the Preferred SIP Server section, in the Server
Address field, enter the PBX's IP
address ordomain name.
-
At the bottom of the web page, click Submit.
Result
The extension has been successfully registered on the intercom device, you can view
its endpoint status (showing ![]() ) on the PBX web portal (Path: ).
) on the PBX web portal (Path: ).
