Query and Use Contacts on an IP Phone
After assigning Contacts permission to an IP phone, the IP phone synchronizes external contacts information from PBX server, and allows easy contact dialing and call matching based on Caller ID.
Requirements
To query and use Contacts on IP phone, the following requirements must be met:
- PBX requirements:
- IP phone requirements:
- Only support to assign Contacts permission to the following Yealink IP
phones currently.Note: A maximum of 1000 company contacts and 300 personal contacts can be displayed on Yealink IP phone.
Assign Contacts permission to an IP phone
To query and use Contacts on an IP phone, you should assign Contacts permission to the IP phone via PBX's Auto Provisioning.
Note:
- To display company contacts on an IP phone, you need to configure Company Contacts permissions for the user.
- If you change user's permission of viewing company contacts, you should go to Auto Provisioning App to update IP phone settings, or the permission change will not take effect.
Procedure:
- Log in PBX web page, and go to Auto Provisioning App.
- On Device List page, select an IP phone and click
 .Note: If multiple accounts are registered on an IP phone, the IP phone can only obtain the first account's Contacts.
- Directly click Save or set other phone settings according
to your needs and then click Save.Note: On the Auto Provisioning web page, there are no relevant Contacts options. After updating IP phone settings via Auto Provisioning, the IP phone will automatically get the permission of accessing Contacts.
- On the pop-up window, click Yes to reboot the IP phone.
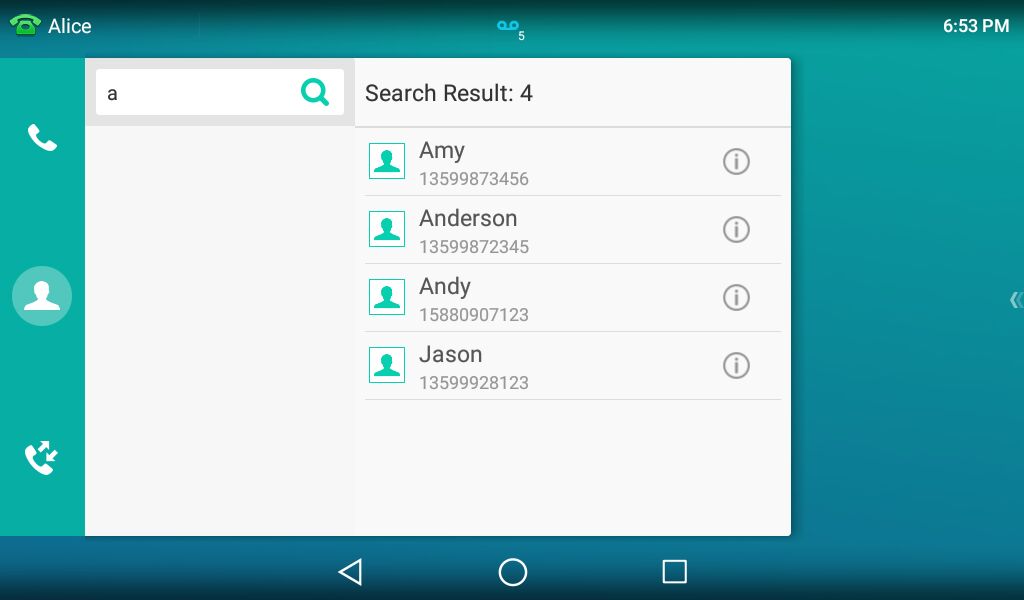
Query and Use Contacts on IP phone
We take Yealink T56A as an example to show you how to query and use Contacts on IP phone.
- Tap .
- Tap Search.
- In the search box, enter contact name or number. The system will query
contact from Contacts.

- Select a contact, tap the contact number to quickly dial out.