OpenVPN Username/Password Authentication
OpenVPN needs to verify the authenticity of the connecting clients to ensure security. OpenVPN Authentication allows the OpenVPN server to securely obtain a username and password from a connecting client, and to use that information as a basis for authenticating the client.
This topic shows you how to configure username/password authentication on the OpenVPN server and clients.
Set Username/Password Authentication on OpenVPN server
- Log in the PBX web interface, go to VPN Server, set
the Verification Mode to
CA Cert + Client Cert + Account & PasswordorCA Cert + Account & Password. - Click Save.
Set Username/Password for each client on OpenVPN server
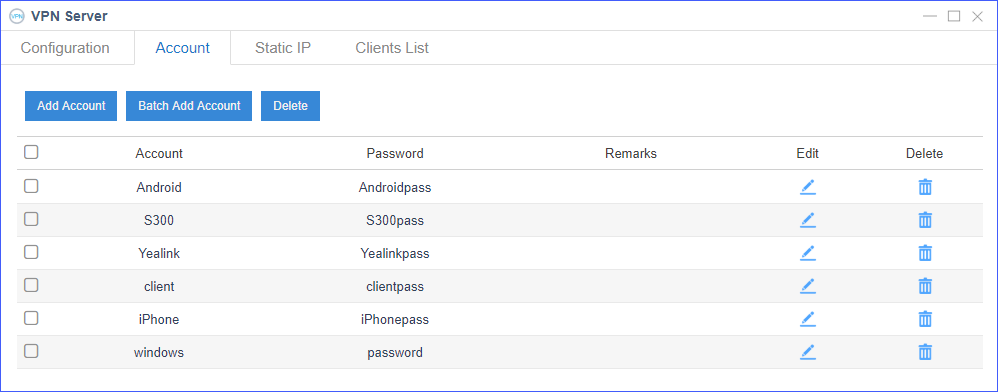
- Click Account tab, and then click Add Account to set the username and password for VPN client.
- Enter the client's name and assign an password for the client.
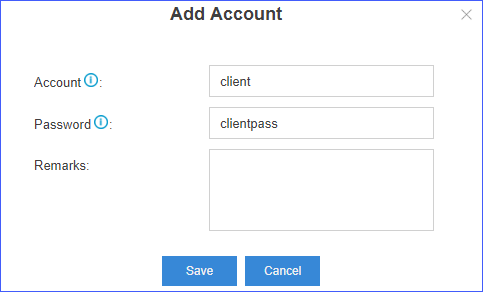
- Click Save.
Repeat above steps to set username/password for each client.
Create an authentication file for each client
- Create a new text document.
- Enter the username and password according to the account/password settings on VPN
server.
Line1: Enter the username.
Line2: Enter the password.
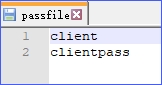
- Save the file, and rename the file as
passfilewithout ".txt" extension. Note: For yealink IP phone, you need to rename this file to pwd without ".txt" extension.
 - Specify passfile to identify where to obtain the account and
password in client configuration
file.
auth-user-pass passfile - Import the passfile file to client.