Register 2N IP Intercom with Yeastar P-Series PBX System Extension
This topic describes how to connect the 2N IP intercom to Yeastar P-Series PBX System as a SIP endpoint. By registering a PBX extension on the intercom, the device is able to make and receive calls with other extensions through the PBX.
Prerequisites
- You have created an extension for the 2N IP Intercom on the PBX and
gather the following information:
- The extension's information, including extension number, registration name, and registration password.
- The IP address and SIP registration port of
the PBX.Tip: You can check the SIP registration port on .
- You have configured network for 2N IP Intercom.
Procedure
- Log in to the web interface of the 2N IP intercom.
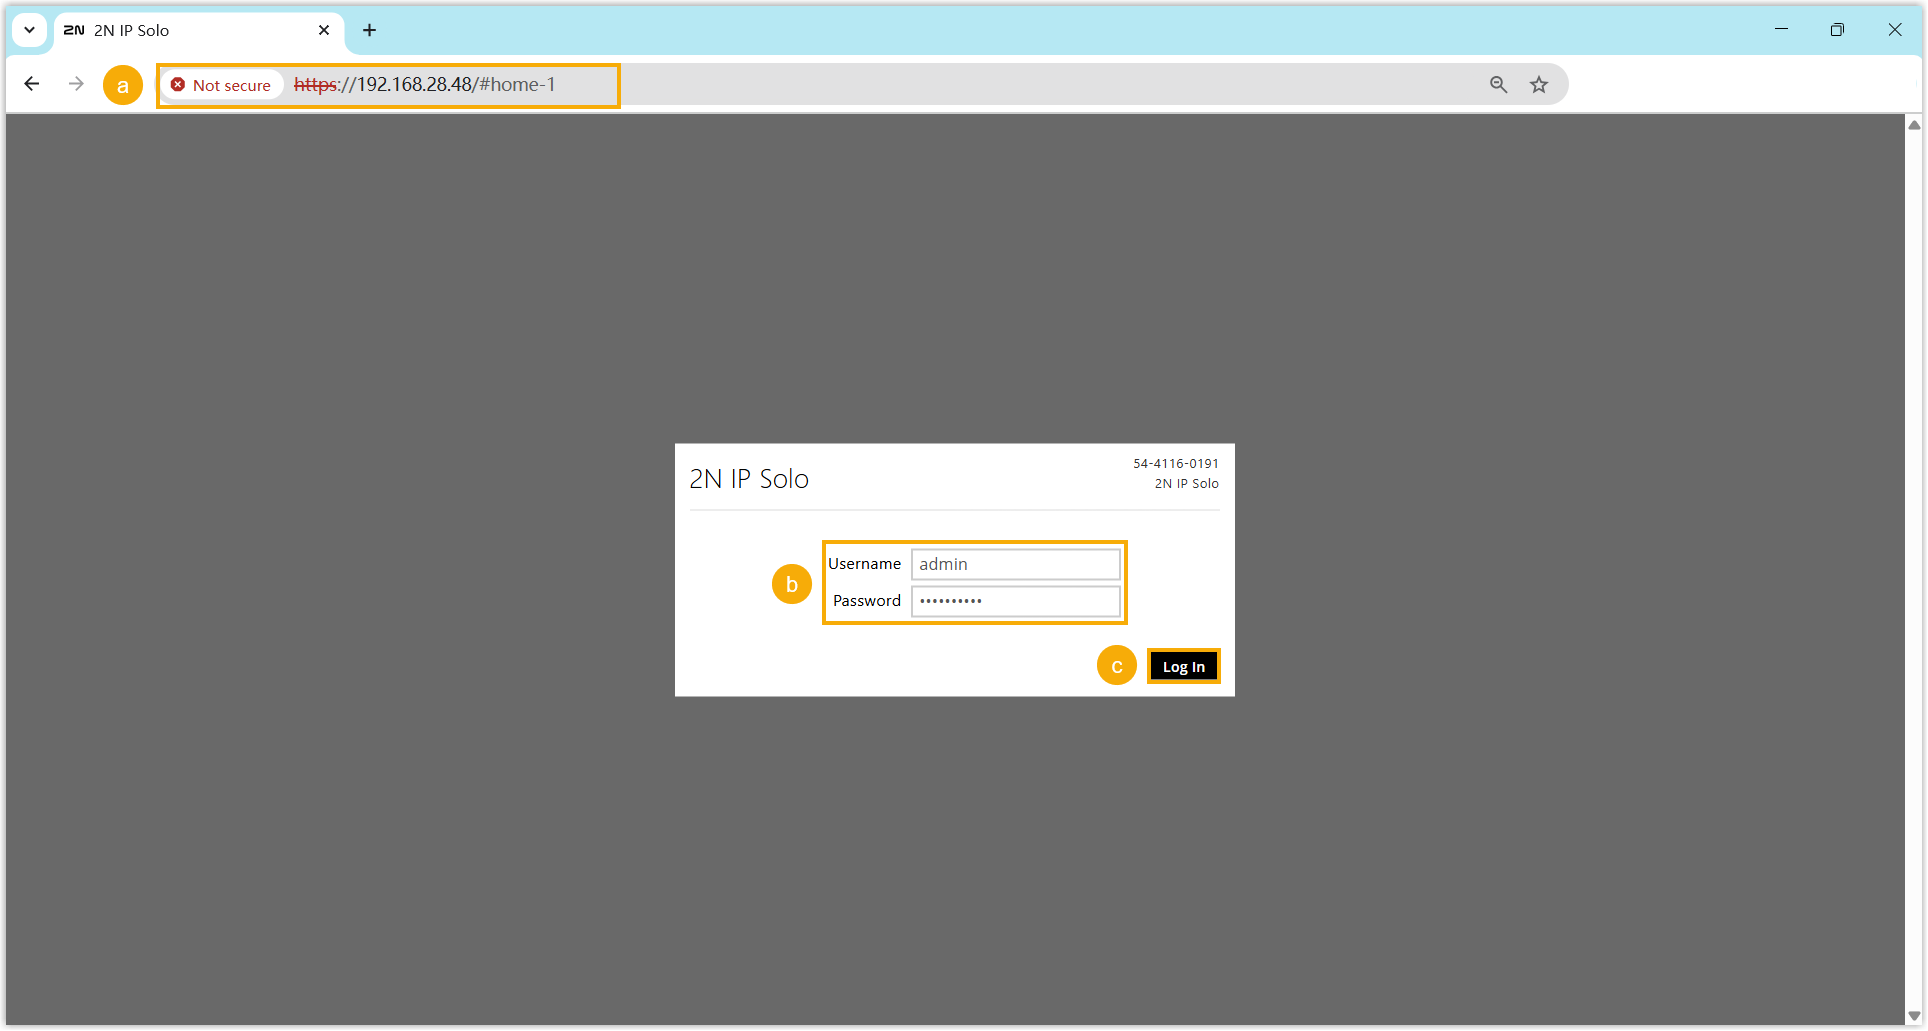
- In the browser's address bar, enter the IP address of the 2N IP intercom.
- Enter the username
adminand the associated password. - Click Log In.
- On the web interface of the 2N IP intercom, go to .
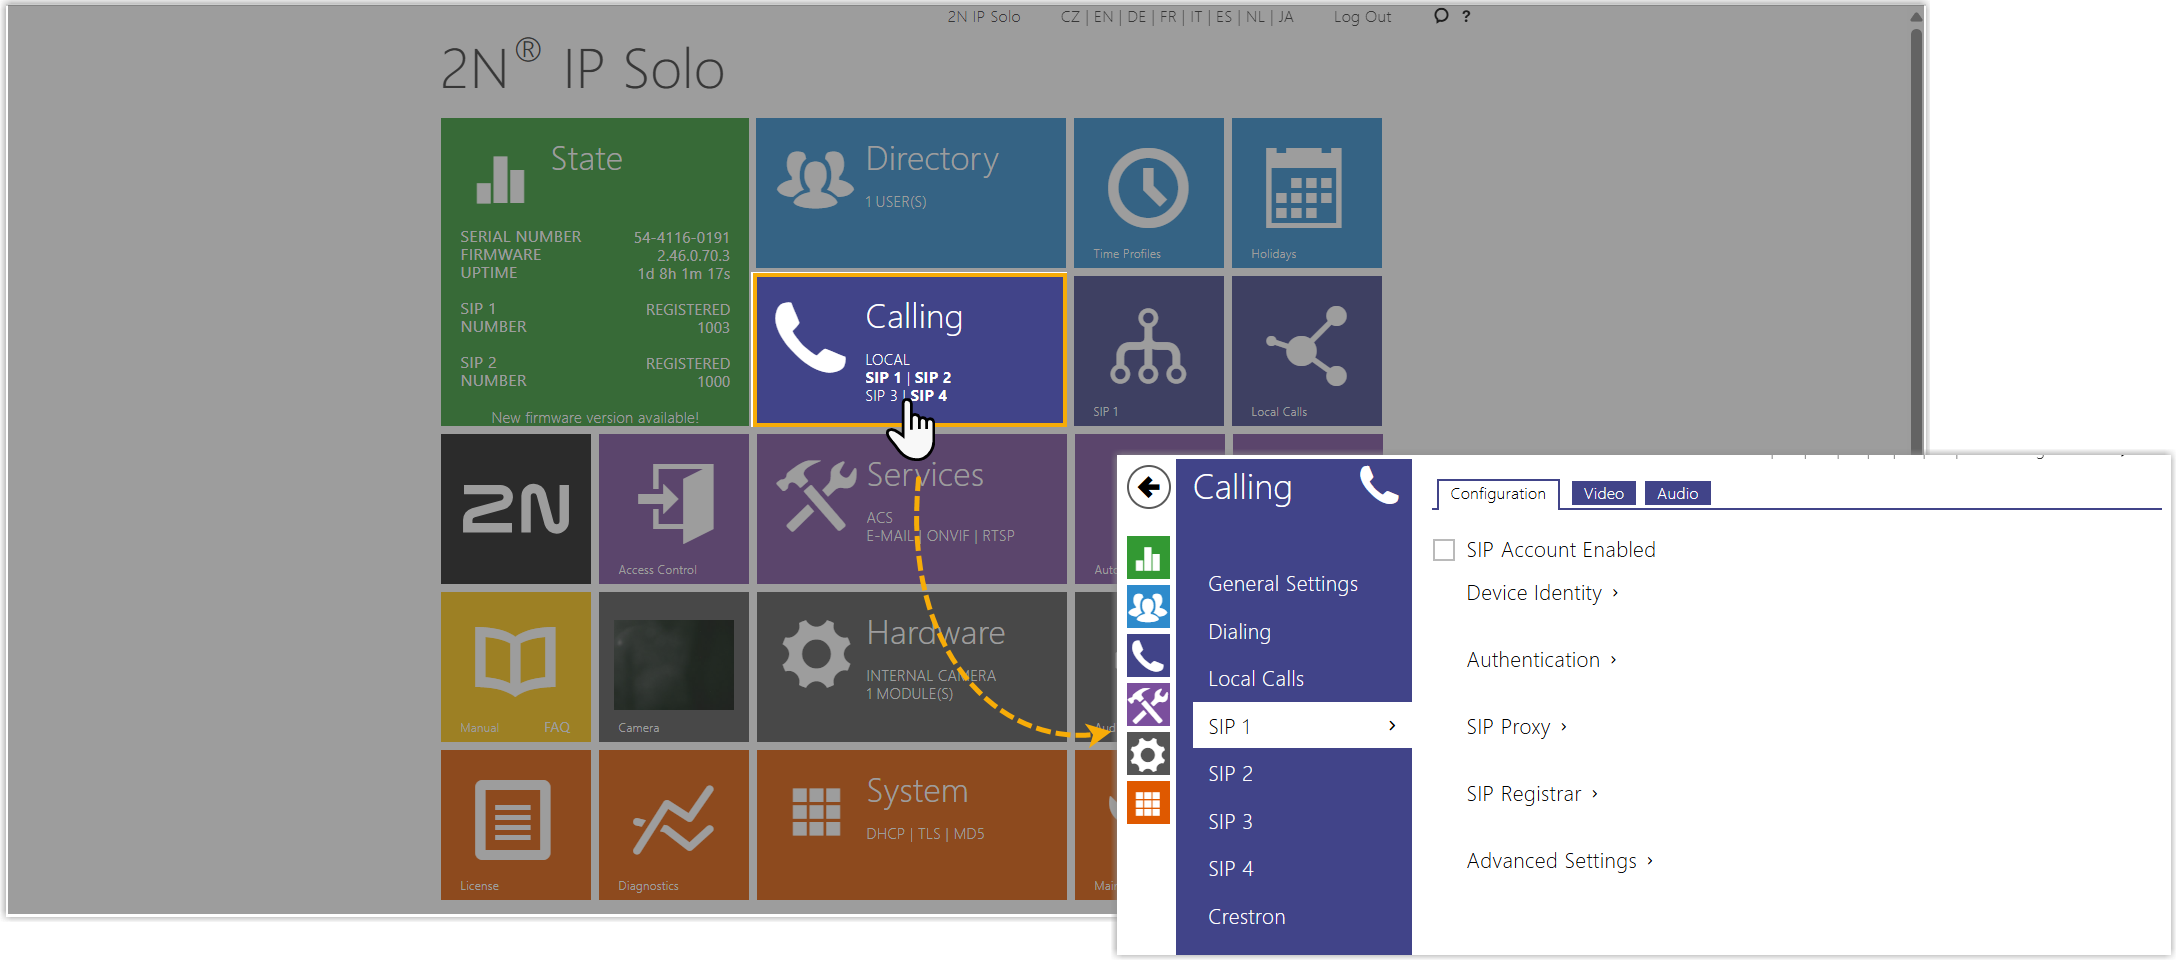
- Register the PBX extension for the 2N IP intercom.
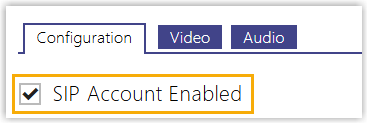
- Select the checkbox of SIP Account
Enabled.
- In the Device Identity section, enter the
following information.
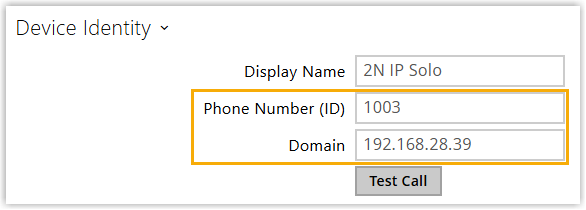
- Phone Number (ID): Enter the extension number.
- Domain: Enter the IP address of the PBX.
- In the Authentication section, enter the
registration information.
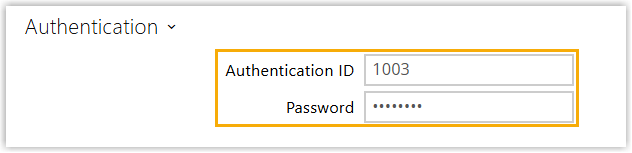
- Authentication ID: Enter the registration name of the extension.
- Password: Enter the registration password of the extension.
- In the SIP Proxy section, enter the SIP
information.

- Proxy Address: Enter the IP address of the PBX.
- Proxy Port: Enter the SIP port of
the PBX. The default port is
5060.
- In the SIP Registrar section, select the
checkbox of the Registration Enabled, then
complete the following settings.
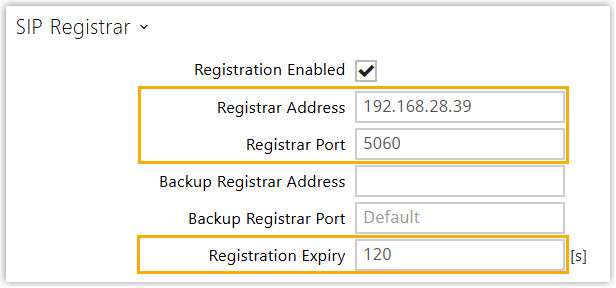
- Registrar Address: Enter the IP address of the PBX.
- Registrar Port: Enter the SIP
registration port of the PBX. The default port is
5060. - Registration Expiry: Specify the registration period or leave the default setting.
- At the bottom-right corner of the web interface, click Save.
- Select the checkbox of SIP Account
Enabled.
Result
The Registration State of the SIP line displays REGISTERED, indicating that the extension is successfully registered to the 2N IP intercom.

What to do next
Configure Call and Door Release for PBX Extensions on the Intercom