Set up a Custom Email Server
This topic describes how to set up a custom email server on NovoOne Platform.
Prerequisites
| Item | Requirement |
|---|---|
| Email server | Obtain the email server host and port provided by the SMTP server provider. |
| Sender email account | Obtain the email address and password (used for SMTP
authentication) of the account that belongs to the target email
server. Note: If the target email server
uses application password for SMTP authentication, obtain an
application password instead of the account
password. |
Procedure
- Log in to NovoOne Platform portal, go to .
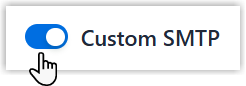
- Turn on the switch of
Custom SMTP.
- In the Email Server Provider section, select
General.

- Set up the email server.
Setting Instruction Sender Name Specify the display name of the sender. Sender Email Address Enter the email address of the sender email account. Note: The Sender Name and Sender Email Address will be combined to form the From field for outgoing emails sent by NovoOne Platform.For example, if Sender Name is
Teamand Sender Email Address isexample@sample.com, the From field of the emails will displayTeam<example@sample.com>.Email Address or User Name Enter the email address or username of the sender email account. Password Enter the password of the sender email account or the application password, depending on the email server's authentication method. Outgoing Mail Server (SMTP) Enter the host of outgoing mail server (e.g., smtp.gmail.com).Note:- Supports both domain name and IP address.
- Do not include protocol prefixes such as
smtp://,smtps://,http://, orhttps://.
Port Enter the port of outgoing mail server. Enable TLS Encryption Enable or disable TLS encryption for outgoing emails. When enabled, if the email server supports TLS, emails are encrypted during transmission. - Click Save.
- Test if the mail server can successfully send emails.
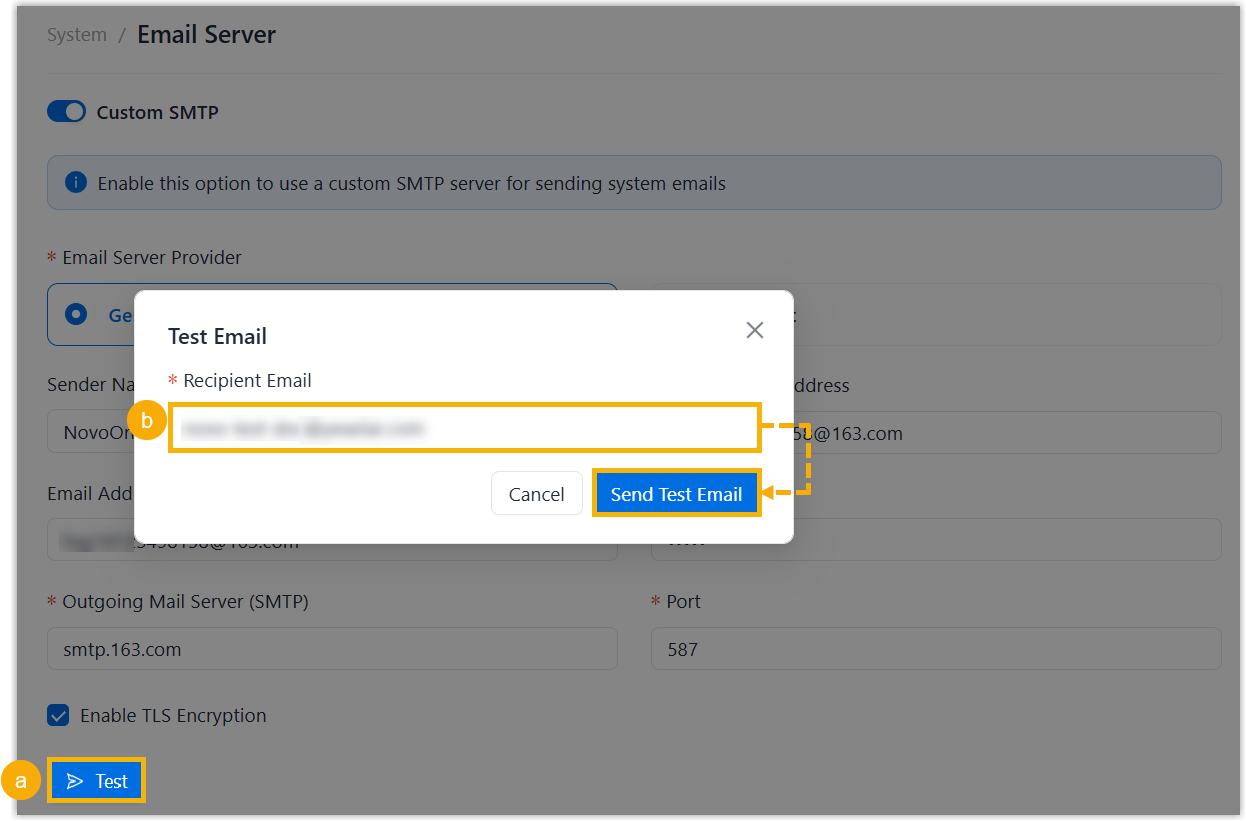
- Click Test.
- In the pop-up window, enter a recipient's email address in the Recipient Email field, then click Send Test Email.
What to do next
A test email is successfully sent to the recipient's mailbox via the sender email account, and the page prompts "Email sent successfully".