Set up No-IP DDNS on Yeastar K2 IPPBX
If your ISP doesn't provide a static public IP address for you, you can create a No-IP DDNS account, and set up DDNS on Yeastar K2 IPPBX.
Step 1. Create a No-IP account
- Go to the No-IP Sign Up page.
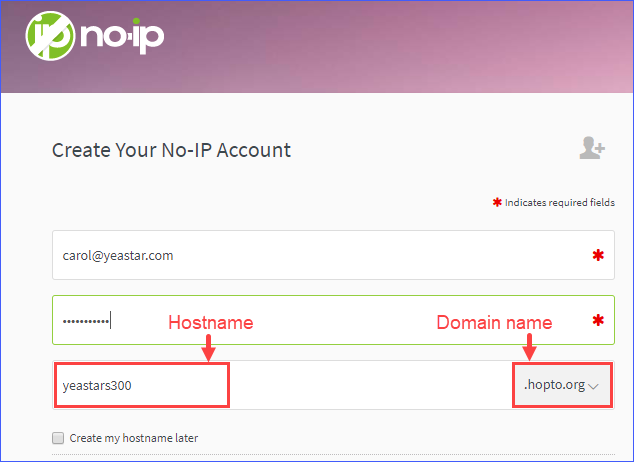
- On the new account form, fill in the required fields.
- Email: Enter your email address as the No-IP account.
- Password: Set the password of the No-IP account.
- Hostname: Select your desired domain name, and enter your desired hostname.

- At the bottom of the page, click Free Sign
Up.
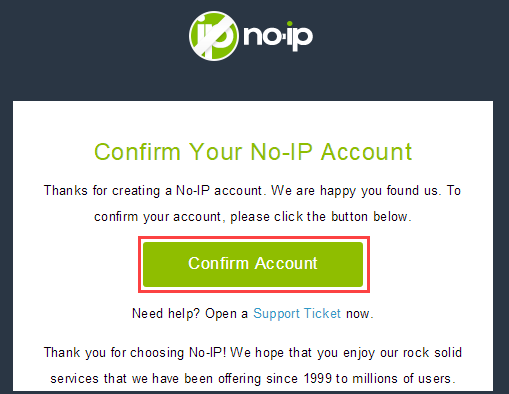
No-IP will send a confirmation email to your email address.
Step 2. Confirm your No-IP account
Check your email from No-IP, click Confirm Account. Your No-IP account is activated.

Step 3. Set up No-IP DDNS on PBX
- Log in the PBX web interface, go to .
- Select the checkbox of Enable DDNS.
- In the DDNS Server drop-down list, select www.no-ip.com.
- Enter your No-IP account information and the fully qualified domain name.
- Click Save and Apply.

Step 4. Set up Port Forwarding and NAT
- If your PBX is behind a router, you need to set up Port Forwarding on the router to allow external devices to access to the PBX.
- To ensure that the external traffic packets can be sent to the correct destination,
you need to set NAT on your PBX.Important: To enhance the security of your PBX, we suggest you to change the default ports.
Table 1. Common ports on Yeastar K2 IPPBX Service Default Port Web 8088 SIP 5060 Linkus 8111 RTP 10000-12000
Step 5. Check the DDNS connection
To check the connection of an external device from the Internet, enter the domain name and external port to access the PBX.
On a PC that is NOT in the PBX's network, enter the domain name and external web port to access the PBX web interface.
On an IP phone that is NOT in the PBX's network, enter the domain name and external SIP port to register a remote extension.
