Monitor Yeastar K2 IPPBX on Nagios XI - SNMP Walk
This topic describes how to monitor the Yeastar K2 IPPBX in Nagios XI with SNMP Walk.
Before you begin
The SNMP Walk Wizard in Nagios XI scans an SNMP-enabled host to see the available SNMP objects for monitoring.
Before you add a host on Nagios XI, you need to enable SNMP and configure SNMP settings on the PBX. For more information, see Configure the PBX to Communicate with an NMS by SNMP.
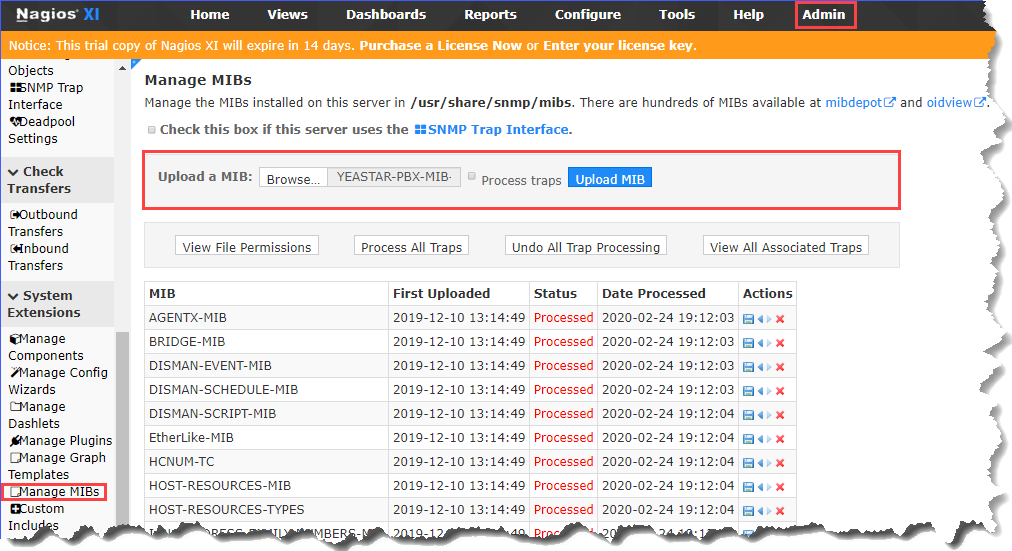
Upload Yeastar MIB file
- Log in Nagios XI web interface, go to .
- Click Browse, select the MIB file, and click
Upload MIB.
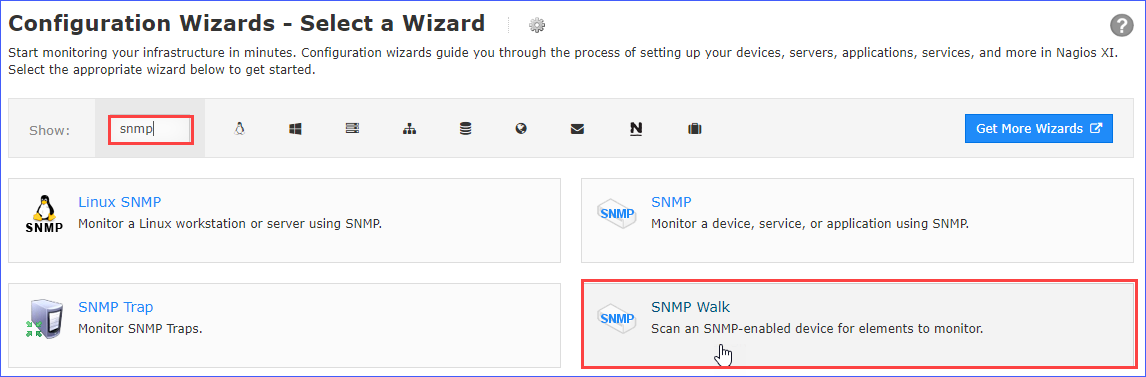
Monitor PBX using SNMP Walk
Go to , search "SNMP" and select SNMP Walk.
- On the SNMP Walk - Step 1 page, complete the
following configurations.Note: The SNMP settings configured on Nagios XI and PBX must be consistent.
- In the Device Address field, enter the PBX's IP address.
- In the Device port field, enter the SNMP port.
- Enter the SNMP authentication information of your PBX.
SNMP version Settings Description SNMP v1 or v2c SNMP Community Enter the community that is defined in PBX. SNMP v3 Username Enter the SNMPv3 user that is defined in PBX. Security Level Select a level according to the PBX's Access Limit setting.
- noAuthNoPrivate: only the user name is needed.
- AuthNoPriv: enter the Authentication Password.
- authPriv: enter the Authentication password and Privacy Password.
Authentication Protocol Select MD5. Privacy Password Select DES. 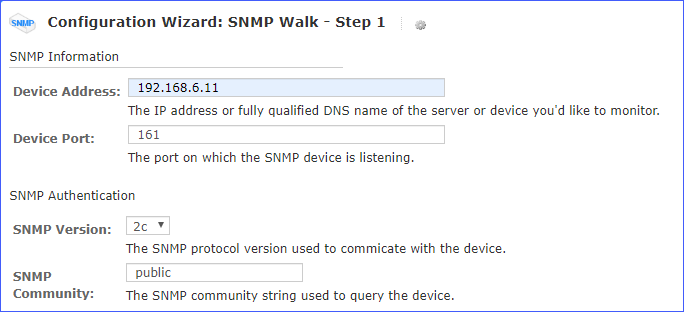
- In the MIBs filed, select the uploaded MIB
file.
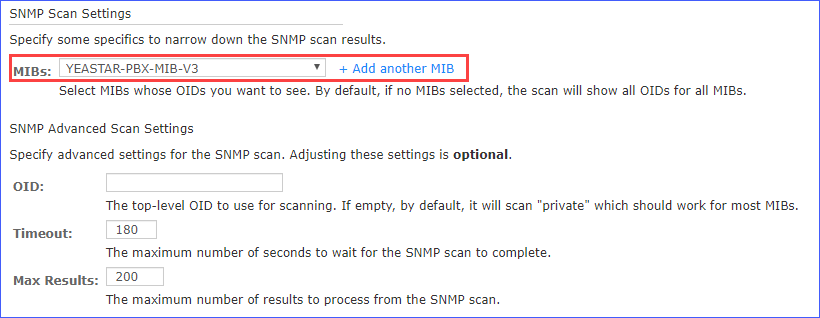
- Click Next, Nagios XI scans the available OIDs for
monitoring.
On the SNMP Walk - Step2 page, complete the following configurations.
- In the Host name field, enter a host name to help you identify this host.
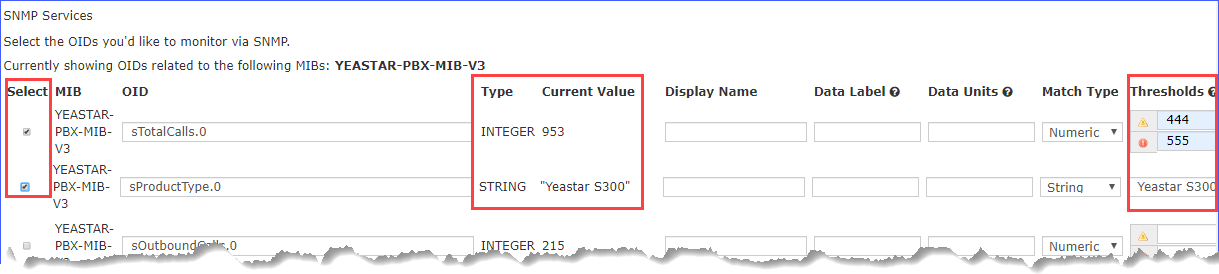
- In the SNMP Services list, select the
OIDs you'd like to monitor, and configure how to monitor the OIDs.
- For Integer OIDs
Set Match Type to Numeric, and enter the a waring value and a critical value in the Thresholds column.
Note: If the thresholds is reached, Nagios displays an alarm for the monitored service.
- For String OIDs
Set Match Type to String or None.
For the OIDs that need to be matched to a string, enter the string.Note: If the string changes, Nagios displays an alarm for the monitored service.
- For Integer OIDs
- Click Next.
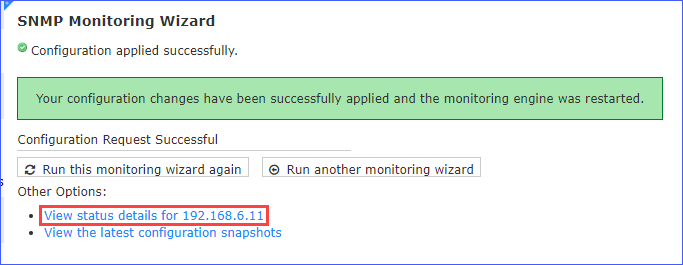
- Click Finish.
After the wizard applies the configuration, you can click the View status detail for <Host IP address> to see the host status.
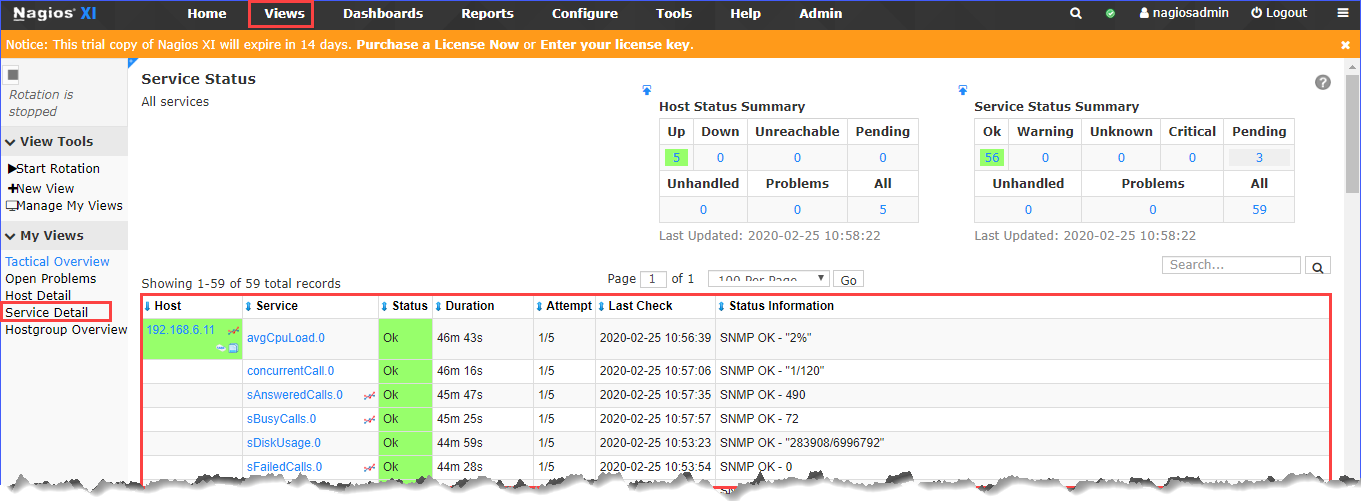
View the PBX status
Go to , view the PBX status.