Manage Personal Contacts
This topic describes how to add, edit, delete, import, and export personal contacts on PBX web page.
Operation permissions
Users can manage personal contacts on both Web and Linkus, or view personal contacts on an IP phone.For more information of Contacts on Linkus, see Linkus FAQ.
For more information of Contacts on an IP phone, see Query and Use Contacts on an IP Phone.
| Operations | Web | Linkus | IP phone |
|---|---|---|---|
| View | √ | √ | √ |
| Add | √ | √ | × |
| Edit | √ | √ | × |
| Delete | √ | √ | × |
| Export | √ | × | × |
| Import | √ | × | × |
Access Personal Contacts
Each extension user has a Personal Contacts phone book.
- Log in PBX web interface using extension email and password.
- Username: Enter extension email.
- Password: Enter the User Password of extension.
- On the PBX desktop, select Contacts.
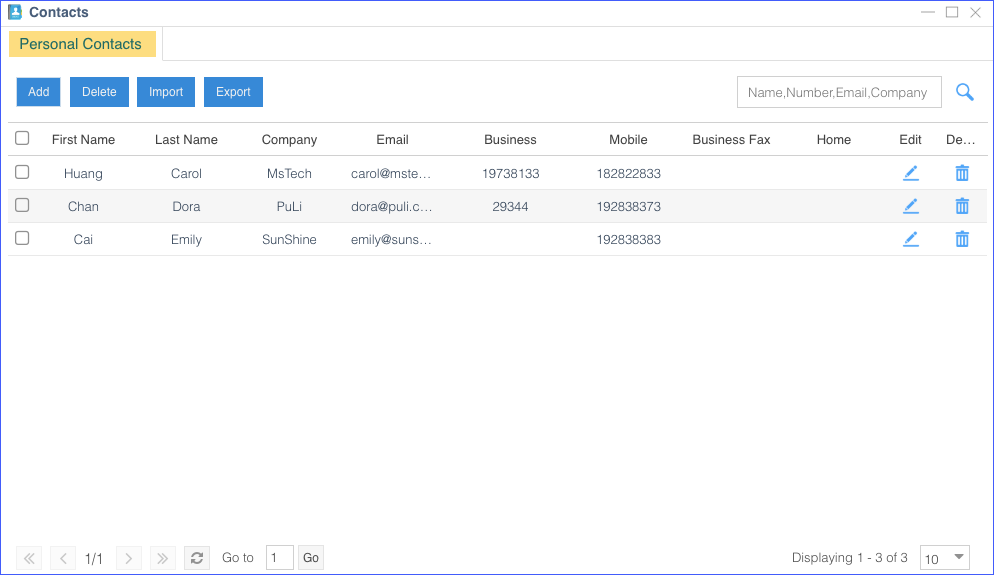
The Personal Contacts is displayed.
Add a personal contact
- Access Personal Contacts on Web.
- On the Personal Contacts page, click Add.
- Enter the contact information.Note: The First Name and at least one number are required.
- Click Save.
Edit a personal contact
- Access Personal Contacts on Web.
- Select a contact, and click
 .
. - Edit the contact information.
- Click Save.
Delete personal contacts
- Access Personal Contacts on Web.
- To delete a single contact, select the contact and click
 .
. - To delete multiple contacts, select the checkboxes of the desired contacts, and click Delete.
Export personal contacts
- Access Personal Contacts on Web.
- Click Export.
All the contacts will be exported to a CSV file.
Import personal contacts
Before you begin
- Prepare a CSV file
To import contacts, you can export contacts to a CSV file.
Use the CSV file as a template, save your data in the same format. For the data requirements in the CSV file, see Import Parameters - Contacts.
- Access Personal Contacts on Web.
- Click Import.
- In the pop-up dialog, click Browser, and select your CSV file.
- Click Import.
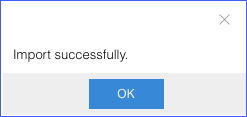
If the contact data is imported successfully, the web page will display the following confirmation.
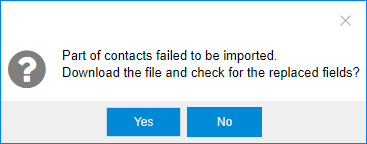
If you get an error prompt like the following figure, click Yes to check the log and update your data in the CSV file.