Step6. Set up a Route Table
Azure automatically creates system routes and assigns the routes to each subnet in a virtual network. By default, the YMP VM and SBC VM can access the Internet directly. To route the YMP outbound traffic to the internet through SBC VM, you need to set up a route table and associate the route table to the YMP subnet.
1. Create a route table
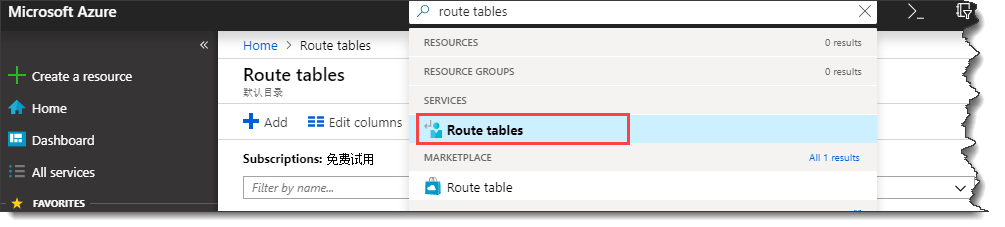
- In the search box at the top of the portal, enter route tables in the
search box. When Route tables appear in the search results, select
it.
- On the Route tables page, click +Add.
- On the Create route table page, configure the
following information:
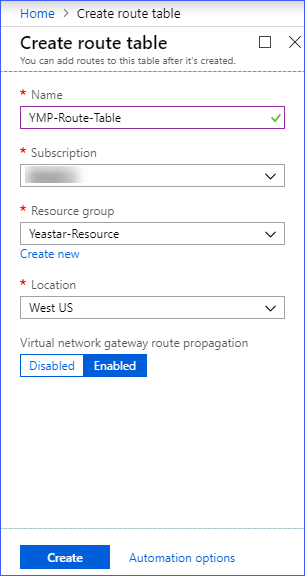
- Name: Set a name for the route table. For example: YMP-Route-Table.
- Subscription: Select the same subscription as the virtual network.
- Resource group: Select the same resource group as the virtual network.
- Location: Select the same location as the virtual network.
- Click Create.
2. Add a route rule
Add a route rule to route all the outbound traffic to internet through the SBC VM.
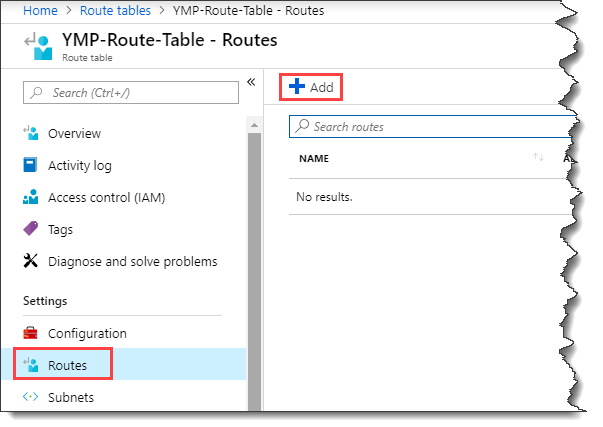
- On the Route tables page, click the route table that you created just now.
- Under Settings, select Routes,
then click +Add.
- On the Add route page, configure the following
information:
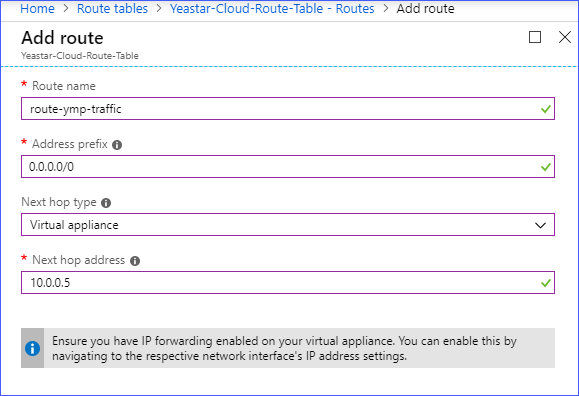
- Route name: Set a name for the route. For example, route-ymp-traffic.
- Address prefix: Enter 0.0.0.0/0.
- Next hop type: Select Virtual appliance.
- Next hop address: Enter the private IP address of SBC VM.
- Click OK.
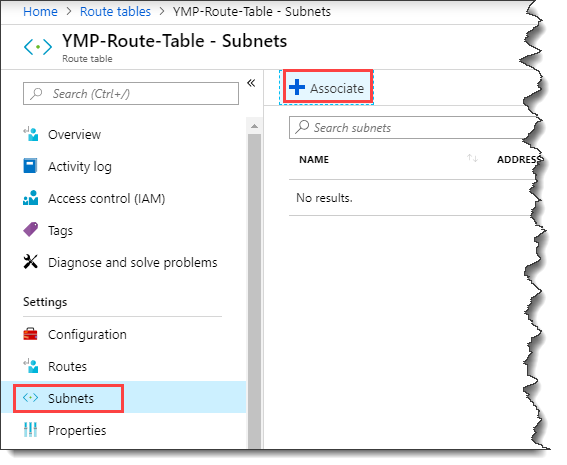
3. Associate the route table to YMP subnet
Associate the route table to the YMP subnet. In this way, the outbound traffic leaving
the YMP subnet will be routed to the internet through the SBC VM.
- On the route table configuration page, under Settings,
select Subnet, and click
+Associate.
- On the Associate subnet page, configure the following
information:
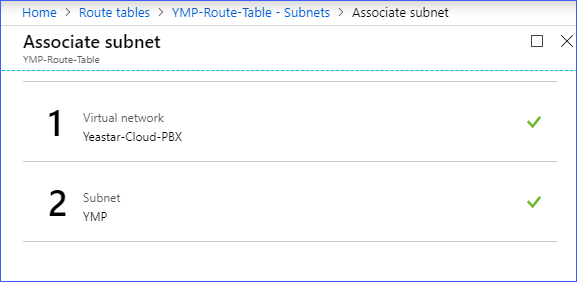
- Virtual network: Select the virtual network that is for Yeastar Cloud PBX.
- Subnet: Select the YMP subnet.
- Click OK.