Step4. Create a VM for YMP
Create a Virtual Machine (VM) to install YMP server.
1. Create a VM for YMP
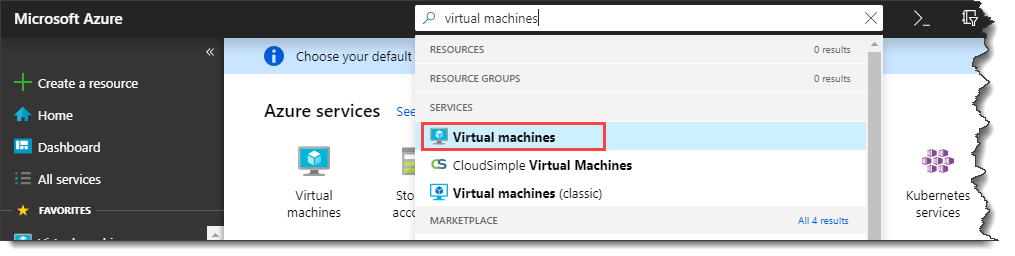
- In the search box at the top of the portal, enter virtual machines in
the search box. When Virtual machines appear in the search results,
select it.
- On the Virtual machines page, click +Add.
- In the Basics section, enter or select the following
information, click Next: Disks >.
- PROJECT DETAILS
- Subscription: Select the same subscription as the virtual network.
- Resource group: Select the same resource group as the virtual network.
- INSTANCE DETAILS
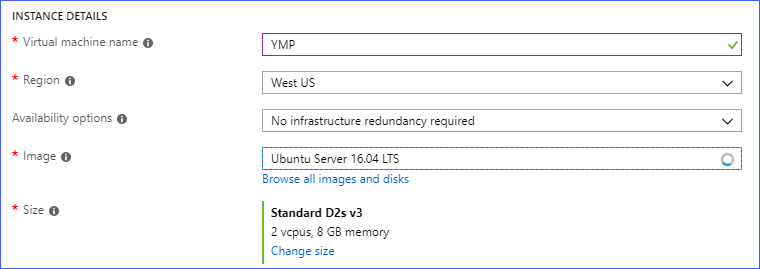
- Virtual machine name: Set a unique name for the virtual machine. For example: YMP.
- Region: Select the same region as the virtual network.
- Image: Select Ubuntu Server 16.04 LTS.
- Size: Change the size according to your needs.
- ADMINISTRATOR ACCOUNT
- Authentication type: Select Password or SSH pair, and configure the relevant settings.
- INBOUND PORT RULE

- Public inbound ports: Select Allow selected ports.
- Select inbound ports: Select SSH.
- PROJECT DETAILS
- In the Disks section, leave the default settings and click Next: Networking.
- In the Networking section, enter or select the
following information. Leave the rest of defaults, and click
Next: Management >.
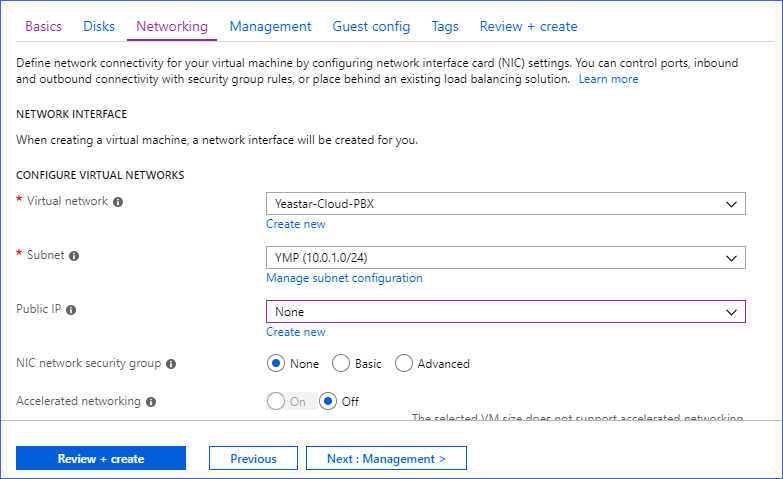
- Virtual network: Select the virtual network for Yeastar Cloud PBX.
- Subnet: Select the YMP subnet.
- Public IP: Select None.
- Leave the default settings and click Next: Guest config >.
- Leave the default settings and click Next: Tags >.
- Leave the default settings and click Review+create.
- Click Create.
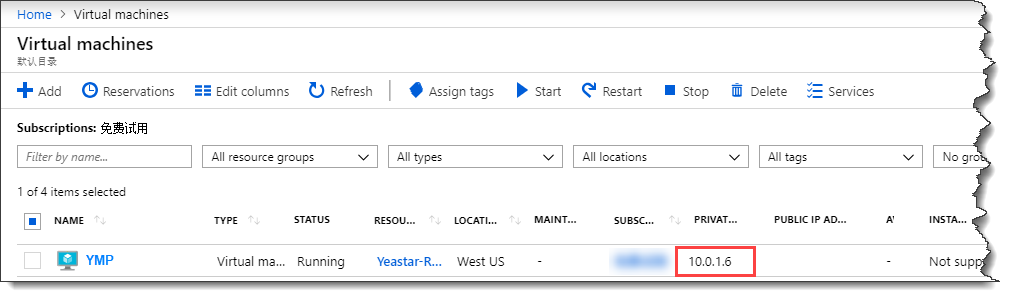
Check the YMP VM information on the Virtual machines page.
2. Change the OS disk size
The default size of Operating System (OS) disk for each VM is 30GB. When creating a VM, the OS disk size cannot be changed. You need to change the OS disk size of YMP VM according to your needs.
Restriction: Minimum 50GB OS disk.
- On the Virtual machines page, right click the YMP VM, and click Stop to stop the VM.
- Click the YMP VM to configure the VM.
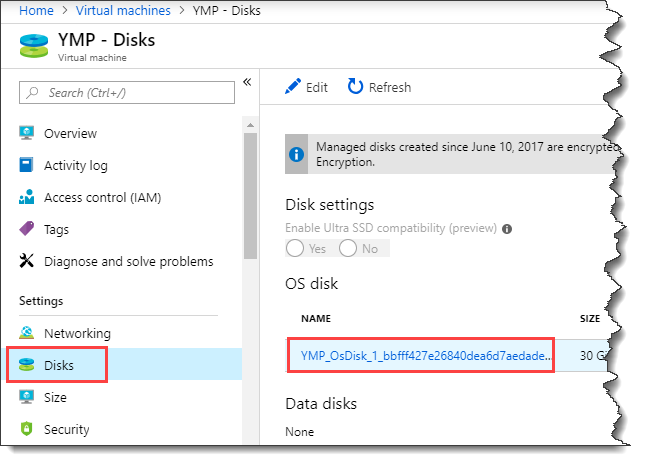
- Under Settings, select Disks,
and click the OS disk.
- Under Settings, select
Configuration, and change the OS disk according to
your needs.

- Click Save.
- Back to Virtual machines page, right click the YMP VM, click Start to start the VM.