Install Yeastar S412
Install Telephony Module
Yeastar S412 is designed with 8 fixed on-board FXS ports and 4 reserved slots. You can insert different modules into the 4 reserved slots according to your needs. Yeastar S412 supports installing up to 4 modules.
The optional modules are as below:
|
|
|
|
|
|
Note: Before installing the module, check if the module is clean and intact.
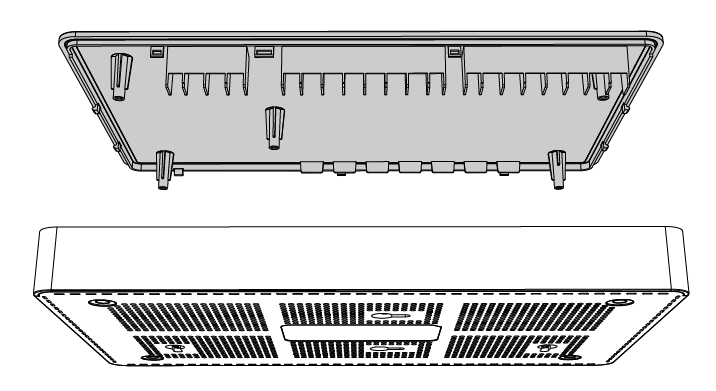
- Loosen the screws at the bottom of the device and remove the upper
cover.
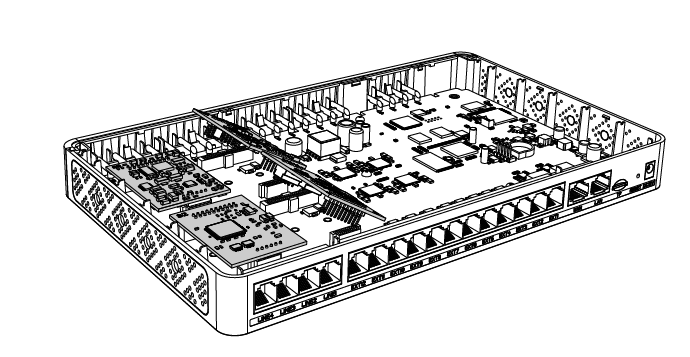
- Insert the module to the Module Slot.
- T_Slot1: For S2 module only.
- T_Slot2: For S2 module only.
- T_Slot3: For O2 module, B2 module, GSM module, 3G module, and 4G LTE module.
- T_Slot4: For O2 module, B2 module, GSM module, and 3G module.
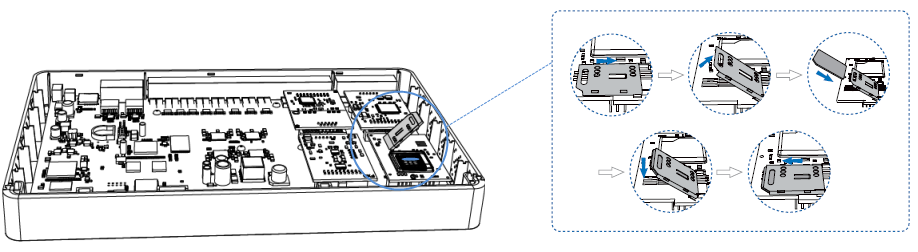
- Follow the instructions to insert a SIM card on the
GSM/3G/4G module. Note: Skip this step if no GSM/3G/4G module is installed.
- Close the cover and fix the screws.
- Rotate the antenna into the Antenna Socket. Note: Skip this step if no GSM/3G/4G module installed.

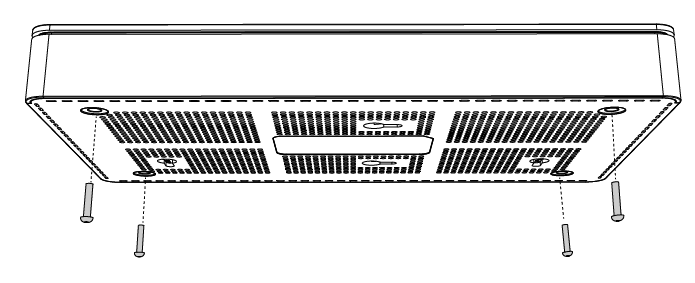
Desktop Installation
CAUTION:
- Set 5~10cm gaps around the device for air circulation.
- Avoid any heavy thing placed on the device.
- Place the PBX on a steady platform.
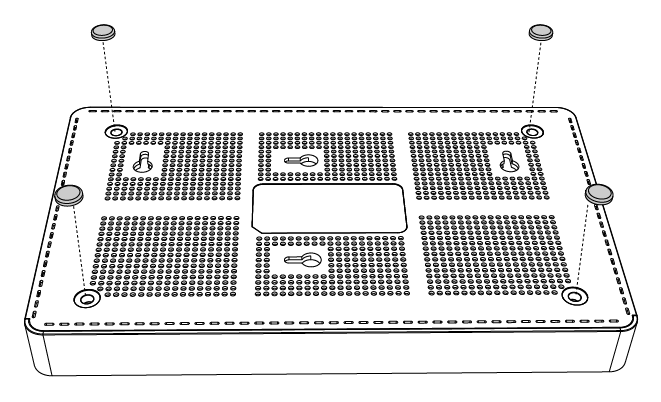
- Remove the adhesive backing paper from the rubber feet.
- Turn over the device and attach the supplied rubber feet to the recessed
areas on the bottom at each corner of the device.