Manage Two-Factor Authentication
This topic describes how to manage the two-factor authentication feature, including removing trusted devices, changing authentication method, and disabling the two-factor authentication feature.
Remove a trusted device
In case you lost access to a trusted device, you can remove it from the list if necessary.
- Log in to Yeastar Partner Portal, click your account at the top-right corner.
- Go tto .
The trusted devices are displayed in the Trusted Device List section.

- Click
 beside the device that you want to move.
 - In the pop-up window, click Delete.
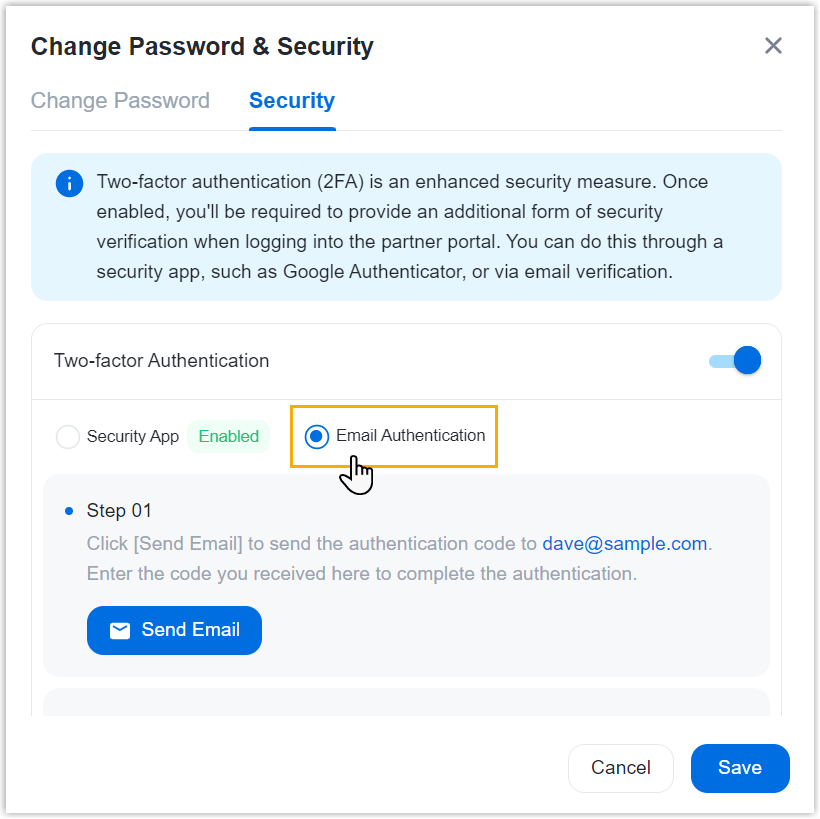
Change two-factor authentication method
- Log in to Yeastar Partner Portal, click your account at the top-right corner.
- Go to .
- Select the desired method, then complete the follow-up settings
accordingly.
Disable two-factor authentication
- Disable two-factor authentication for your account
- You can disable two-factor authentication for your account at any
time.
- Log in to Yeastar Partner Portal.
- Turn off the switch of Two-factor
Authentication, then click
Save.

- In the pop-up window, click
Confirm.
The webpage prompts a message "2FA has been disabled.", which means that you have successfully disabled two-factor authentication.
- Disable two-factor authentication for your colleagues or customers
- If your colleagues or customers
lost access to their two-factor authentication (e.g. they lost their
authenticator device or could not receive authentication code via
email), you can disable the two-factor authentication for their
accounts, so that they can directly log in with username and
password.
- Log in to Yeastar Partner Portal, go to .
- Click
 beside the desired account.
 - In the Two-factor Authentication
drop-down list, select Disabled.

- Click Save.
The two-factor authentication of the user's account is disabled.