Add an Inbound Route
To receive external calls on Yeastar K2 IPPBX, you need to set up at least one inbound route.
- Go to , click Add.
- In the Name field, enter a name to help you identify it.
- Optional:
In the DID Pattern field, enter a DID number or a DID
pattern if you want to route inbound calls based on DID numbers.
The PBX will route the call only when the caller dials the matched numbers.Note: Leave this blank to match calls with any or no DID info.
- Optional:
In the Caller ID Pattern field, enter a Caller ID or a
Caller ID pattern if you want to route inbound calls based on Caller IDs.
The PBX will route the call only when the caller ID number matches the Caller ID Pattern.Note: Leave this blank to match calls with any or no caller ID info.
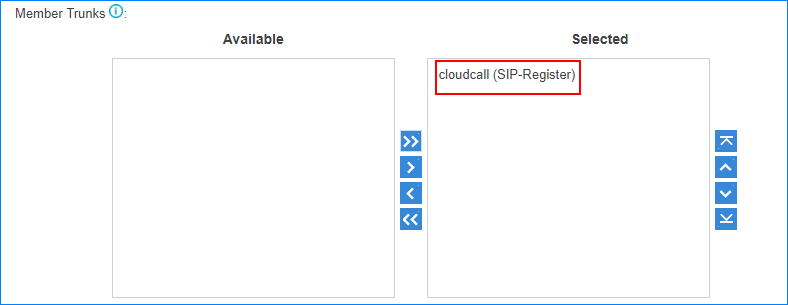
-
In the Member Trunks field, select the desired trunk
from Available box to the Selected
box.
The PBX will route the inbound call when the caller calls the number of the selected trunk.
-
If you allow the inbound calls to be routed to a desired destination without
time limit, configure the following settings:

- Uncheck the checkbox of Enable Time Condition.
- Select the Destination.
-
If you allow the inbound calls to be routed to different destinations based on
time condition,
configure the following settings:
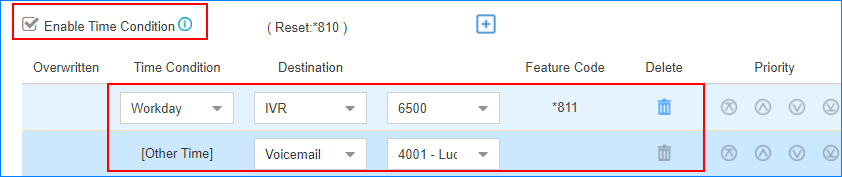
-
Click
 , select a Time Condition and the
destination.
, select a Time Condition and the
destination.
If an inbound call reaches the PBX during the time period, PBX will route the call to the selected destination.
- Optional:
Click to set another time condition and
destination.
-
Click
- Optional:
In the Distinctive Ringtone field, enter the ringtone
name. Distinctive
Ringtone helps users recognize where the call is from.
Note: Distinctive Ringtone feature needs support from the IP phones.
For example, the IP phone has a ringtone called "Family". You can enter "Family" in the Distinctive Ringtone field. When a call reaches the IP phone through this inbound route, the IP phone plays the "Family" ringtone.
- Optional:
Select the checkbox of Enable Fax Detection. PBX will
send the fax to Fax Destination if a fax tone is
detected.
- Extension: PBX will send the fax to Fax Destination if a fax tone is detected.
- Fax to Email: PBX will send the fax as an
attachment to the specified email address. An email address can be
associated with extensions or be customized address.Note: If you want to send fax to email, make sure system email is configured correctly.
- Click Save and Apply.