Account Billing
The Billing App supports to charge cost from an account. This solution is typically for a shared extension, which is shared by multiple users. Everyone can use the extension to make outgoing calls with their personal account credentials.
Go to to configure the billing settings for the accounts.
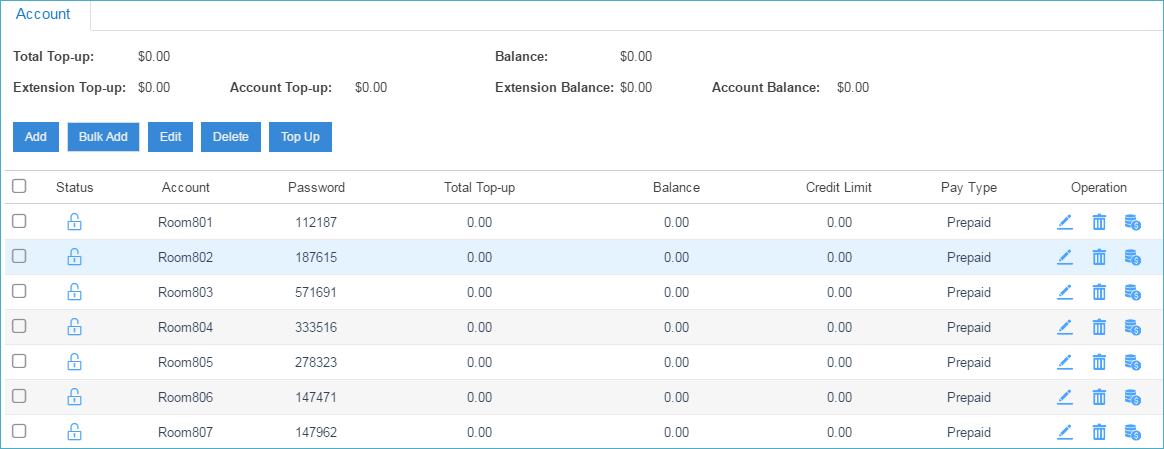
At the top of the page, you can see the total top-up and total balance, also the extension and account top-up and balance.
 :
Locked. The account is locked, and could not be used to dial out make outbound
calls.
:
Locked. The account is locked, and could not be used to dial out make outbound
calls. : Available. The account is available to be
used.
: Available. The account is available to be
used.
Add an Account
- Go to , click Add.
- Configure the account settings.
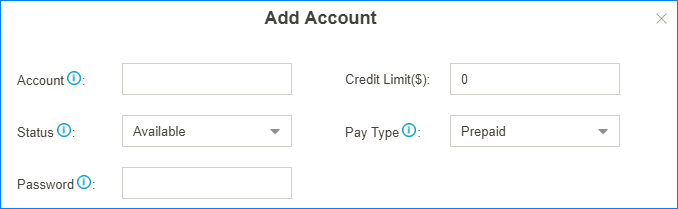
- Account: You can fill in letters or numbers.
- Credit Limit: Set the credit limit.
- If the pay type is prepaid, when the account balance is less than the Credit Limit, it will not be able to dial out external numbers.
- If the pay type is postpaid, the Credit Limit is the total amount the account can owe.
- Status: Set the account status.
- Available: the account is available to use.
- Locked: the account could not be used to dial out make outbound calls.
- Pay Type: Choose the pay type.
- Prepaid
- Postpaid
- Password: Set a password for the account.
When users will call out by the account, they need to enter the password.Note: The password for accounts cannot be the same.
- Click Save and Apply.
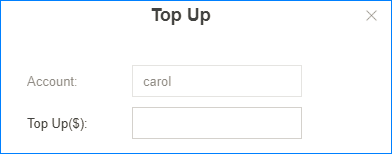
Top up an Account
- Go to , choose an account, click
 .
. - Enter the top up amount, and click Top Up.
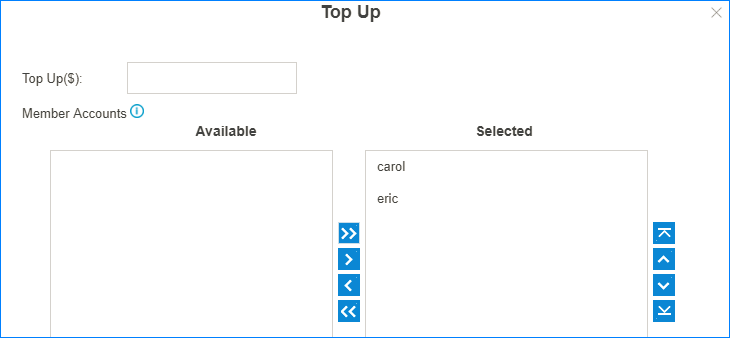
Top up Bulk Accounts
- Go to , select the checkbox of the desired accounts, and click Top Up.
- In the Top Up field, enter top up amount.
- Select the accounts that you want to top up to the
Selected box, click Top
Up.