Set up a Hot-desking Phone
This topic describes how to set up a phone for hot desking.
Prerequisites
Hot-desking feature is only supported on specific Yealink phones.
Procedure
To set up a hot-desking phone, you need to use Auto Provisioning.
- Log in to PBX web interface, go to Auto Provisioning,
scan phones.
All the detected phones appear on the Device List page.
- Select the desired phone, click
 .
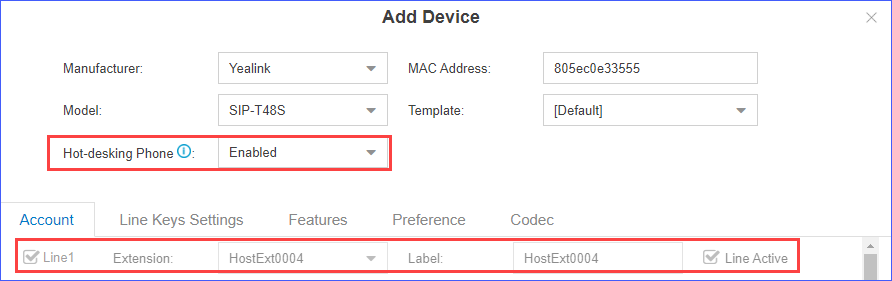
. - In the Hot-desking Phone drop-down list, select
Enabled.
The following settings are automatically configured for the phone:
- Account: The first line is activated and
a virtual extension is assigned to the line.Note: Virtual extension format: HostExt{virtual_num}, the {virtual_num} indicates the virtual number assigned to the virtual extension.
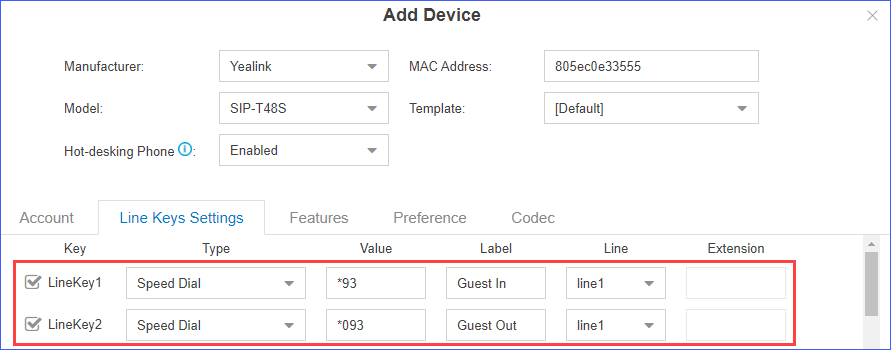
- Line Key:
LineKey1 is configured as speed dial key for guest login.
LineKey2 is configured as speed dial key for guest logout.
Note: For SIP-T19P_E2 and SIP-T56A, you need to manually configure speed dial keys on the phones for guest login and logout. - Account: The first line is activated and
a virtual extension is assigned to the line.
- Click Save and reboot the phone.
- After the phone restarts, you need to fill in the user
name and password of the virtual extension.
Check the virtual extension assigned to the phone on Auto Provisioning page, then fill in the user name and password.
- User Name: he + {virtual_num}. For example, the virtual extension is HostExt0004, then the user name is he0004.
- Password: {virtual_num}. For example, the virtual extension is HostExt0004, then the password is 0004.
Result
After the phone is set up as a hot-desking phone, the phone can be used only for emergency calls.
The phone is not ready for use until a user logs in to the phone.