Migrate Yeastar S-Series VoIP PBX to P-Series PBX System
Yeastar S-Series VoIP PBX supports migration to the P-Series PBX system, which allows you to seamlessly upgrade to the latest P-Series platforms while retaining your existing configurations. This topic describes how to migrate from S-Series PBX system to the P-Series PBX system.
Requirements
| Platform | Requirement |
|---|---|
|
S-Series VoIP PBX |
|
| P-Series PBX System |
You can migrate the S-Series
PBX to any edition
of the P-Series PBX (Appliance, Software, or Cloud Edition)
that meets the following firmware requirements.
Note: The P-Series PBX system MUST be a
new installation or factory reset.
|
Procedure
Export a backup file from S-Series PBX system
-
Download the migration tool package matching your S-Series PBX version.
A
.tarfile is downloaded to your computer. - Install the migration tool on S-Series PBX
system.
-
Log in to the PBX web interface, go to
 > App Center.
 -
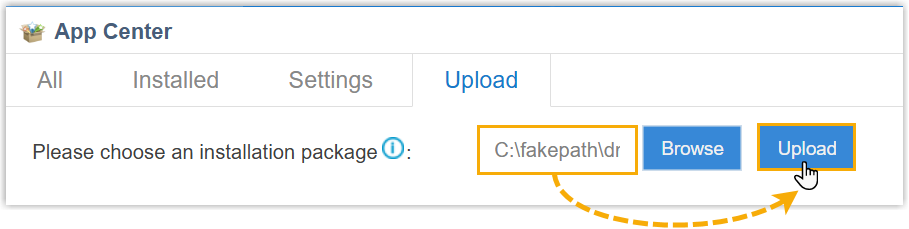
Click the Upload tab.
- Click Browse to select the downloaded
migration tool, then click Upload.
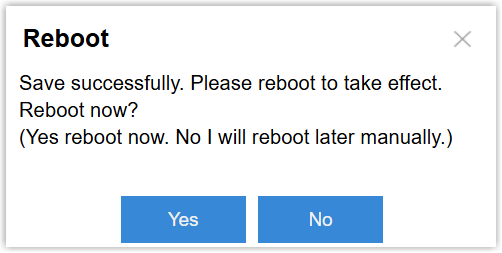
After uploading, a prompt window appears at the bottom-right corner, asking whether to reboot the system.
-
-
Click Yes to reboot the system.
-
Download the backup file.
-
On the PBX web interface, go to .
The backup file named
{sn}_pbxconfig.taris displayed in the system log list.
- Click
 beside the file.
The backup file is downloaded in a system log
.tarfile to your computer.
-
- Extracted the downloaded
.tarfile to obtain the exported backup file. - Optional: To avoid potential auto provisioning conflicts after
migration, remove the previously provisioned IP phones from the
system.
-
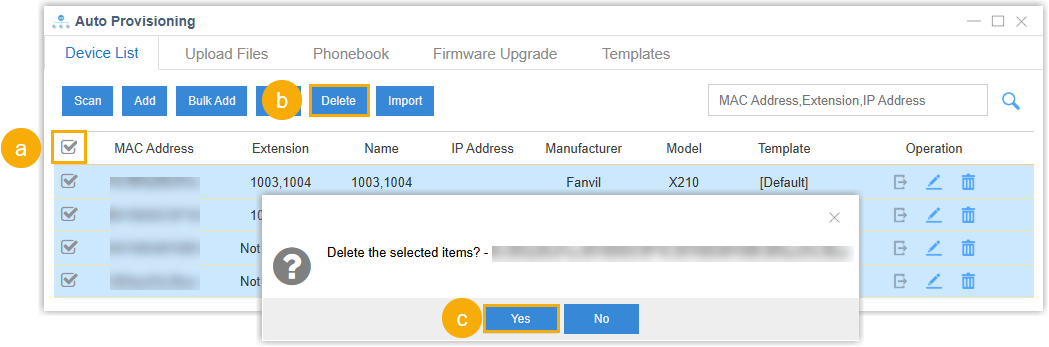
On the PBX web interface, go to , select all the phones in the list.
-
At the top of the list, click Delete.
-
In the pop-up window, click Yes.
-
Restore the backup on P-Series PBX system
-
Log in to the PBX web portal of your P-Series PBX system, go to .
-
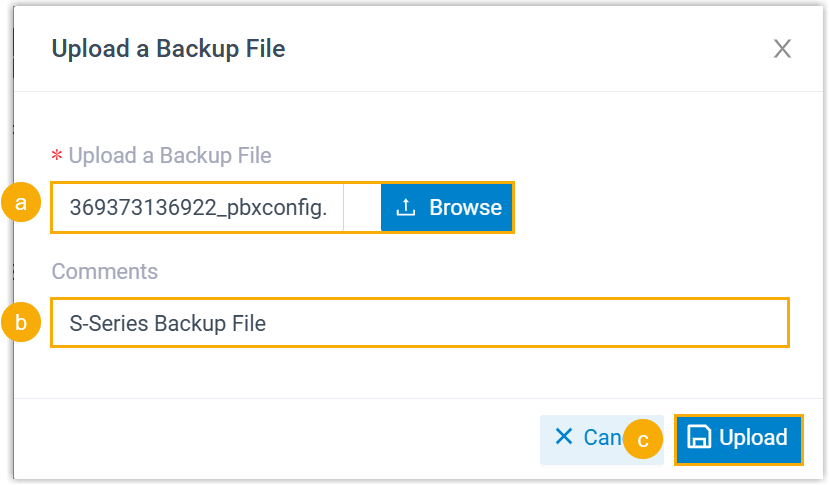
Click Upload, and do as follows in the pop-up window.
-
Click Browse to select the backup file you downloaded.
-
Optional: In the Comment field, add a note to help you identify the file.
-
Click Upload.
The backup file is uploaded and displayed in the list.
-
-
Restore the PBX system from the backup file.
- Click
 beside the backup file.
-
In the pop-up window, click OK.
-
Reboot the PBX to take effect.
- Click
Result
The configurations on your P-Series PBX system are overwritten with the data from the S-Series PBX backup file.
What to do next
Verify that the settings and data have been correctly migrated from Yeastar S-Series VoIP PBX to your P-Series PBX system.