Set up Yeastar P-Series Cloud Edition
Before migrating 3CX data to Yeastar PBX, you need to set up Yeastar PBX in advance. This topic describes how to set up Yeastar P-Series Cloud Edition.
Step 1. Activate Yeastar P-Series Cloud Edition
Note: Before activation, make sure that you have received the
welcome email of Yeastar P-Series Cloud Edition.
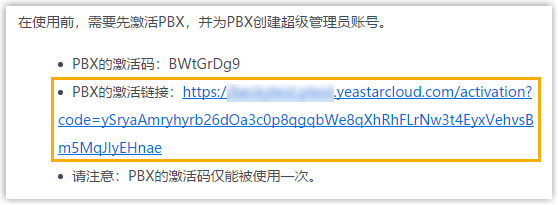
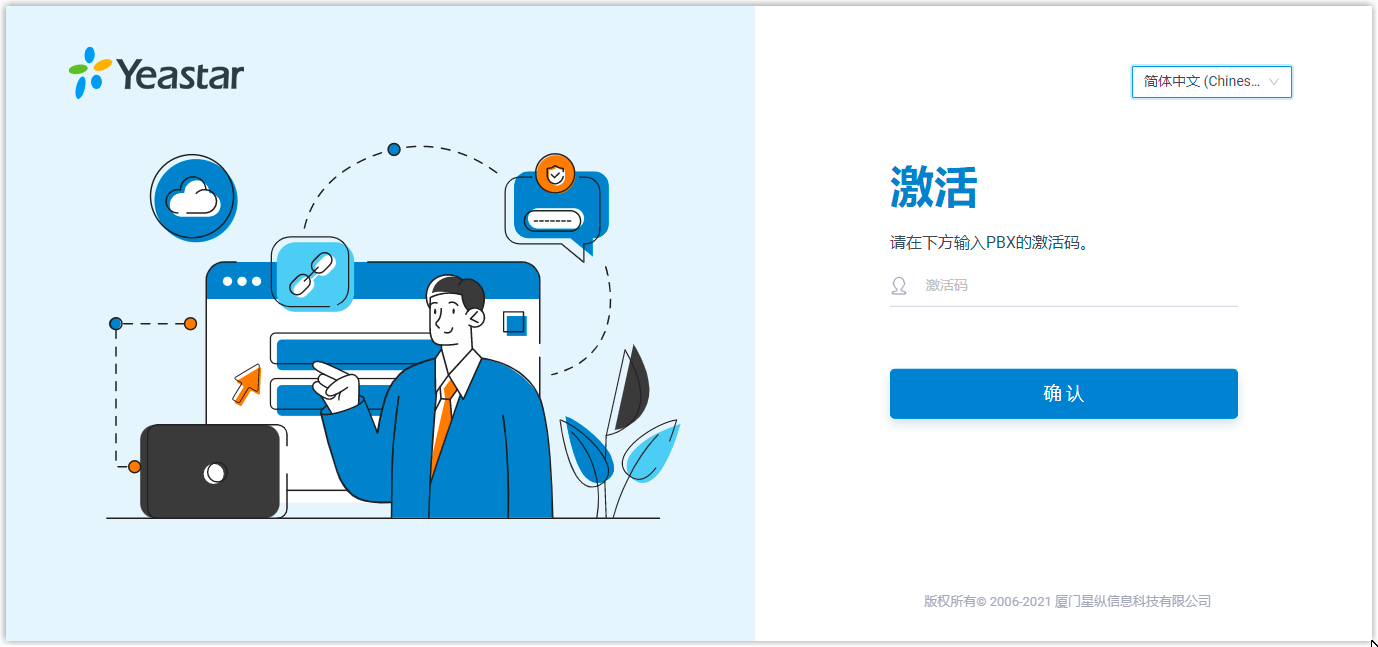
- In the welcome email, click the PBX Activation URL to
enter the PBX activation page.

- In the Activation Code field, enter the PBX
activation code provided in the welcome mail.Note: The PBX activation code can only be used once.

- Click Confirm.
Step 2. Set up super administrator account
- In the Basic section, specify
the
information of the super administrator account.Note: Save the username and password of the super administrator account, or you need to reset your system to reconfigure the account and log in to the PBX.
- Username: Specify the username that is used to log in to PBX web portal.
- Password: Specify the password that is used to log in to PBX web portal.
- Repeat the password: Repeat the password to confirm.
- Email Address: Enter the email address of
the super administrator.
The email address can be used to receive system notifications, reset web login password, and log in to the administrator portal.
- Mobile Number: Enter the mobile number that can be used to receive system notifications.
- In the Event Notifications section, configure event
notifications for the super administrator.
- Send Event Notification to PBX Administrator: Decide whether to enable notifications for the super administrator or not.
- Contact Name: Enter the name of the super administrator.Note: This name helps you identify the super administrator from the Notification Contacts list.
- Notification Level: System notifications are divided into different levels according to importance. You can select notification levels to filter and receive the relevant notifications.
- Notification Method: Select method(s) to receive notifications.
- Click Next.
Step 3. Configure the system time
- In the Date and Time section, configure the time zone and daylight saving time.
- In the Display Format section, select the display format for date and time.
- Click Next.
Step 4. Localize and customize the system
- In the System Prompt Language section, select the radio button beside a system prompt to set it as the default system prompt.
- In the Other Settingssection, adjust the following
settings for your local installation.
- Notification Email Language: Select which language of email contents to be received.
- Device Name: Specify a name for the PBX system.
- Name Display Format: Select the display format for Extension User's Name and Contact Name.
- Tone Region: Select your country/region or the nearest neighboring country/region to enable the default dial tone, busy tone, ring tone for your region.
- Enable Allowed Country/Region Code Dialing Protection: To restrict users from making international calls, enable this option. When enabled, users can not make international calls to any countries or regions.
- International Dialing Code: Enter the prefix of international call according to your country.
- Click Next to see the summary.
Step 5. Check and confirm the configurations
- Check the all the configured settings on the Summary page.
- To edit the configurations of a specific step, click
 beside the
step title.
 - To edit the configurations of the previous step, click Re-configure.
- If all the configurations are confirmed, click Reboot to take effect.
Result
All the configurations take effect after the system reboots.
You need to access the domain name of the PBX and log in to Yeastar Management by the super administrator username and password.