Migrate IP Phones to Yeastar P-Series Cloud Edition
This topic describes how to migrate IP phones from 3CX to Yeastar P-Series Cloud Edition.
Procedure

Step 1. Gather the required information in 3CX
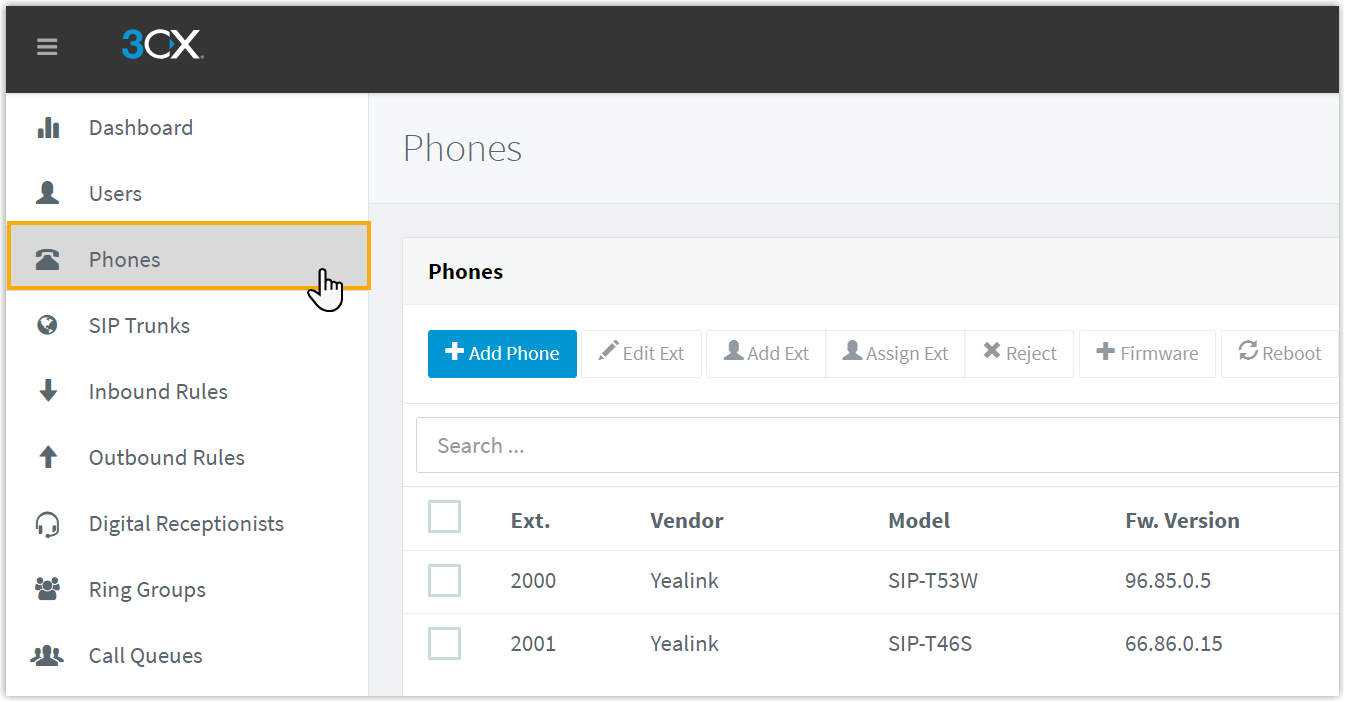
- Log in to 3CX Management Portal, go to Phones to view
the existing IP phones in 3CX.

- Note down the following information of each IP phone.

- Extension number of the associated user
- Vendor, Model, and MAC address of the IP phone
Step 2. Reset and re-configure IP phones
Before migrating IP phones to Yeastar P-Series Cloud Edition, you need
to have your clients complete the following steps to prepare the IP phones for
migration.
- Reset all the IP phones that need to be migrated.
For instructions on resetting the IP phone, refer to the phone's user manual or contact the phone's manufacturer for assistance.
- Re-configure network settings for IP phones to ensure they can connect to internet.
Step 3. Add IP phones to Yeastar P-Series Cloud Edition
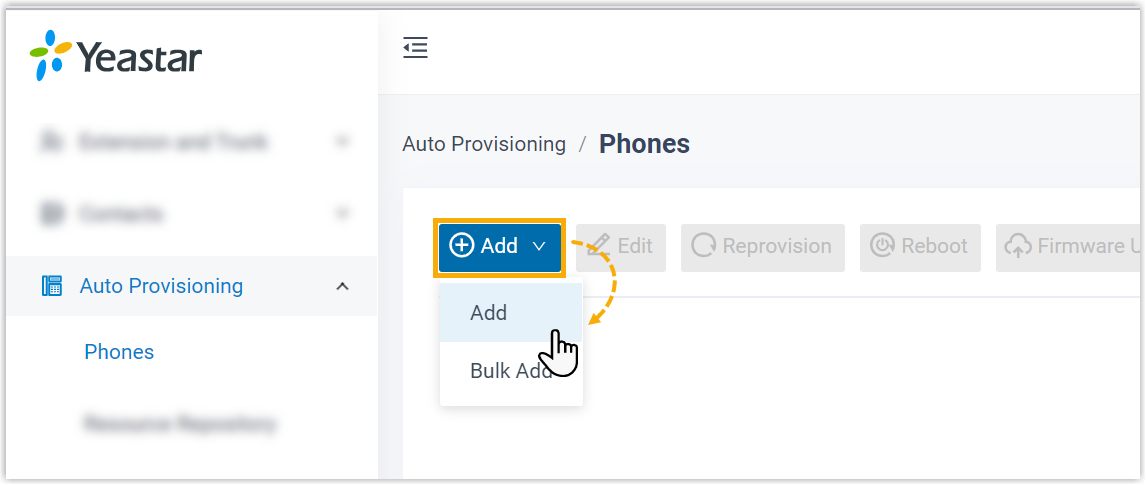
- Log in to Yeastar Management Portal.
- Go to , and click .

- In the IP Phone section, enter the following
phone information according to the gathered
information.

- Vendor: Select the corresponding vendor.
- Model: Select the phone model.
- MAC Address: Enter the MAC address of the IP phone.
- In the Options section, configure the
following:

- In the Template drop-down list, select a desired template.
- Unselect the Authentication for the First-time Auto Provisioning checkbox.
- In the Assign Extension section, select the
corresponding extension.

- Click Save.
Step 4. Reboot the IP phone
Have your clients reboot their IP phones.Upon rebooting, the status shows ![]() , indicating
the IP phone is successfully added to Yeastar P-Series Cloud Edition and associated
with the corresponding user.
, indicating
the IP phone is successfully added to Yeastar P-Series Cloud Edition and associated
with the corresponding user.
