Auto Provision Phones by DHCP Method
Important: For the first time to auto provision your phones on
the PBX, you need to RESET all your phones before auto provisioning, or auto
provisioning may not work.
- Connect your phones to the same network of the PBX.
- Disable DHCP function on your router. Make sure that the Yeastar K2 IPPBX is the only DHCP server in your local network.
- Check your phones' basic information, including phone manufacturer, MAC address, phone model.
- On your phones, enable DHCP function.
- On the PBX , enable DHCP Server.
- On the PBX Auto Provisioning page, scan phones, all the detected phones will appear on the page.
-
Edit or add phones, set your phones' manufacturer, MAC address, model.

-
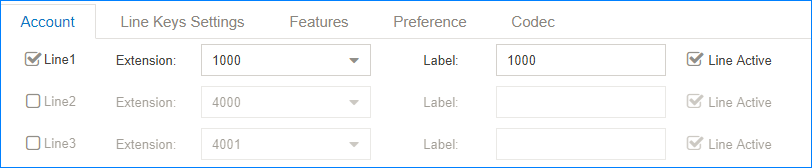
Set the phone lines.
-
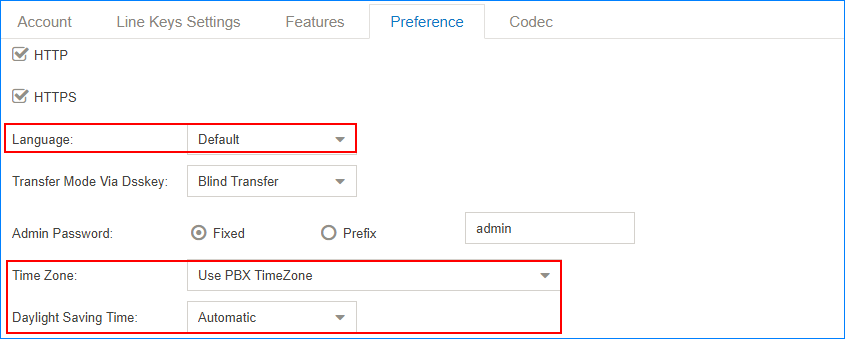
Set the phones' language and time.
- Optional: Set other phone settings.
-
Save the settings and REBOOT your phones.
Note:
- If the phones do not reboot automatically, reboot the phone manually to make the configurations take effect.
- After auto provisioned successfully, each time when your phones reboot, they will get and apply configurations (phonebook, language, time, etc.) from the PBX.