Step1. Create the VPC
Use the Amazon VPC wizard in the Amazon VPC console to create a VPC.
-
Open the Amazon VPC console at https://console.aws.amazon.com/vpc/.
Note: In the navigation bar (on the top-right), take note of the region in which you'll be creating the VPC. Ensure that you continue working in the same region for the rest of this exercise, as you cannot launch an instance into your VPC from a different region.
-
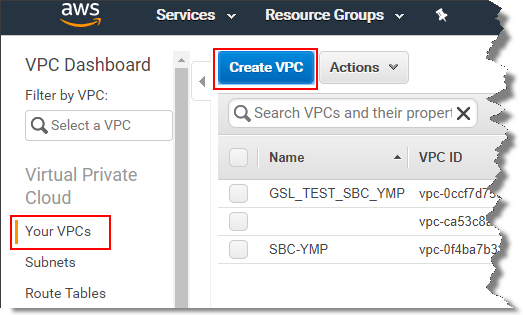
In the navigation pane, select Your VPCs, then click Create
VPC.
-
On the VPC configuration page, set the VPC.
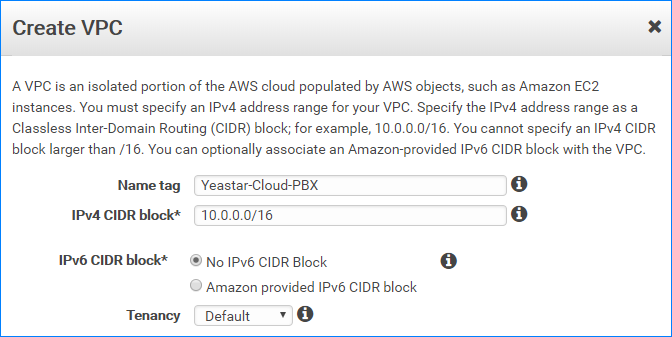
- Name tag: Specify a name for the VPC. For
example,
Yeastar-Cloud-PBX. - IPv4 CIDR block: Set the range of IPs to be used
for your VPC. For example,
10.0.0.0/16.Restriction: The IP segments 172.19.0.0 and 172.17.0.0 are NOT allowed. - IPv6 CIDR block: Select No IPv6 CIDR Block.
- Tenancy: Select Default.
- Name tag: Specify a name for the VPC. For
example,
-
Click Create VPC.
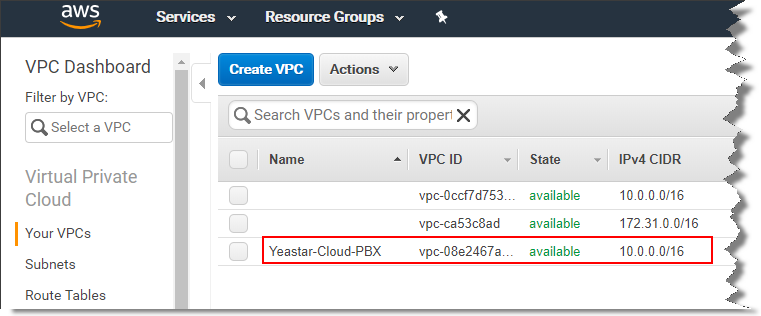
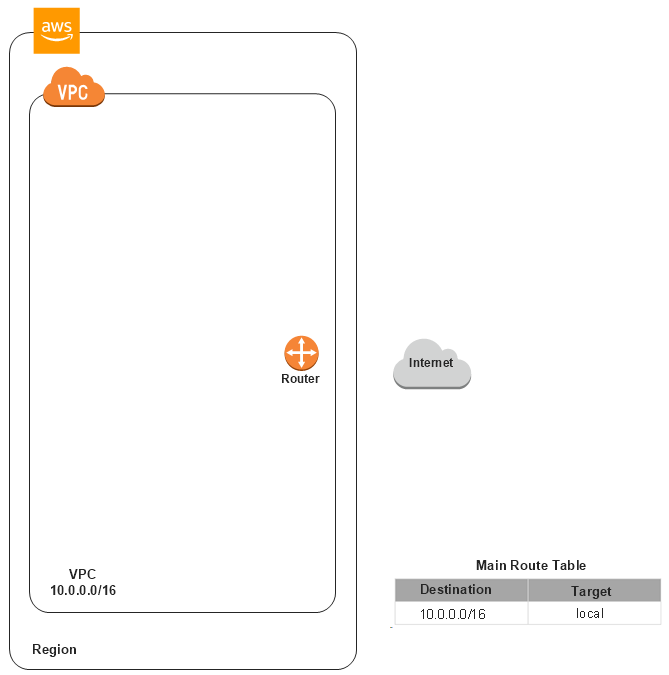
The Your VPCs page displays the new created VPC and a main route table is automatically created for the VPC.